
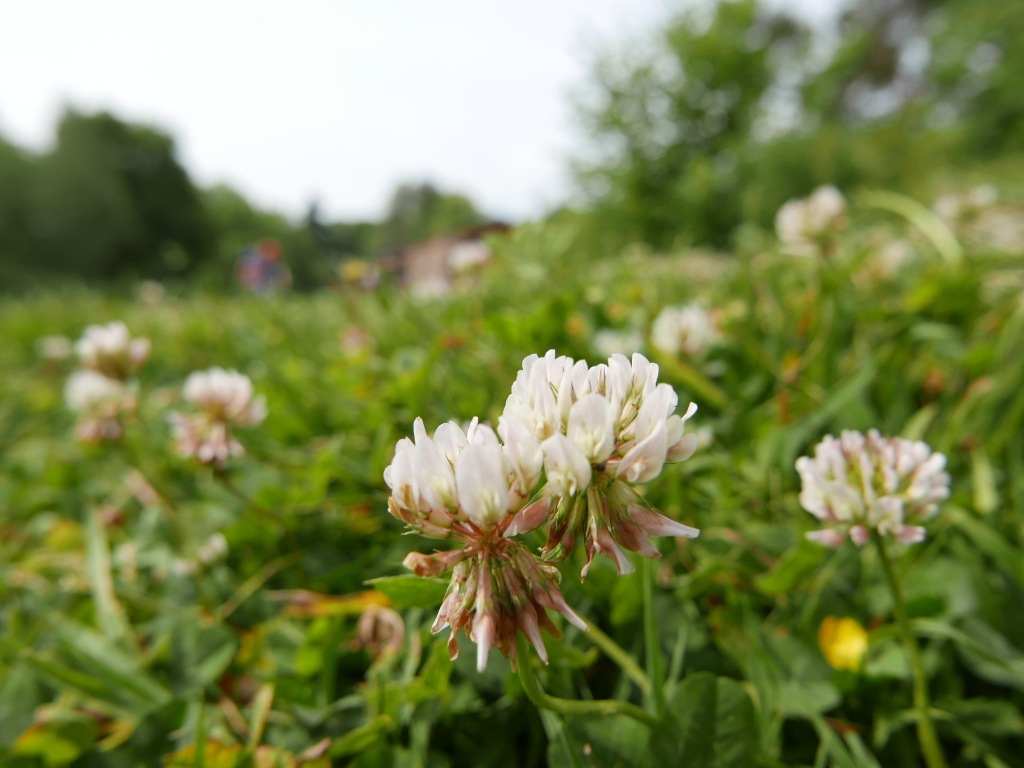
Clovers are beautiful flowering, wild plants that provide a vital source of food and shelter for a variety of wildlife. They also play an important role in the environment by adding nutrients and nitrogen into the soil, retaining moisture and reducing soil erosion. Many species of mammals, birds and insects feed on the leaves, seeds and flowers of clover plants. Pollinators in particular like bees, butterflies and beetles depend on the nectar rich flowers for food

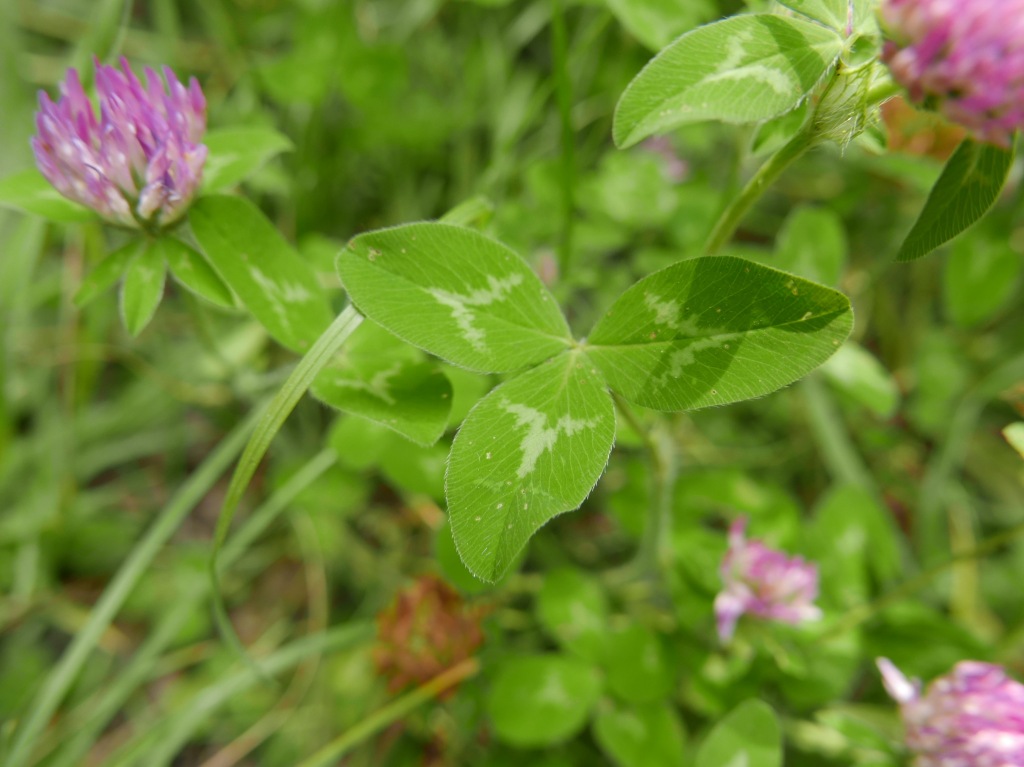
Clover which (also known as Trefoil) comes from a family of plants (Trifolium) that all have three leaves. There are over 300 species of plants in the Trifolium family but the two most common and easy to identify varieties are red and white clover. You can easily identify both species by the distinctive three leaflets (occasionally you might find ‘lucky’ four leaf clovers as well). Both species of cover produce clusters of small tubular flowers that are rich in nectar.
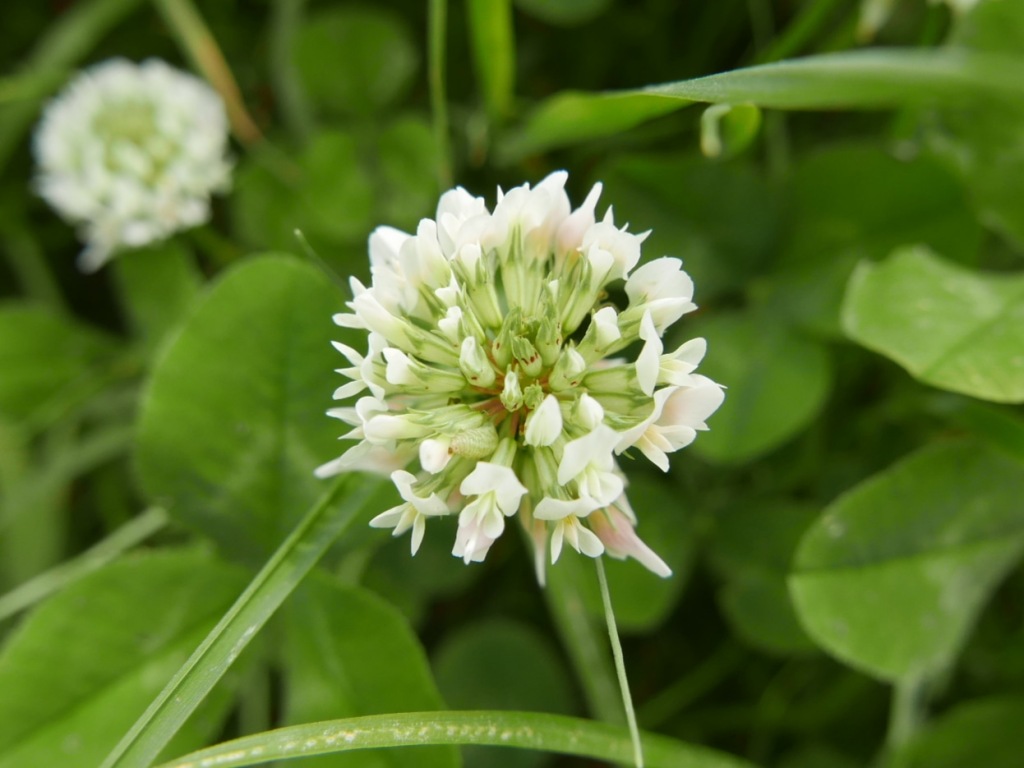
White clover flower heads are wider at the base than they are tall and they have smooth leaves with serrated edges. Red clovers in contrast have hairy leaves with smoother edges and their flower heads are taller than they are wide. All clover plants have Rhizobium bacteria in their roots, this clever bacteria captures and then fixes nitrogen from the air turning it into ammonia which is a natural plant food. When the clover decompose and decays back into the soil it also releases the captured nitrogen into the soil as well. This makes clover an effective and environmentally fertilizer for both gardeners and farmers.
You can find lots of fun and easy activity ideas below to help you learn more about these amazing plants.
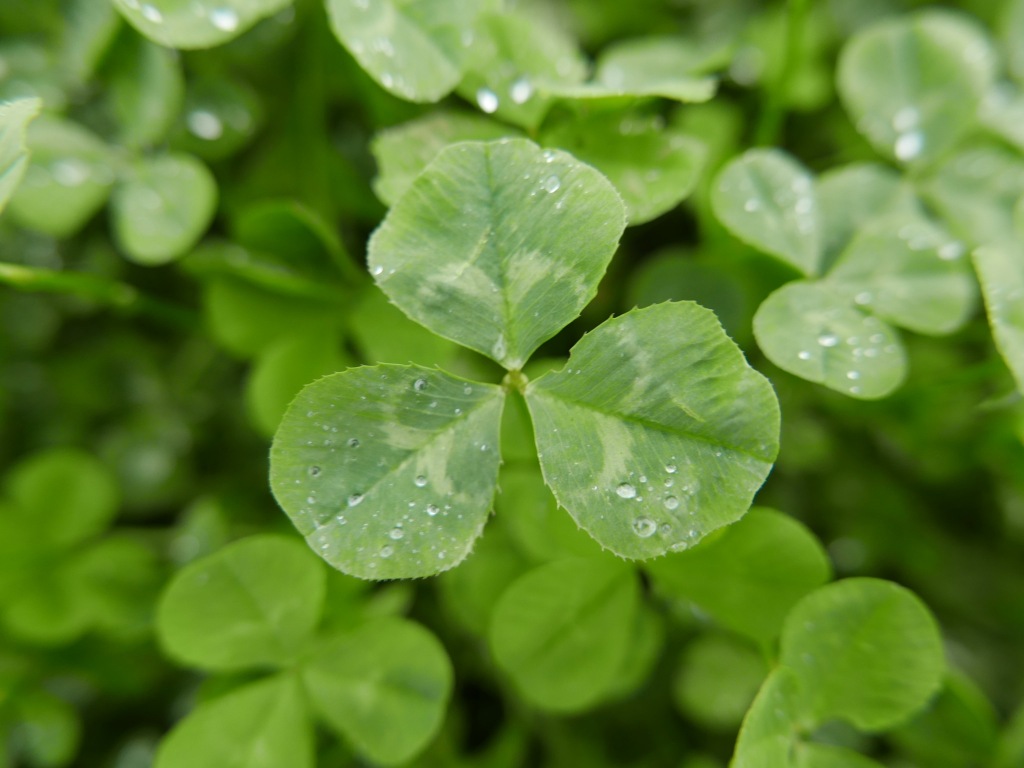
1. Look for four leaf clovers
Four leaf clovers are considered good luck charms and can be fun to find and collect. Although clovers traditionally produce three leaves they do occasionally produce four or more leaves. It is estimated that four leaf clovers occur in 1 in 5000 plants. It takes a little time and patience to find four leaf clovers but it is a great way to work on observational and fine motor skills finding them.
2. Go on a wildlife safari amongst the clover
You will often find pollinating insects like bees, beetles, butterflies and moths on or around clover flowers feeding on the nectar. You might even spot other species insects hiding under the petals, leaves or on the stems. The undersides of flowers and plants are often teeming with insects, eggs, caterpillars and larva that you would normally overlook. It’s the perfect place for them to shelter away from predators, wind and rain as well as often providing a source of food. You could take a notepad or camera with you to record your finds. You can also help citizen science by recording any minibeasts you find on national databases like Nature’s Calendar or iRecord.

3. Conduct a wildflower survey
It is so simple and easy to conduct a wildflower survey. All you need to do is explore a small section of grass, lawn or meadow to see how many wildflowers like clover you can find. Its a wonderful way to learn about different types of wildflowers and you can easily identify any you find using free downloadable wildflower guide sheets or wildflower guide books (check your local library for free copies to borrow).

4. Grow clover in your garden
Clove is a great plant to introduce into lawns as it improves the soil by adding nitrogen and nutrients into, retaining moisture and preventing soil erosion it as well as providing an abundant source of food for wildlife and attracting beneficial pollinators. Did you know that soil is alive? A single teaspoon of healthy soil can contain over 100 million microorganisms and a quarter of all Earth’s species exist in soil.. Healthy soil also prevents flooding and stores vast volumes of carbon preventing it from escaping into the atmosphere. Amazingly there is more carbon captured in the earths soil alone than in all the atmosphere and the world’s trees and plants combined.
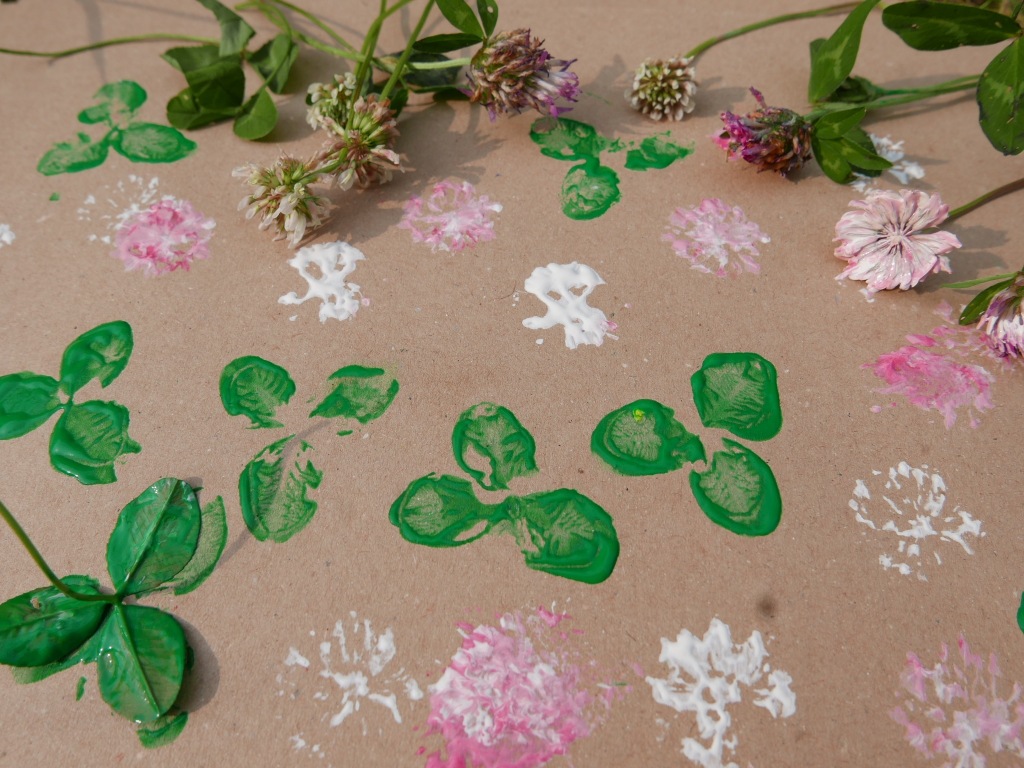
5. Clover nature painting
Nature painting is a simple activity for children of all ages, Just dip clover flowers and leaves into paint and use them as natural paintbrushes or paint, print and mark make with. How about experimenting with other different natural materials to see what variety of marks you can make by using different shapes and textures. You could also paint directly onto the leaves or flowers to decorate them. Or lay the leaves onto paper or cardboard and then paint over them to capture the interesting outlines of the leaves. Recycled cardboard is a great environmentally material to use instead of paper. Simply cut out panels from old cardboard boxes and packaging.
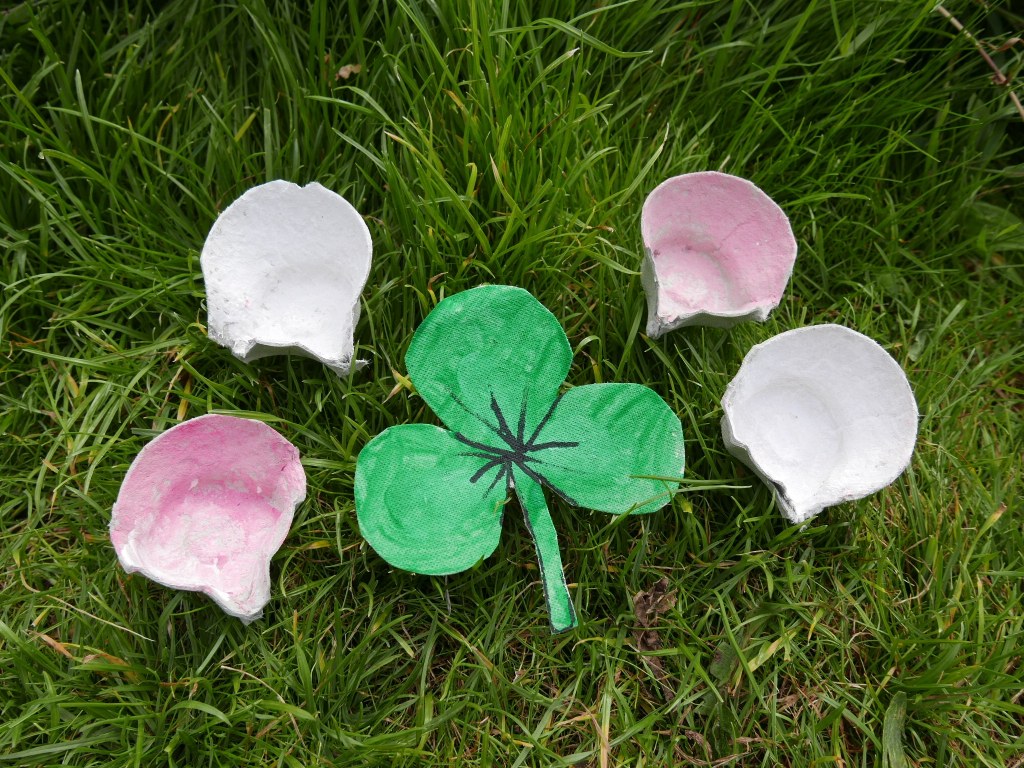
6. Egg carton clover
We hate to waste anything and recycling and reusing materials is one of many small things we can all do to help the environment. So instead of chucking used egg cartons we like to find ways to use them in crafts and activities. You can cut easily make egg carton clover flowers by cutting the bottoms of egg cartons into simple clover flower shapes. And you can cut out the lids to form simple clover leaf shapes. Then you can add colour to your flowers and leaves using paint, pens or collaged materials.
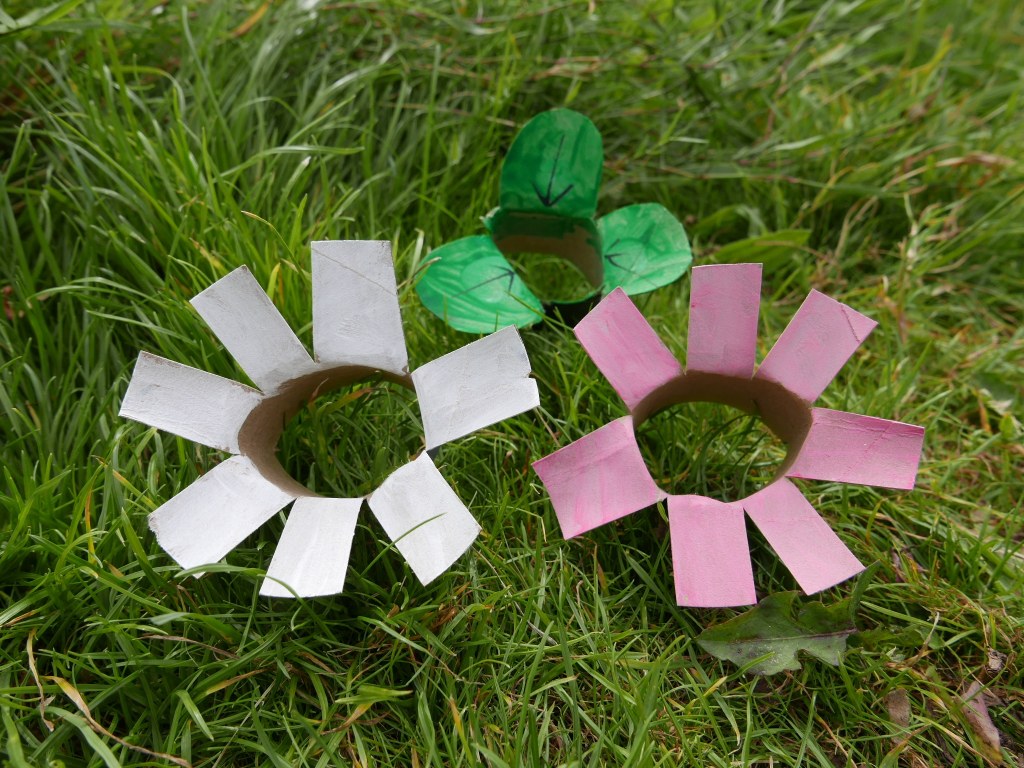
7. Cardboard tube clover
To make cardboard tube clover flowers simply cut an old cardboard kitchen roll tube in half (or if you are using an old wrapping paper tube cut it into into quarters). Next you need to cut an even pattern of slits into one of the ends of the tube. Finally bend and fan out the strips to form the petals of your clover flower shapes. You can then dip your clover flower shapes into paint for printing onto paper or card. Or even just decorate and paint the tubes themselves to create pretty flowers for decorations or use in pretend play.
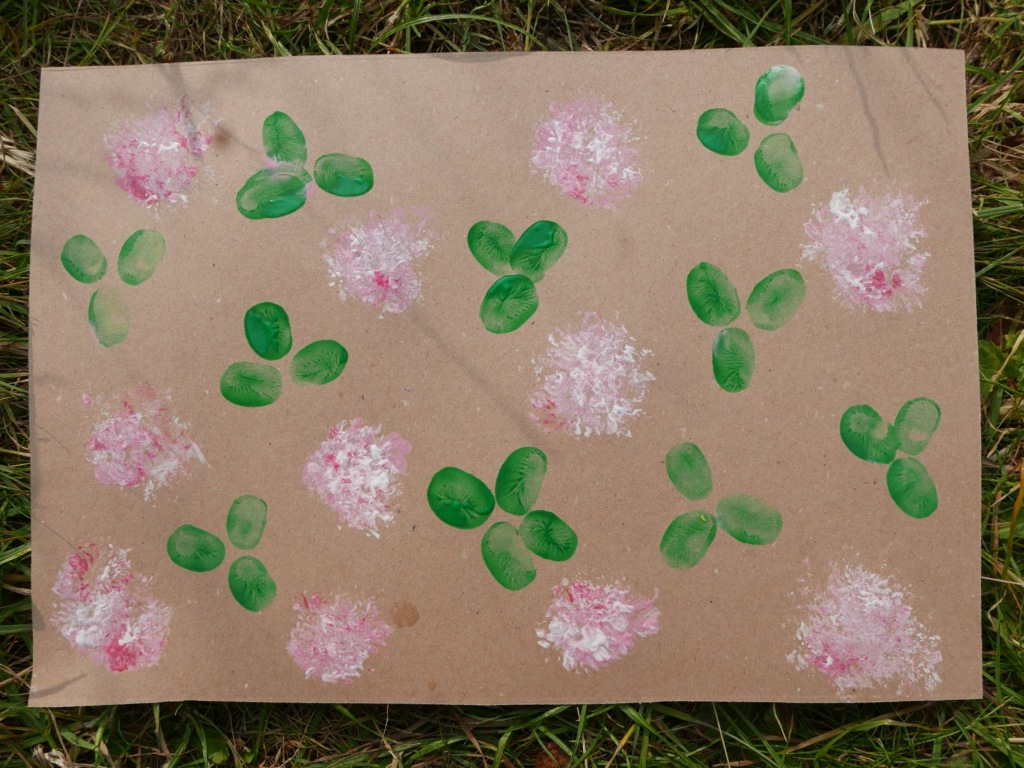
8. Clover finger and tissue prints
Finger printing is a simple activity for children of ages, all you need to do is dip your finger in green paint and then use it to print the three leaves of the clover. You could also print the clover flowers using pink and white finger prints or use scrunched up tissue or use pompoms to print pink and white clover flowers. You could use your prints to make patterns, pictures, cards or even recyclable wrapping paper.
To make sunflower seed potato prints simply cut a potato in half lengthways and then cut some stripes into the halves. Finally press your potato half into black paint and print it onto white paper (or dip it in white to print onto black paper>). To make sunflower leaf prints cut one end of a potato half into a triangular point. Then carefully cut a line down the centre of the potato half with two or three lines branching out on either. Then dip the potato in green paint and print it onto the thsurface.
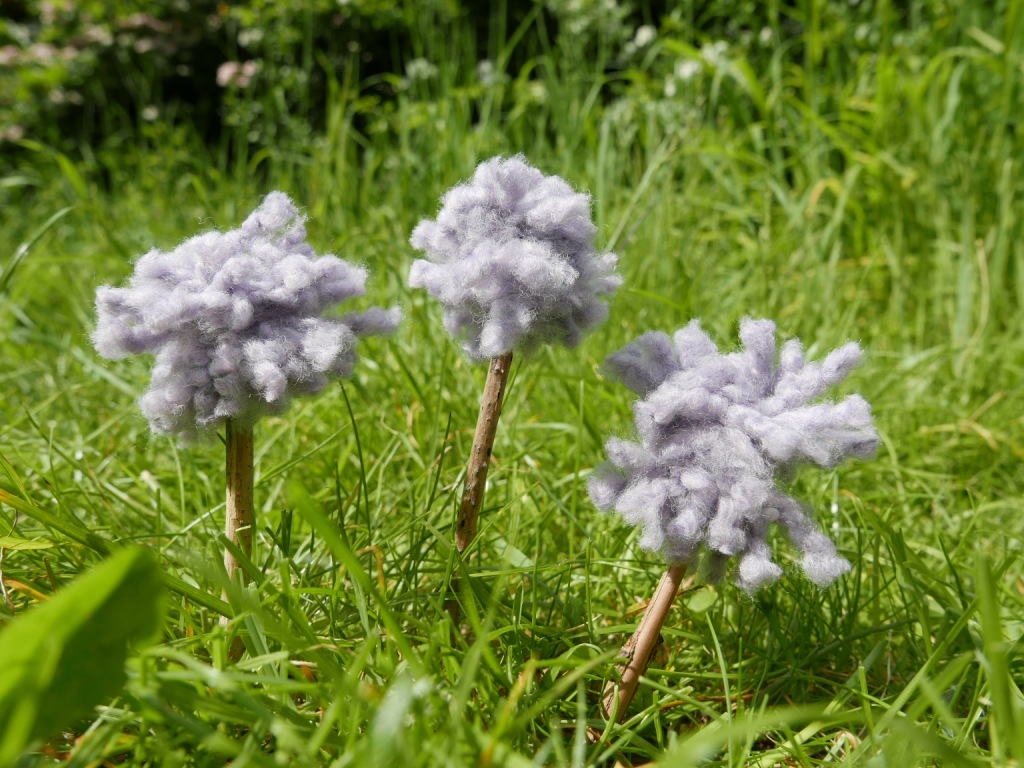
9. Pom pom clover flowers
All you need to make pom pom clover flowers are white or pink wool, scissors a fork and a stick. Firstly wrap your wool around the prongs of a fork about 20 times. Carefully slide the wrapped wool off the fork and tie another piece of wool round the middle to form a woolen bow. Next cut either sides of the wool bow open and fan the wool out to create the pom pom shape. Finally push a stick through the pom pom to give your clovers a stem.
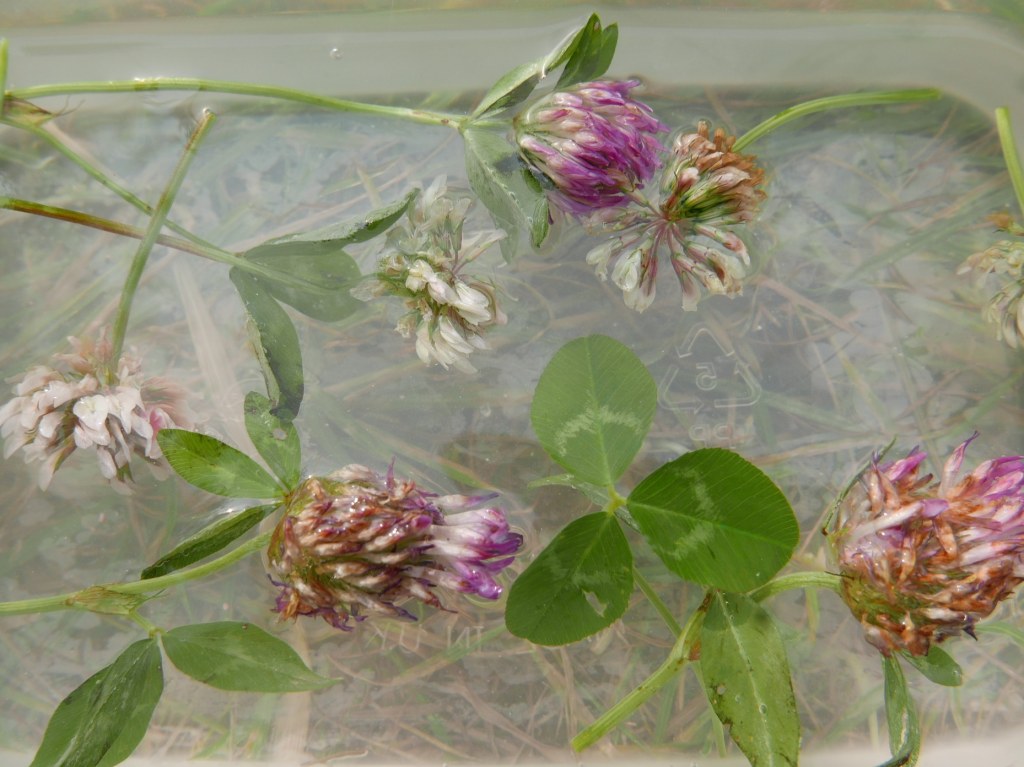
10. Sensory water play
Water play is a great sensory activity for children of all ages. Daisy flowers and leaves scattered in the water help to add extra scent, colour and texture for the children to enjoy and explore. Lavender and mint are also wonderfully calming herbs to use, but you could also use uplifting fresh citrus fruit slices as well.
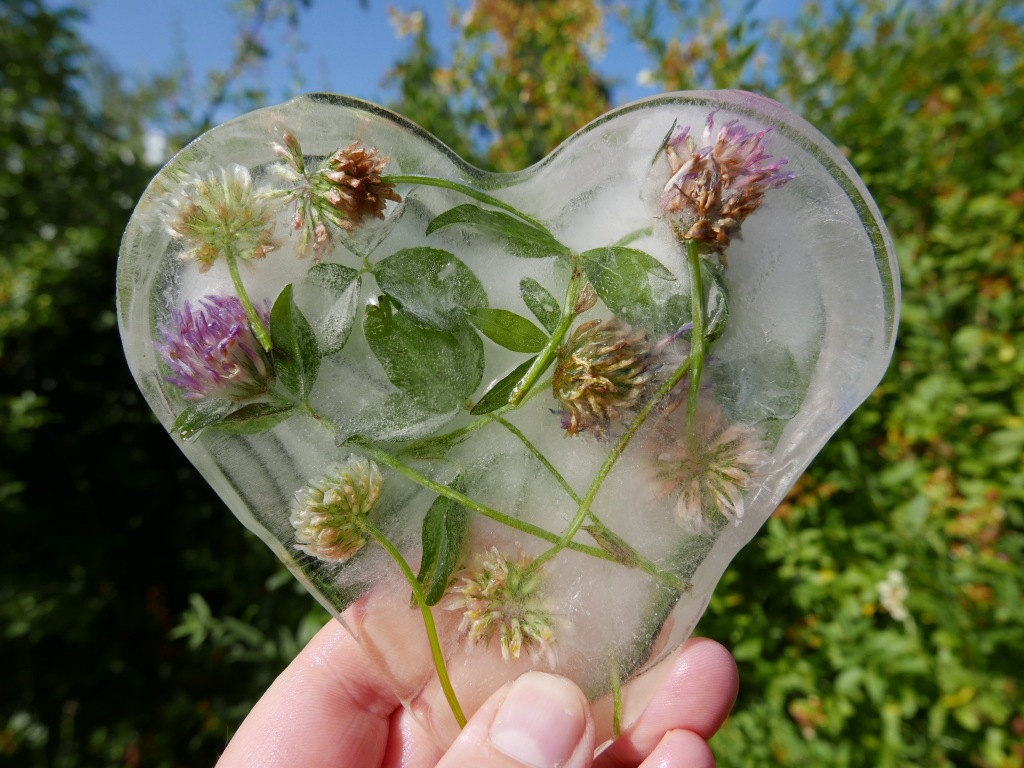
11. Sensory ice play
After you finish you can recycle the water and materials by pouring them into different shaped containers to freeze and replay with as ice blocks another day. It’s fascinating to see the objects trapped in the ice. You can hold the ice up to the light or experiment melting or breaking the ice in different ways using salt and warm water. Or the children can have fun stacking and playing with the ice to make towers.
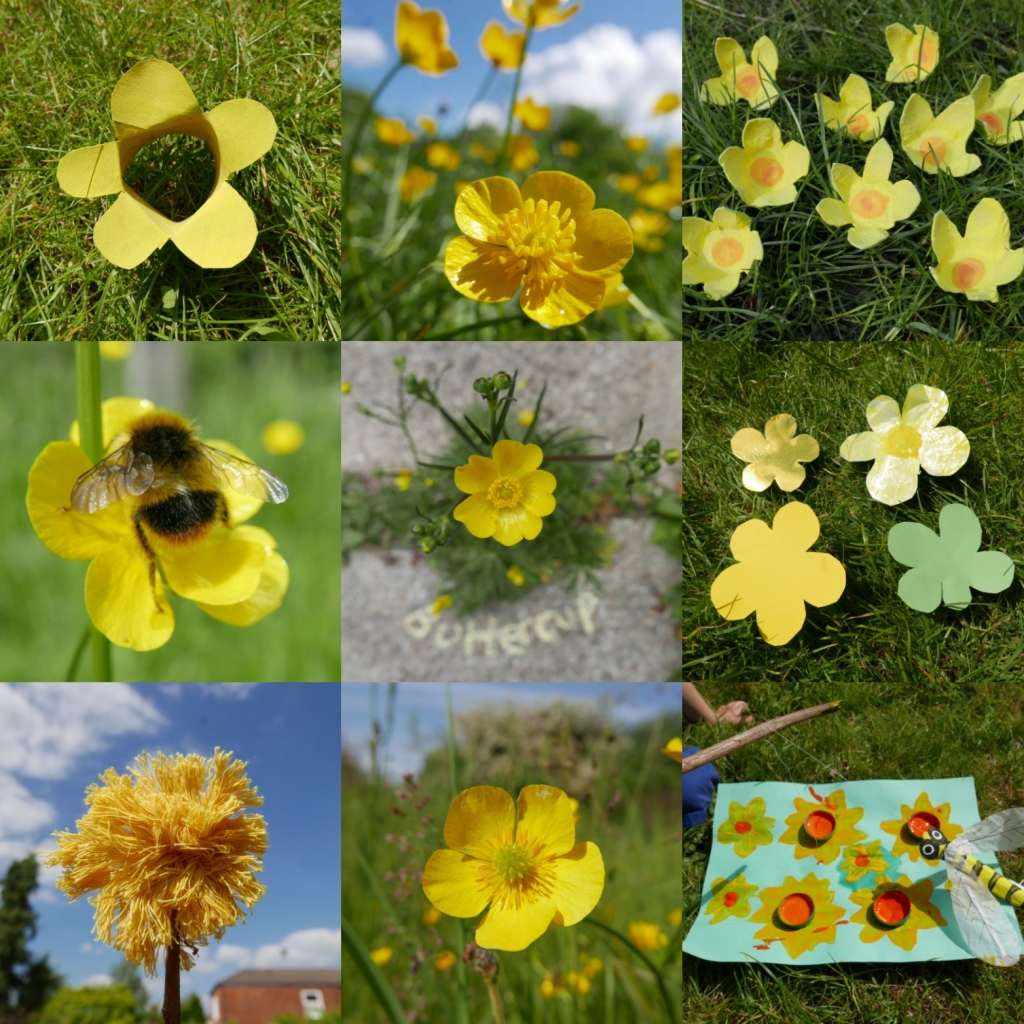
12. Play a pollination game
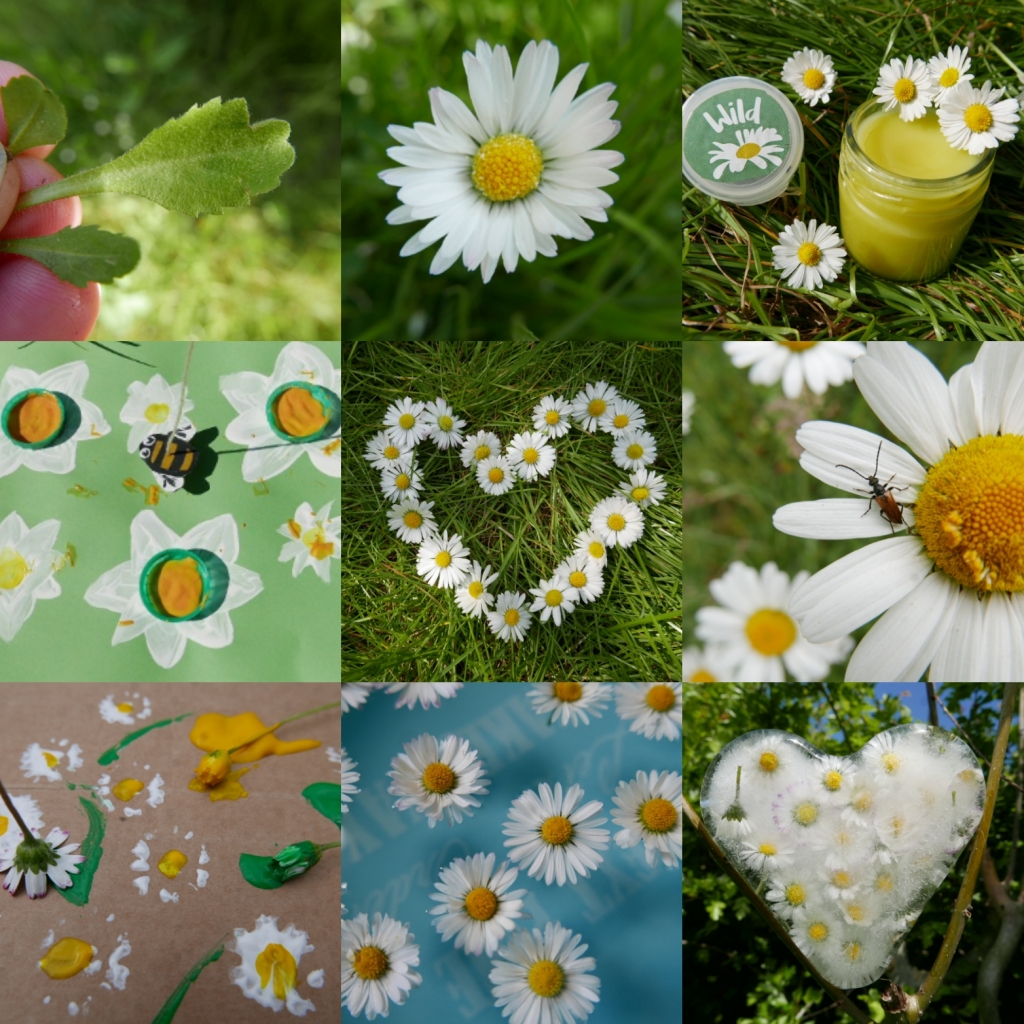
You can learn how insects pollinate clovers and other flowering plants by playing a simple pollination game. All you need for this is a large sheet of paper or cardboard, recycled milk bottle tops, a stick, string, glue and paint. First you need to paint clover flowers across the surface of your picture. A few of them need to be big enough to place the milk bottle tops in the centre.

Paint the smaller flowers with yellow centres and then glue a few milk bottle tops onto the larger flowers. Next draw, paint or cut out a picture of a pollinating insect like a bee, butterfly or hoverfly and glue a small scrunched up piece of tissue onto the bottom so it can pick up the pollen and transfer to the other flowers. Then glue or tie your pollinator to some string which you then need to tie to the stick. Once the paint and glue has dried on the picture and bee you can then fill the milk bottles tops with orange paint to make your pollen.

Now you can have fun dipping the bottom of your bee into the ‘pollen’ paint and landing it on the other flowers to pollinate them. This is a great opportunity to talk to children about the important role bees and other pollinating insects play in the life cycle of plant
- For day 28 of 30 days wild I went on a ‘From weeds to wonder’ creative walk at a local nature reserve looking for wildflowers and minibeasts to draw and observe. We also enjoyed learning about clover with some art and craft activity ideas.
If you like this you might like to try:


2 thoughts on “12 Clover activity ideas”