
All of life on Earth depends on the sun and the energy it produces for survival. The suns energy creates our heat and light, drives our weather systems and the water cycle as well as being vital for photosynthesis and the oxygen we breathe.

The Sun is made mostly made up of hydrogen (about 90%) and helium (about 8%) with traces of other gases and chemicals. The hydrogen atoms in the sun are constantly fusing together in a process called nuclear fusion to create helium. This nuclear fusion and other nuclear reactions in the sun create the energy which radiates from the sun in the form of heat, light and solar wind.

Solar winds are streams of charged particles that are released from the suns outer atmosphere (the corona). They protect the Earth from other harmful high energy space particles as well as creating the beautiful light auroras at the north and south poles poles but they can also cause space weather storms that damage satellites and communication systems.

The heat from the sun warms all the land and water on earth, creating the perfect environment for life in all forms to survive and thrive. The suns heat also plays an important role in the water cycle by heating water to turn it into the vapor that forms clouds and then condenses and falls to earth again as rain. Without the heat from the sun our oceans and would freeze and almost all plant and animal life would cease to exist on a frozen and inhospitable surface.
The light from the sun is also vital part of photosynthesis. Photosynthesis is the metabolic process plants, algae and also some types of bacteria use to convert the energy from sunlight into oxygen and food in the form of glucose. Almost all the animals on earth rely on the oxygen and food that plants create.
You can learn more about sun science by enjoying some of the simple sun science, sensory and craft activities below.
1. Demonstrate day and night
A simple and easy experiment you can use to demonstrate night and day using just a torch and a ball or a globe. The ball is the Earth and the torch is the Sun. You can see when you shine the torch on the ball that one side lights up and the other is in shadow or darkness. Similarly when one side of Earth is facing the sun it is bathed in heat and light creating daytime and the other side is cold and dark forming night time. As you turn the ball the part of the earth facing the sun moves turning from day to night and night to day. It takes the Earth 24 hours to rotate which is why we have 24 hours in a day.

2. Experiment with reflecting and refracting sunlight
You can demonstrate and explore the way light travels by using reflective surfaces or water to reflect or refract sunlight in different ways. Light travels in straight lines so when a beam of light hits a mirror it will reflect of the surface at the same angle it entered. You can experiment by angling a mirror in sunlight to reflect light across different surfaces. If you are using paper or carboard you could draw and record the angles of the light beams in relation to the angles of the mirror.

You can use a glass full of water placed on paper to both reflect and refract sunlight. As the light travels from air to glass to water it moves from a less dense substance through two much denser ones. This changes the speed and angle of the light refracting and reflecting at the same time. You can see the light has now been scattered into lots of little patterns of beams and rays of light on the paper.
3. Make a rainbow out of light
Sunlight which appears to us mostly as white light is actually made up of a spectrum of different colours. You can split sunlight into a rainbow of colours by shining sunlight through the bottom of a glass of water or more ideally a prism. When sunlight traveling through air hits the surfaces of the water and glass it slows down and changes direction, this is called refraction and it happens because the water and glass is denser than air so light can’t travel as quickly through it. As the different colours have different wavelengths they change speed and direction at slightly different rates splitting them into a rainbow of colours.

The colours we see in a rainbow are ordered from longest wavelength of visible light to the shortest wavelength of visible light. The Red is first in a rainbow as it has the longest wavelength of visible light at about 650 nanometers, then comes orange, yellow, green and blue followed by violet which has the shortest wavelength of visible light at about 400 nanometers.
4. Make a simple solar light
You can use light refraction and reflection to create a simple solar light using just water, a bottle and a box. Simply cut a hole wide enough to sit the bottom of the bottle in without slipping (you can always use tape to hold it in place if the hole turns out to be too big). Cut a small eye hole in the side of the box so you look in to see the solar lightbulb in action. Then fill the bottle with water and place it in sunlight. The light from the sun if scattered by the water in the bottle lighting up the whole box with a luminesce glow. If you remove then remove the bottle you can see in contrast that the single focused ray of light that comes through the hole only lights up a small patch of the floor. Many areas in the world that don’t have access to electricity use solar lights just like this as a cheap and easy way to light their homes.

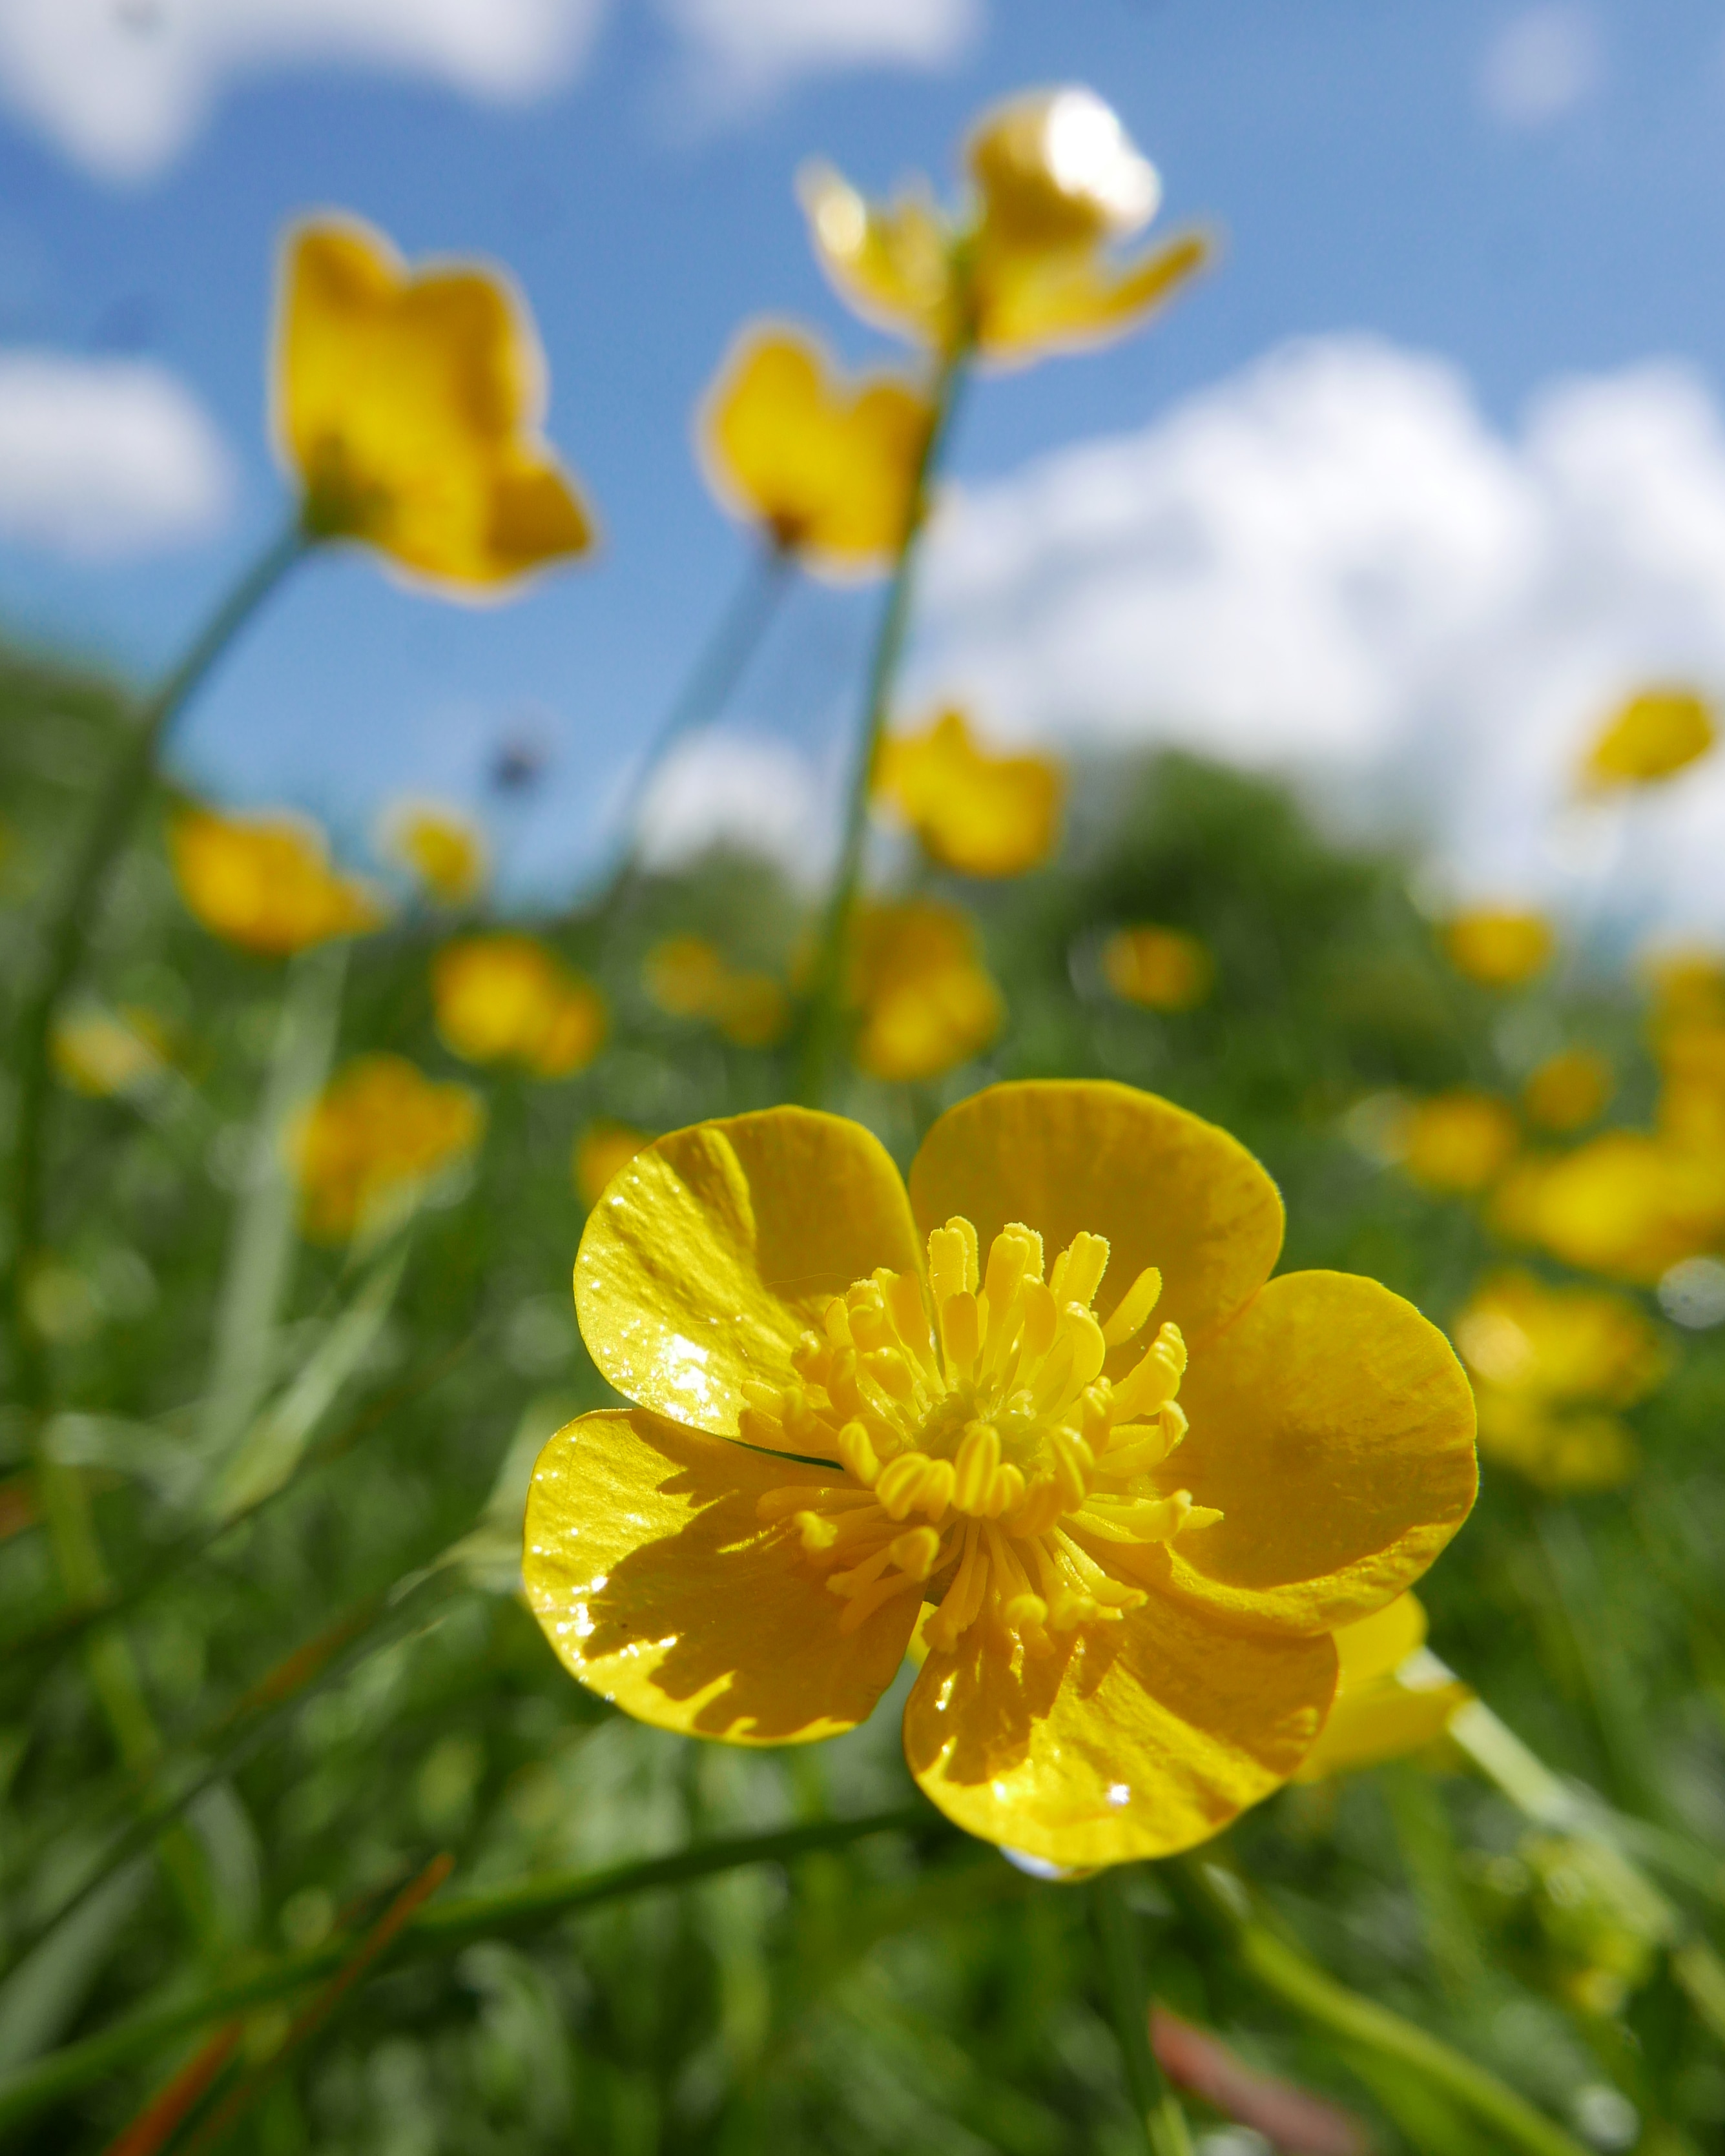
5. Learn about Heliotropic plants
Some plants like buttercups and young sunflowers are Heliotropic which means they track and move to follow the suns movement in the sky. This allows them to make the most of the suns energy throughout the day and in colder weather. Buttercups can also use the suns energy to warm themselves. They do this by cleverly curling their five reflective petals up into a dish shape which reflects the heat from the sun towards the flowers core warming up the reproductive organs, pollen and stamen of the flower. You can observe this movement anytime you are on a nature walk during the spring or summer, simply look for flowers like buttercups, daisies, poppies, sunflowers or tulips. You should be able to clearly see that all the flower heads are facing in the same direction turning their petals towards the sun.

6. Grow sunflowers
Young sunflowers are also heliotropic, however unlike other plants it is the stems and leaves that track the movement of the sun rather than the fully formed flower heads. You can observe heliotropism in sunflowers by growing them from seed. Simply place the plant pot by a window and watch as the young shoots of the plant reach toward the sunlight coming from the window as they grow. Then turn the plant pot around so the little plants shoots are now facing away from the window, they will then change direction growing and leaning back the other way towards the window and sunlight again.

7. Make a simple sun dial
Sundials have been used throughout history to tell time by tracking the movement of the sun throughout the day. The earliest know sundial was made in Egypt in 1500 BC and little of the design has changed since then as it is such a simple and effective measurement device. A sundial normally consist of a flat disc which forms the clock face and a gnomon which is the name of the stick or tringle used in the centre of the dial to cast the shadow across the clock face.

The shadow from the gnomon creates a line across the dial like a hands on a clock pointing to the time on the clock face. As the earth rotates throughout the day the suns position in the sky also moves and direction of the light it casts moves and changes with it. The shadow of the gnomon then slowly moves round in a circular motion across the clock face throughout the day following the sun and fairly accurately telling the time.

You can easily make your own sundial using a stick wedged between paving slabs and some chalk or alternatively a circle of cardboard with a stick or thin tube stuck through or onto the center of the cardboard disc as the gnomon. As the sun moves throughout the day you can use your chalk to mark on the position of the shadow cast by the gnonom at half hour and hourly intervals. Don’t forget to also write down the time next to each line By the end of the day you can see how much of the day you have tracked and recorded with your sundial.

8. Track your shadow
You can also use your own shadow to track the movement of the sun. A shadow is a dark area, shape or silhouette that is created when an object or body come between rays of sunlight or light in general. As the Earth rotates the direction and the angle of the rays of the sun hitting the earths surface changes. This also changes the direction and angle of your shadow also changes. You can observe this by using a piece of chalk and a flat outdoor surface like a pavement or patio. Simply mark an X on the floor and then step onto the X so someone else can draw a chalk outline round the shadow you have produced. Throughout the day at regular intervals go back to the same X spot and redraw the shadow outline so you can see how it changes and moves over time.

9. Make shadow characters
You could also use your shadows to make and create some fun and interesting characters. This is a great activity on a beach as you can simply use a stick or your finger to draw faces in the sand and then stand over them so your shadow falls on to the faces. You could also use chalk on a flat outdoor surface to draw faces and create the same effect.

Or you could found natural objects or paint pebbles to create fun facial features like eyes, ears, mouths, noses and hair for your shadow characters. This is a a great opportunity to talk about emotions and facial features and expressions with children of all ages.

10. Make shadow puppets
Shadow puppets are a fun and great way to stimulate imagination, creativity and communication in children of all ages. You can use anything you like as a shadow puppet, it could be your hands, toys, paper or card cut into shapes or even found natural materials stuck or collaged together to create the silhouettes of animals people or objects. You can then have great fun role playing, story telling and making up your own entertainment.

11. Explore sun damage with sun prints
Sunlight especially UV light can damage materials and surfaces over time. The most obvious example of this is sunburn which is the damage caused by over exposure to UV light on our skin. However sunlight also effects and damages other materials making them brittle, causing them to crack or bleaching or burning them. You can explore and learn about the effects of sunlight on surfaces by making natural sun prints.

For this activity you will need an old picture frame (charity shops are a great place to find these) a coloured sheet of paper and card cut to fit the farm and some different shaped leaves. First carefully take the back off the picture frame and lay it face down, then arrange a series of different shaped leaves across the plastic or glass of the frame, next place the coloured piece of paper on top of the leaves and securely replace the backing. Finally turn over your frame and place it faceup in a sunny dry spot outdoors for the next few days. (don’t forget to bring you frame in at night or when it rains).

After a day or two you should be able to see the effect the sun has had on the leaves drying them out and causing them to brown, fade, shrink and shrivel. The paper will also be fading in the sun to see as its all one colour. After a few days you can open up the picture frame and remove the leaves from the paper to see exactly how much the sunlight has faded the paper. The areas where the leaves were blocking the sunlight will be darker as the sunlight has not affected it. You should end up with some beautiful natural leaf sun prints at the end of this experiment.

12. Make cyanotypes
Cyanotypes are photographic prints created by exposing light reactive chemicals to sunlight to create botanical prints and photographic silhouettes or objects. Just as with the nature prints above cyanotypes work by using sunlight to change the surface of the paper with any objects placed on top of the paper blocking the sunlight so that the paper underneath does not start to react or change.

Throughout history cyanotypes have been used to record botanical specimens and you can easily use them yourselves to capture the beautiful shapes, outlines, silhouettes and patterns you can find in nature. You can find and buy cyanotype or ‘sun print’ paper online and then use it to capture botanical prints very quickly and simple. Sun print paper is normally coated in a layer of a highly light sensitive layer of iron salt solution that reacts very quickly to the light. It is best to collect your natural objects first as well as finding some pebbles or heavy objects or pegs to hold or pin the sun print paper down so it doesn’t blow around on windy days.

Carefully read the instructions for the sun print paper before use and then lay out the natural objects across the surface and leave it exposed to the sun for the time advised in the instructions. Finally remove the objects and set the paper to stop the chemical reaction that you started when you set the paper in the sun. Normally this involves dipping the paper in water but again you need to read the instructions provided for proper advice on this.

You can also buy sun sensitive fabric dye to make sun prints on fabric. You will need to find or buy your own fabric for this (cotton often works best but you can experiment with scrap fabric) and then brush or paint the dye onto the fabric (again carefully read the instructions before use). Then place the fabric out in sunlight with the natural objects placed on top. The beauty of dyes is that you can make your sun prints in a variety of colours and experiment with painting and applying the dye in different ways.

13. Learn how the sun heats the earth
The rays from the sun heat and warm up the earths atmosphere, land and water. You can explore this effect by placing a glass or jam jar of cold water out on a hot day. Throughout the day the heat of the sun will gradually warm the water changing the temperature from cold to warm. Older children can observe and measure this by taking the temperature of the water throughout the experiment and measuring the water level to see if any evaporates. You can also have fun brewing tea using the sun by placing a mint or fruit tea bag in a jam jar filled with fresh drinking water and then leaving it in the sun to warm up and brew. You can also run control experiments and leave a glass of water in the shade or overnight to show that the water does not heat or warm up without the sun.

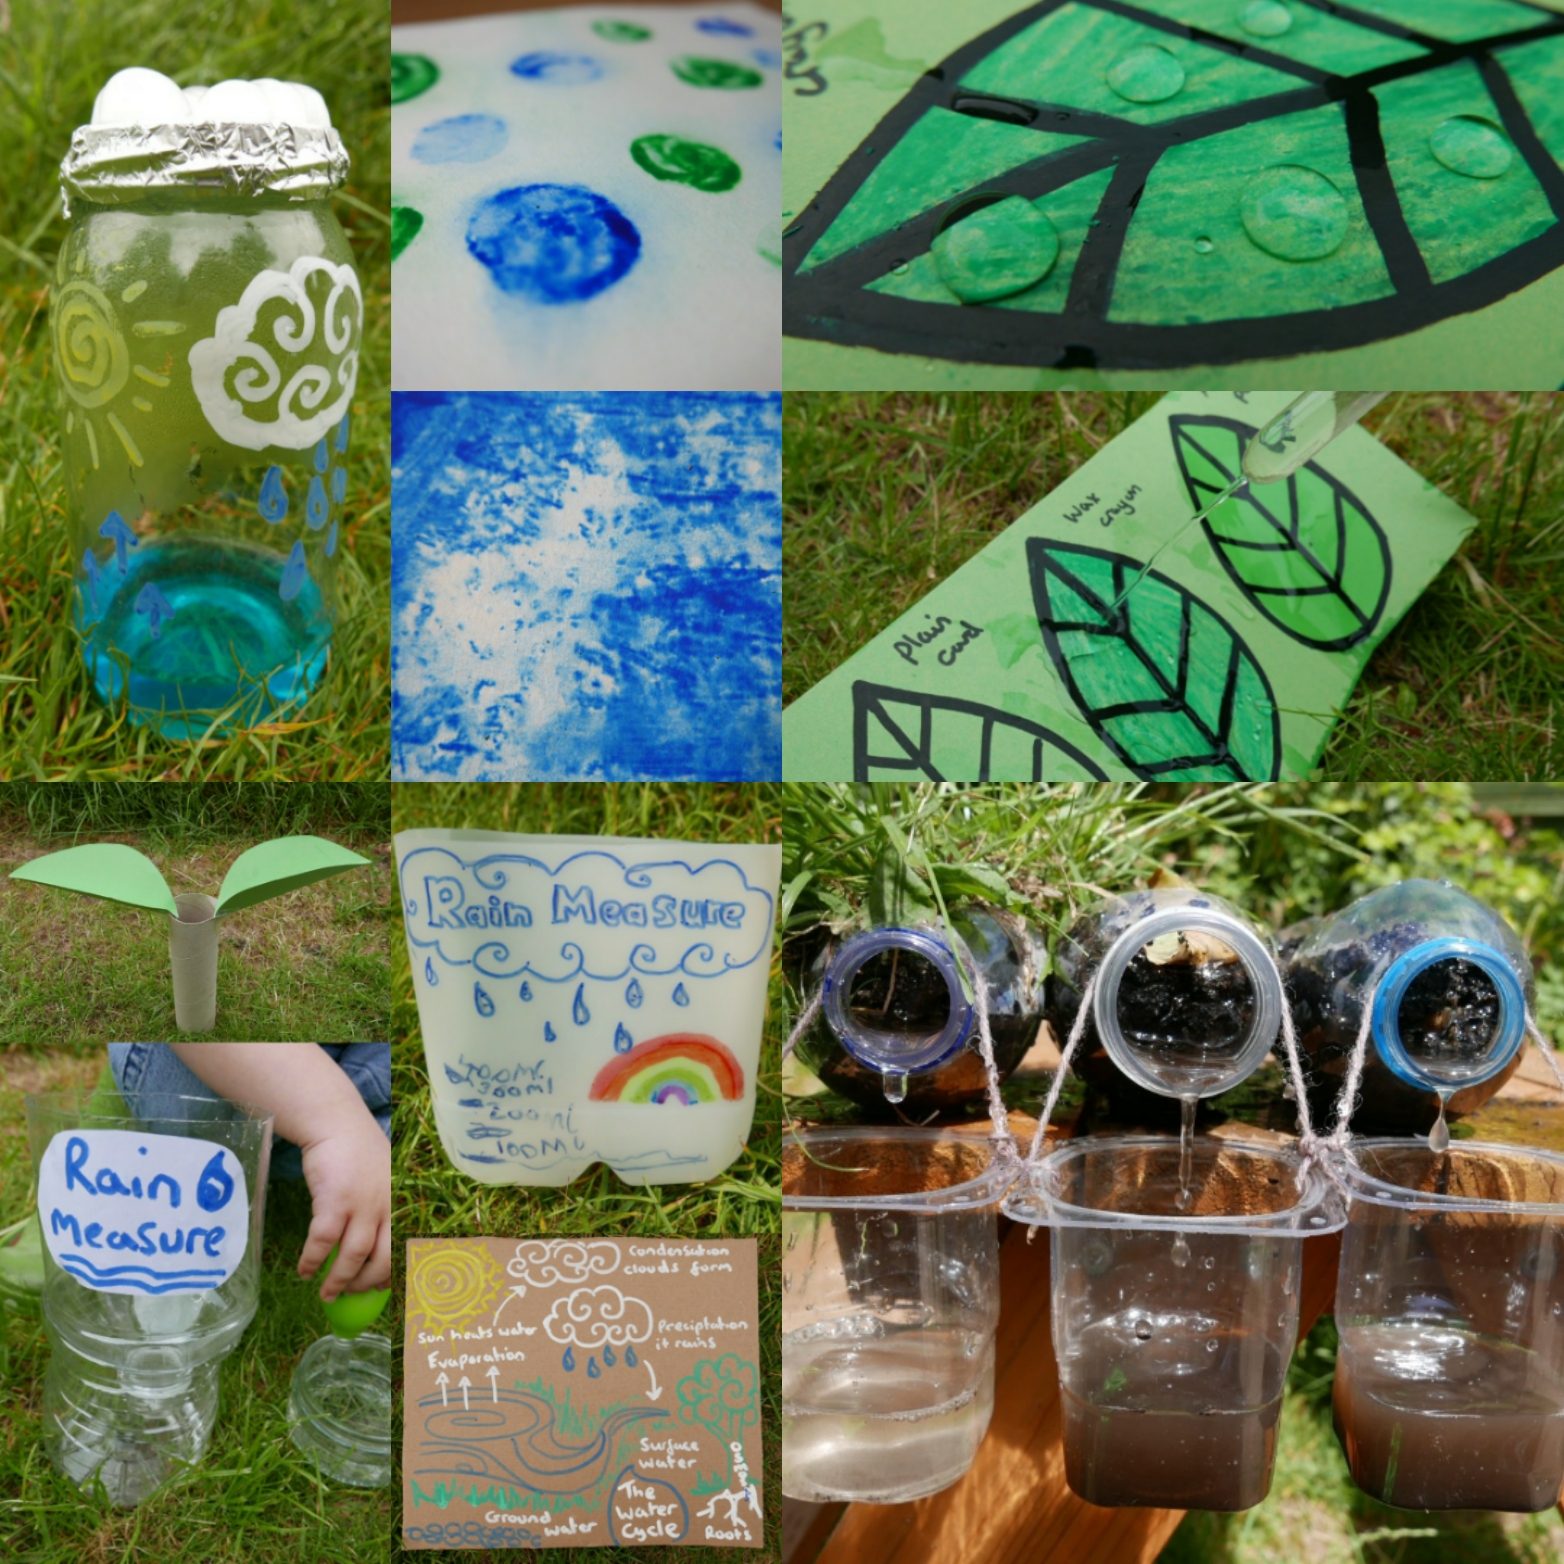
14. Learn about the water cycle
The water cycle is the process by which water travels between the surface of the earth and the atmosphere in continuous cycle. Water can exist in three different states as gas (water vapour), liquid (fluid) or solid (ice). Most of the water on earth is constantly moving and changing state as it passes through various stages of the water cycle. You can easily show the different stages of the water cycle using a simple picture or diagram drawn onto paper or recycled cardboard. There are 4 main stages to the water cycle. Evaporation, Condensation, Precipitation and Collection which are explained in further detail below.

1. Evaporation is when the warmth of the sun heats the water on the land (puddles, lakes, rivers and seas) the water evaporates and turns into water vapour.
2. Condensation is when the water vapour cools and turns back into droplets of water. When this happens in the atmosphere the tiny droplets form clouds.
3. Precipitation is when the water droplets in the clouds fall to the ground (pulled by gravity) in the form or rain, sleet, snow or hail.
4. Collection is when all the water that has fallen to the ground and forms surface water eventually finds its way back into the seas, lakes and rivers. Some of the water will soak into the earth and form ground water which in turn is soaked up by the roots of trees and plants.
15. Demonstrate evaporation, condensation and precipitation
You can also create a simple science experiment to demonstrate the processes of evaporation. condensation and precipitation using just a glass jar, hot water, ice and either foil or clingfilm.

Simply pour hot water into the jam jar (caution this may make the glass too hot to touch) and then cover the top with foil or cling film. place a few ice cubes onto the top of the foil or clingfilm. We also decorated our jar before the experiment and added a few drops of blue food colouring to the water to make it stand out but you don’t need to do this.

Now you can watch and see what happens. As the hot water evaporates and turns into water vapour it rises and meets the cold air and surface caused by the ice cubes. As the air cools the water vapour turns back into water droplets which form on the side and top of the jar as condensation. As more condensation forms the water begins to clump together forming bigger and bigger droplets that eventually become too heavy. Gravity then pulls them down the sides of the jar as precipitation.
16. Make simple suncatchers
We love making suncatchers, they are so pretty and effective. You can easily make them using natural found materials and ice or recycled materials from around the house. We hate to waste anything and recycling and reusing materials is one of many small things we can all do to help the environment. So instead of chucking used packaging we like to find ways to use them in crafts and activities.

To make a plastic suncatcher you will need enough clear flat old plastic packaging cut into two identical shapes. These two pieces will form the front and back of the sun catcher. Next collect as many flattish natural objects as you can find around to put in your suncatcher. You could use leaves, grass, bark or fallen flowers. *But pretty please don’t pick any wild flowers, only collect ones you have grown yourself or fallen ones you find on the floor. Then paint a thin layer of clear glue over each sheet of plastic and then arrange the natural materials on top in any shape, pattern or position you like. When you have finished arranging the natural materials you can hen carefully sandwich the two plastic sheets together pushing them down firmly to hold everything in place. You can also add ribbon, wool or string to them to turn them into hanging decorations or attach them to windows using blue tack.
You can also made suncatchers using old transparent sweet wrappers or coloured plastic film. To make a sweet wrapper suncatcher simply cut a heart shaped hole into a piece of paper or cardboard to create a frame. Then glue or tape your sweet wrappers across the hole. We cut our sweet wrappers into strips to make a rainbow. But you could stick them in any shape order or pattern you like. For example you could make a stained glass window pattern or mosaic picture.
 Or how about making ice suncatchers. Ice is a wonderful material for sensory and exploratory play. Its so easy to make and again you can easily add extra sensory elements like scented herbs, flavored oils, textured natural materials and colours. To make an ice suncatcher you simply pour water and any additional sensory materials into different shaped and sized recycled containers to freeze and play with as ice blocks. This is also a great way to recycle any water leftover from sensory water play.
17. Cardboard tube sun prints
An sun printing idea for little learners. Simply cut an old cardboard kitchen roll tube in half (or if you are using an old wrapping paper tube cut it into into quarters). Next you need to cut an even pattern of slits into one of the ends of the tube. Finally bend and fan out the strips to form the rays of the sun. You can then dip your sun shapes into paint for printing onto paper or card. Or even just decorate and paint the tubes themselves to create sun decorations for use in pretend play.

18. Sun nature art
Nature art (also sometimes called land art) is a wonderful nature activity that encourages creativity and fine motor skills in children of all ages and abilities. All you need is some imagination and natural materials to make some bright and beautiful sun nature art pictures and patterns. Please don’t pick or use wild flowers only use flowers you grow yourself in your garden. (We grow dandelions especially for baking and arts and crafts and we also leave plenty for the bees and other pollinators.)

19. Paper sun craft
You can also make a bright and cheerful sun using yellow cad or paper. Simply cut out a yellow crcle to form the face of the sun as well as 12-16 strips of paper or card to form the suns rays. Loosely fold over each strip and glue the ends together to form a loop and then stick or glue each loop of paper to the back of the sun. Make sure they are evenly spaced so they form the fanned rays of the sun. You can leave your sun plain or give it a smiling face to finish.

20. Potato print suns
Potato printing is a simple activity for children of ages, all you need is a potato cut in half, a bit of inspiration and some paint to get started. How about using the potato prints to make patterns, pictures, cards and even recyclable wrapping paper. It is also fun to experiment printing on different types of surfaces and textures from paper to fabric, foil and wood. And as long as you use non toxic paint you can even print on outdoor surfaces like paths, trees and leaves.

- For day 7 of 30 days wild we enjoyed some sun science, made a solar light, shadow characters, leaf sun prints, drew round dinosaur shadows and our silhouettes and made a sundial.
If you like this you might like to try:
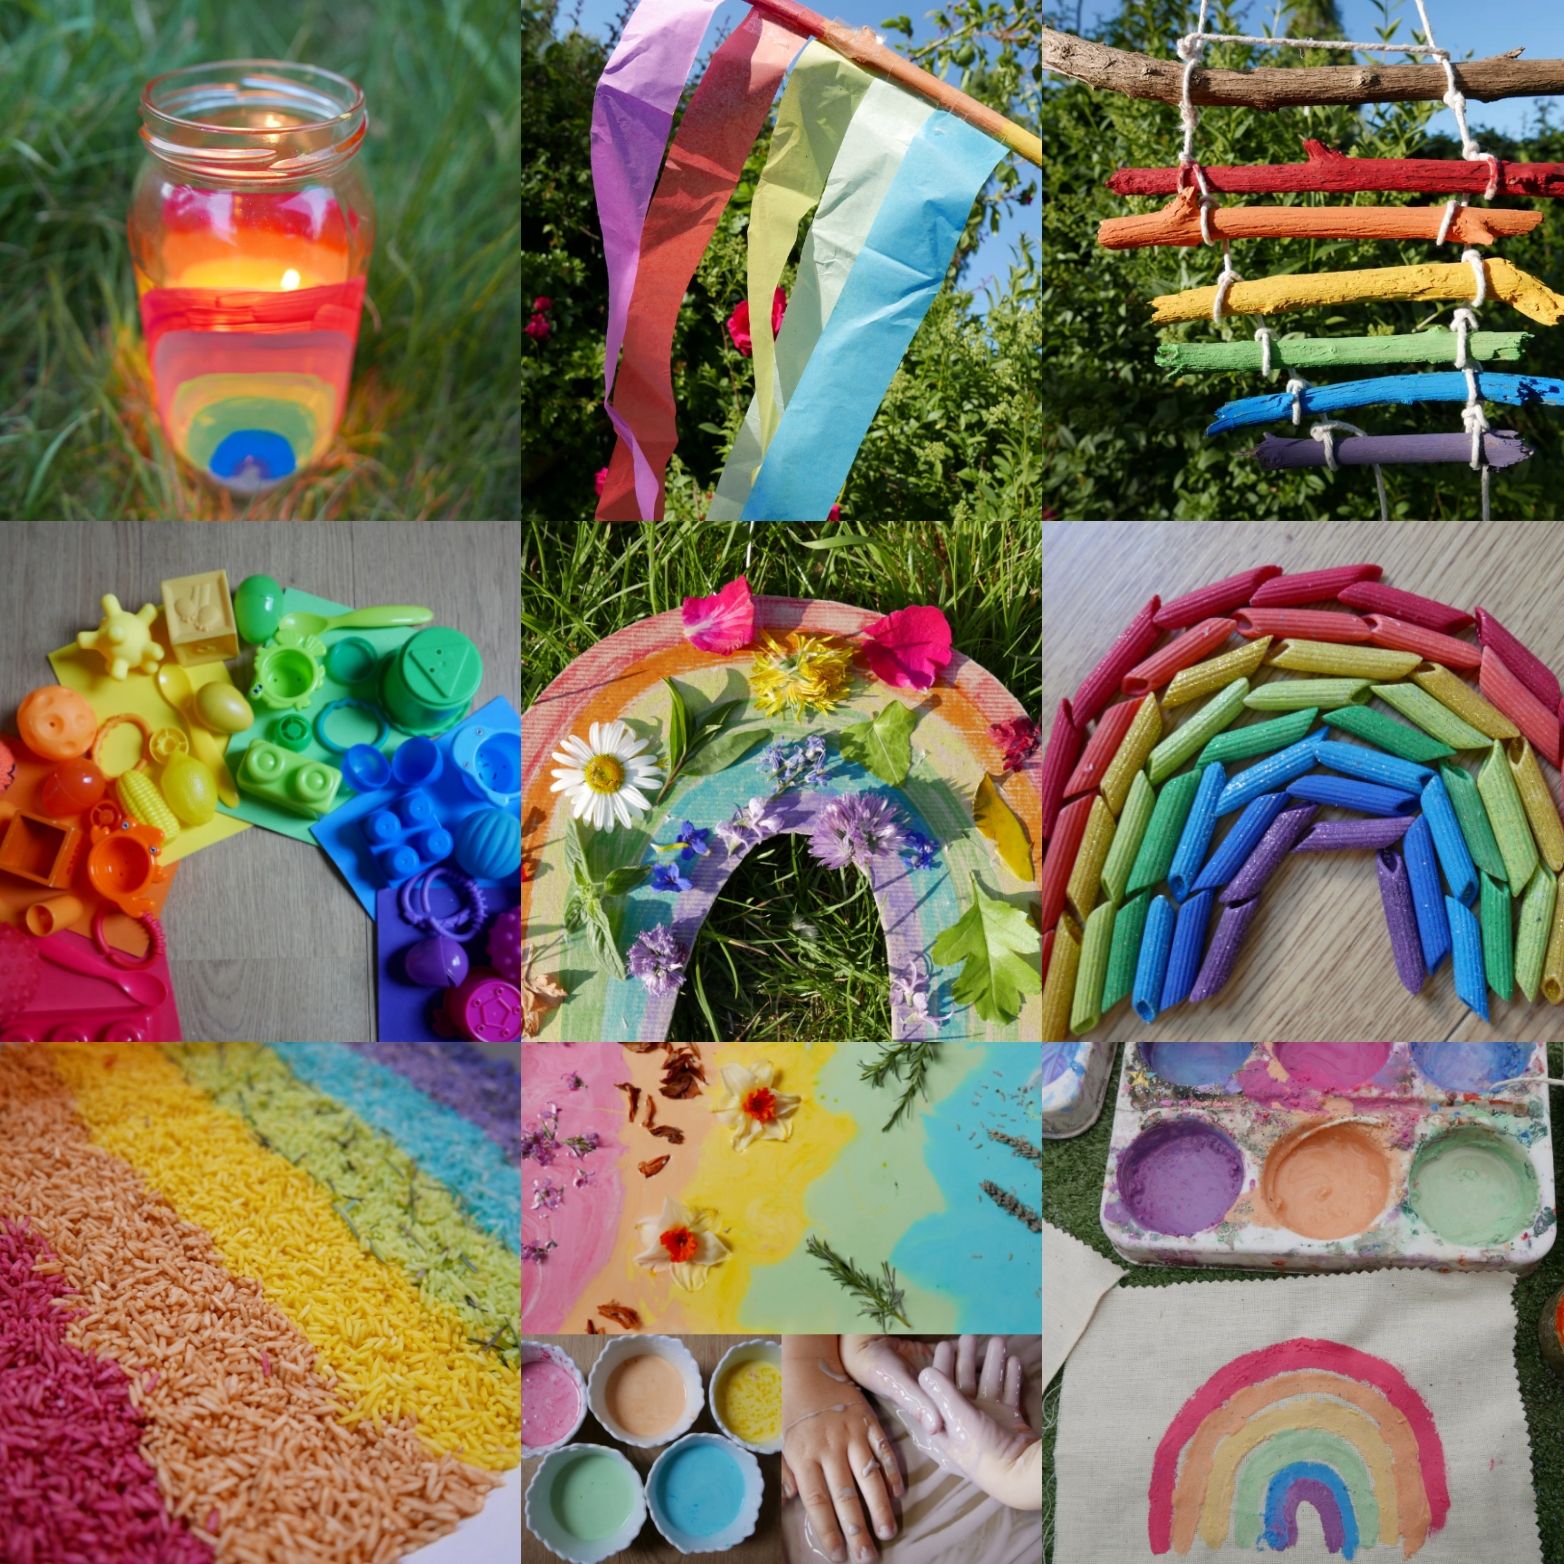
22 Rainbow craft activity ideas
8 Rain Science experiments and activity ideas
14 Seed science activity ideas

14 Soil science and sensory activities


6 thoughts on “20 Sun science activity ideas”