
Seeds are the amazing little vessels that carry the building blocks of life. A single seed usually consists of an undeveloped embryo of a plant alongside a store of food, both of which are protected by a outer casing called the seed coat. Many species of plants have also evolved specialized seed shapes and release mechanisms to help the seeds survive in harsh climates and travel greater distances.

Although the first land plants evolved around 468 million years ago they mostly reproduced just using spores (which are tiny reproductive cells). Seeds are then believed to have then evolved about 365 million years during the Devonian Period. Seeds have several evolutionarily advantages over spores, they get a head start as they already contain a partially formed plant embryo as well as all the food and nourishment they then need to grow quickly in the form of nutrient rich oil, starch or protein. The seeds outer coating also protects them from damage, disease and harsh climates and conditions like heat, cold and drought. Unlike spores which need the exact right conditions to germinate straight away seeds can patiently lay dormant for days, weeks, months, years or even decades waiting for just the right conditions to develop so they can germinate and grow.
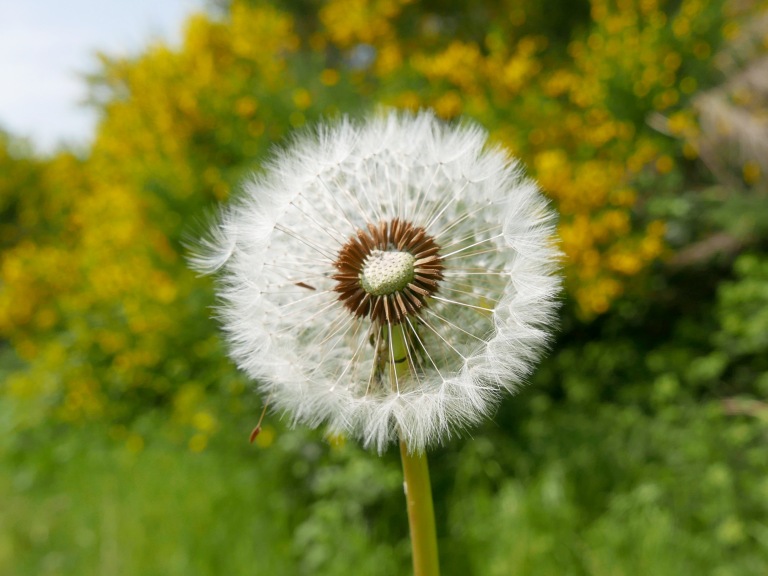
Overtime plants have also evolved a variety of different and specialized techniques to release and spread their seeds as far and as wide as possible giving them a greater chance of survival and success. Some seeds are designed to be carried on the wind like dandelion parasols, others can float on the water like fluffy, light willow seeds, some are released with explosive popping forces like tufted vetch, others hitchhike by sticking or hooking onto passing animals like buttercup seeds, and a vast variety of others rely on being eaten by animals and humans and passed through digestive tracks intact like strawberry, blackberry and rose seeds.

Bats and birds in particular play an important role in dispersing the seeds of plants via their droppings as they travel. This can help to establish plant species across a wider range of terrain as well as restoring populations of plant species in ecosystems that have previously been wiped out or destroyed, for example after forest fires. Many plant species rely on bats and birds for seed distribution especially in New Zealand’s forests where roughly 70% of the plants seeds are distributed by birds.
Many species of plants (like bluebells) also rely on ants to disperse their seeds more widely. The dispersal of seeds by ants is called Myrmecochory as ants will actively collect plant seeds to take back to their nests so their larvae can feed on the nutrient rich seed coatings. Once the ants have removed the outer coating of the seeds they discard them into the surrounding soil where they can then begin to grow.
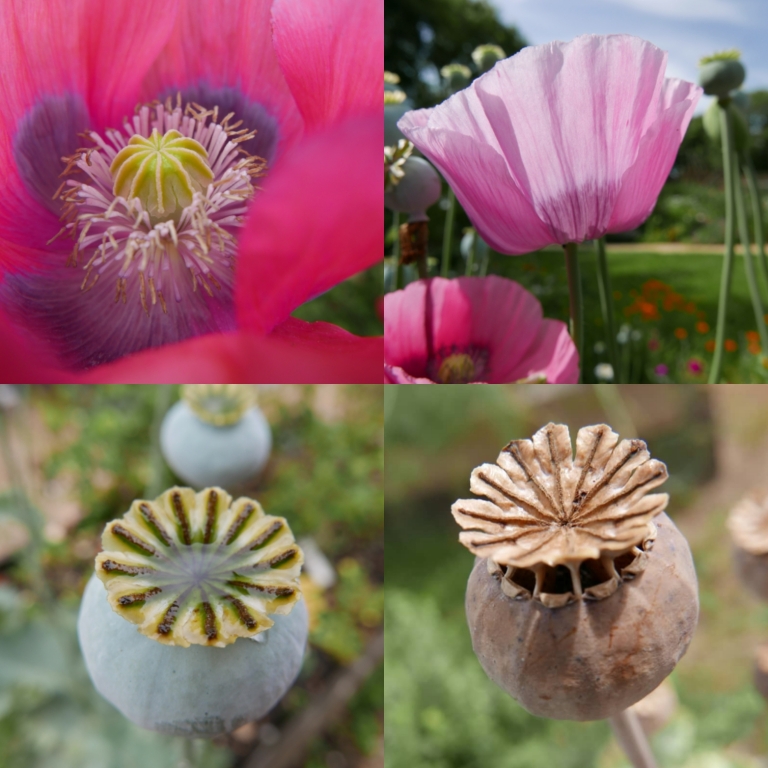
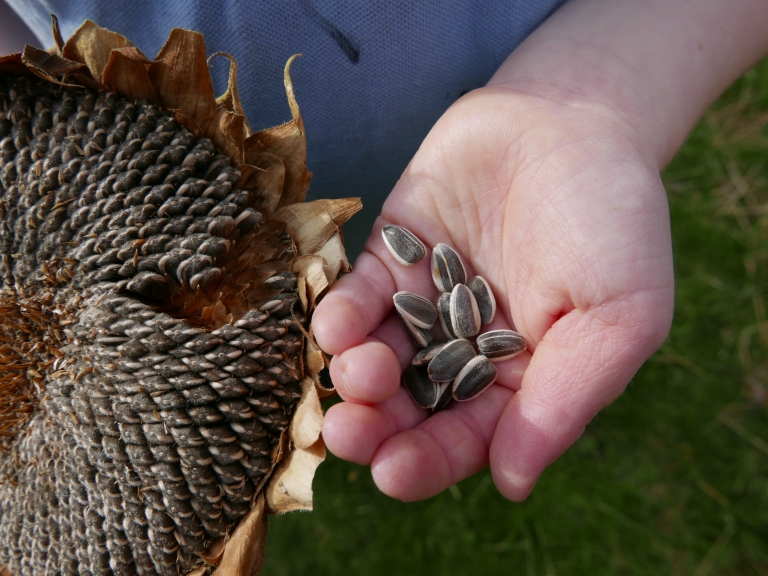
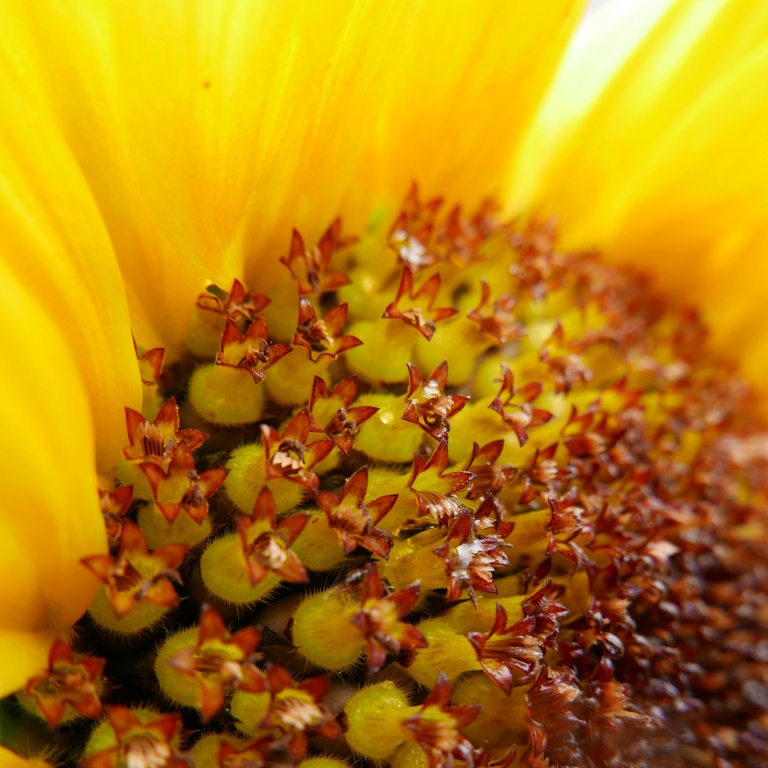
Most plants form seeds by growing flowers that attract pollinators, the flowers contain ovules (structures containing female reproductive cells) which need to be pollinated before they can then develop into the ‘fruits’ that contain seeds. You can an example of this above with a poppy, after the poppy flower is pollinated the petals drop off and the centre of the poppy flower forms the fruiting body which contains the seeds, eventually the fruit dries and holes open in the side allowing the seeds to be blown out by the wind. Fruits come in all shapes and sizes some are smooth, soft and edible others are spikey, hard or dry you might be surprised to find that the hard shell you find on sunflower seeds is actually an example of a dry fruit structure then contains a sunflower seed.
Strawberry’s are a great example to use when talking about the importance of pollinating insects in relation to the food we eat. You can often see bees buzzing back and forth between the strawberry blossoms when they are in full flower. Again once the flowers have been pollinated the petals fall away and the centre begins to form into the fruit. They start of as small, green and hard and as they grow they begin to turn red and soften until they are ripe and ready to pick. Without pollination the flowers would not develop into fruit.

Hundreds of thousands of species of animals worldwide rely on fruit and seeds as a vital source of food. Humans also rely on seeds for food and drink, as well as growing crops, food for farm and domesticated animals, to eat as cereals (lin the form of wheat, maize, rice, barley and oats ect), to extract cotton fiber from to make clothes, for cooking oils, for non food oils (like linseed and tea tree oil), for jewellery, musical instruments, art, crafts and play.
You can find lots of fun and easy educational ideas below for all ages to help you explore and learn more about seeds, plants and pollination. From science and sensory to arts and crafts.
1. Collect seeds on a nature walk
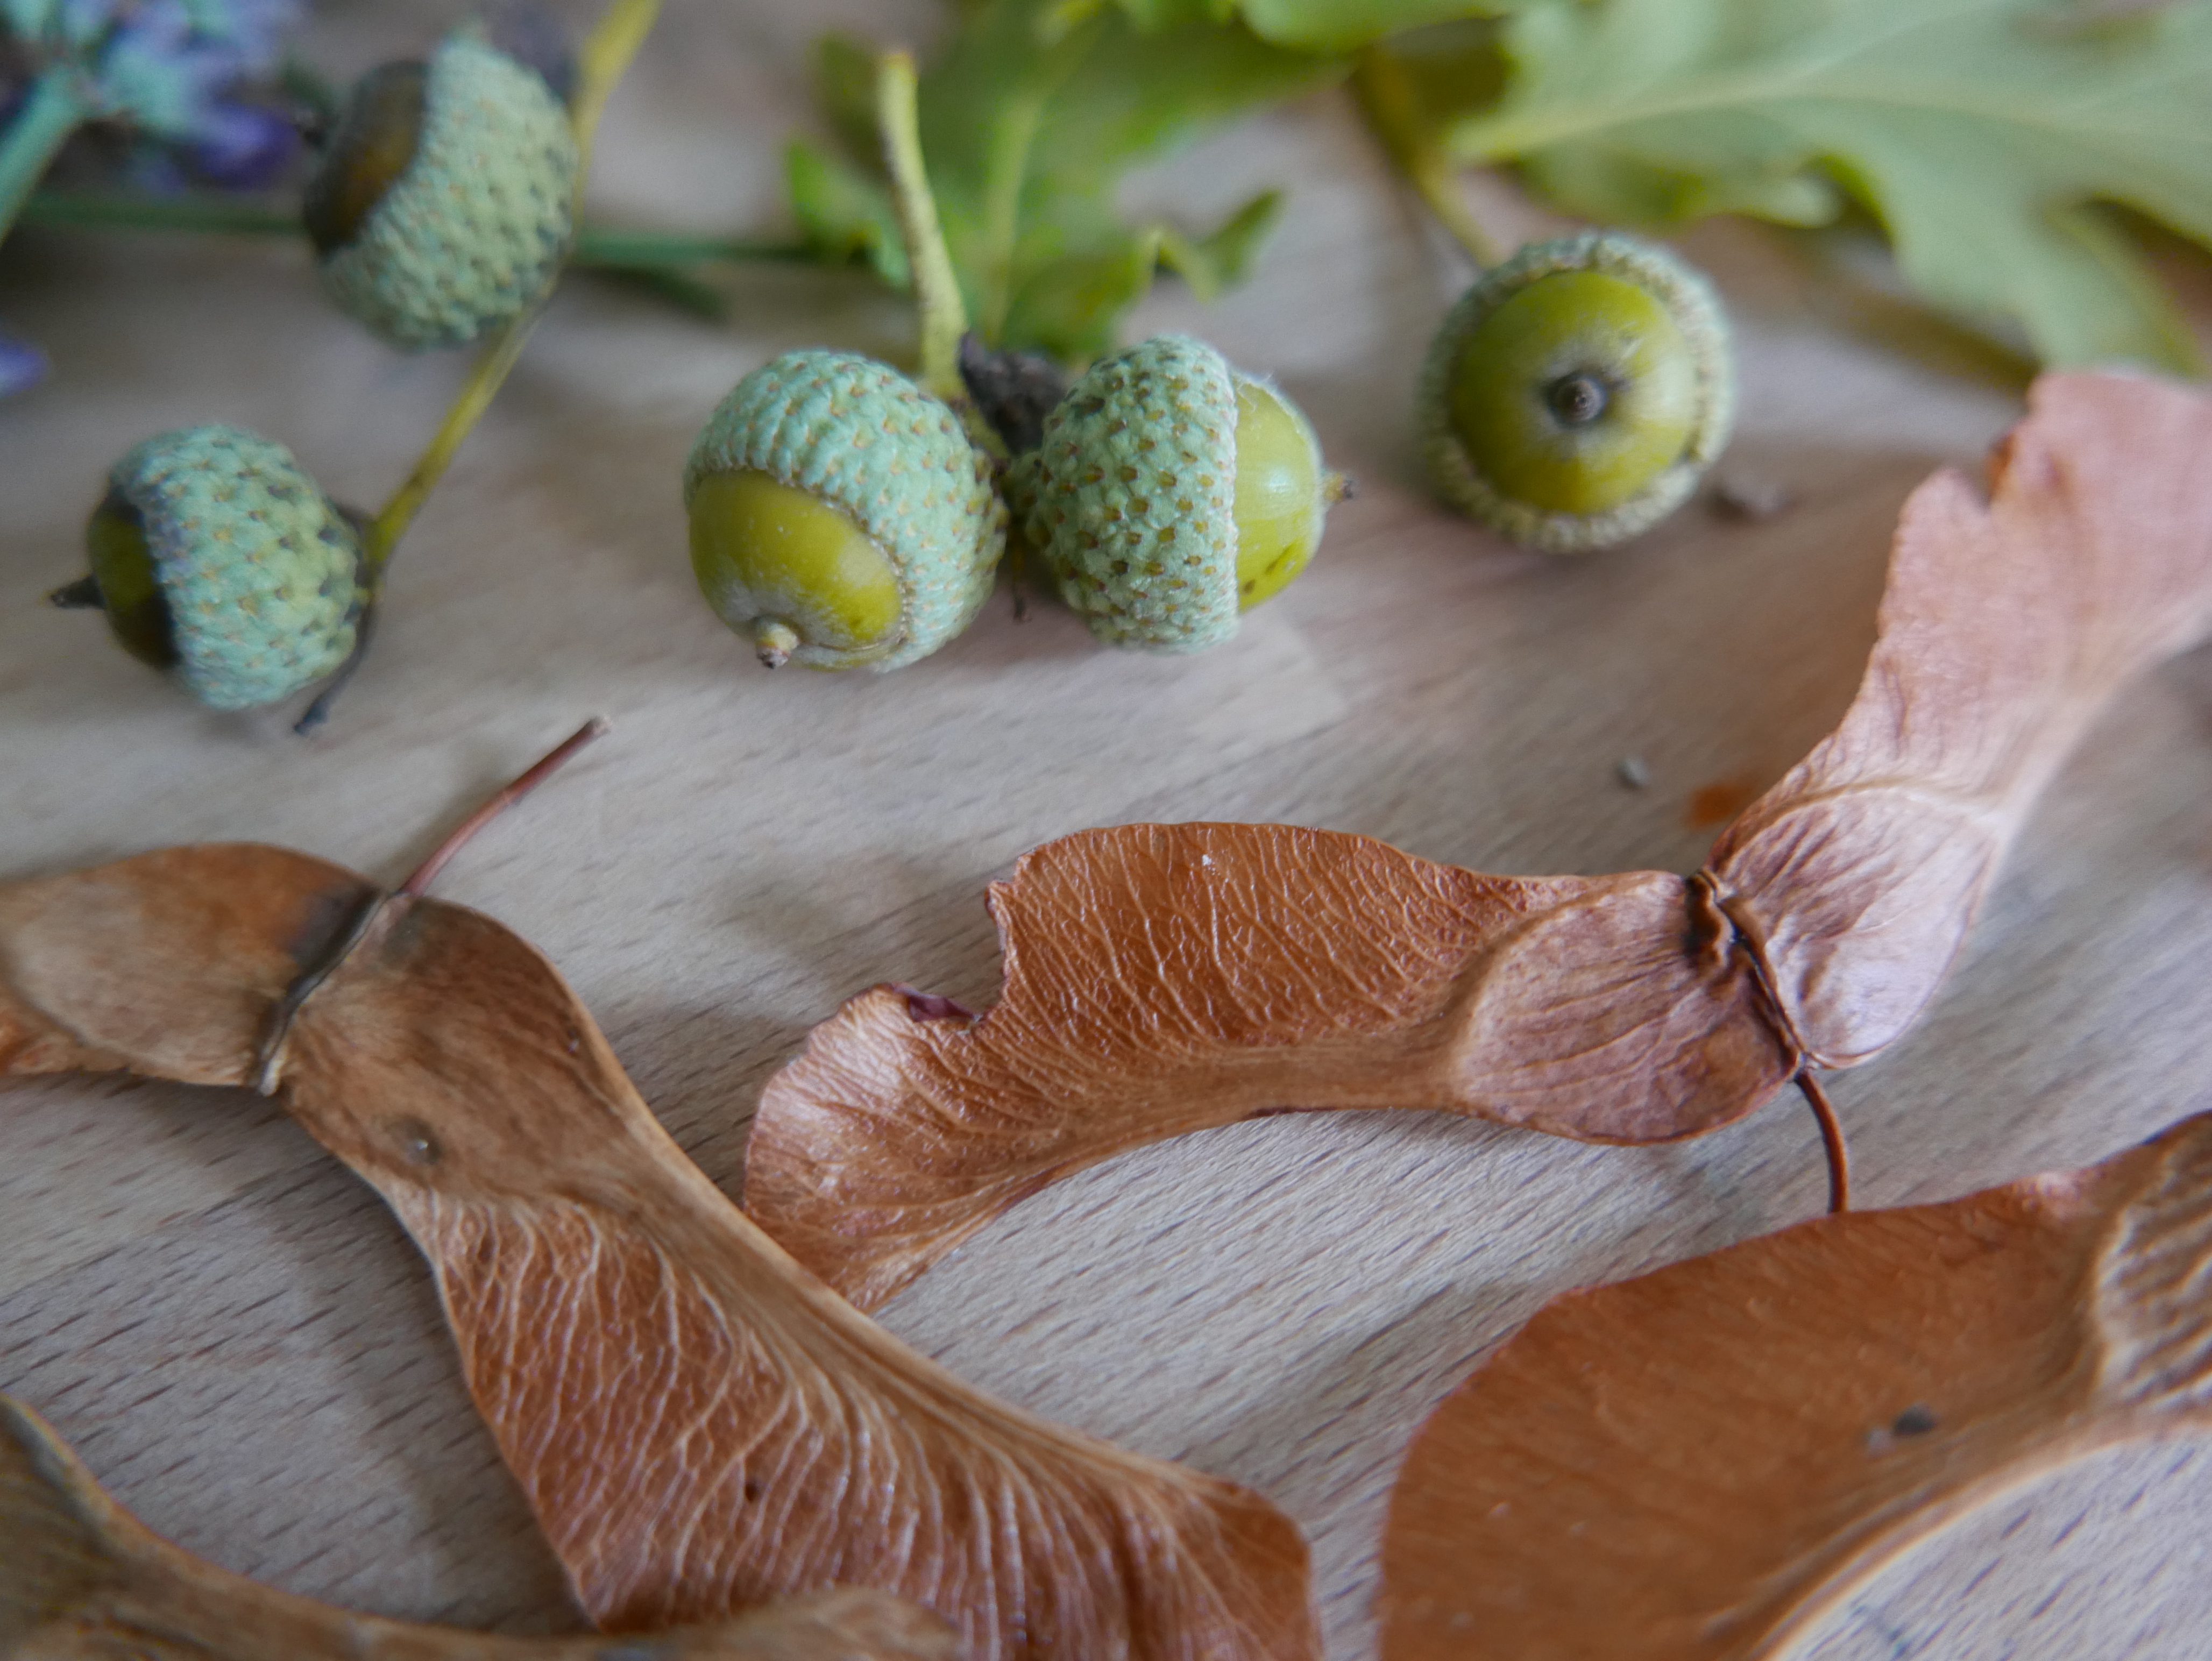
Collecting seeds on a nature walk is a simple and easy activity for all ages. The type and variety of seeds you might find varies at different times of year. But despite the season you should be able to able find some kind of seeds growing or forming (as berries, nuts or fruit) on trees or plants or scattered on the floor or inside dead or dried flowerheads. Compare the different sizes, textures and shapes of the seeds you find and talk about the different types of plants and tress they come from.
2. Learn about seed dispersal
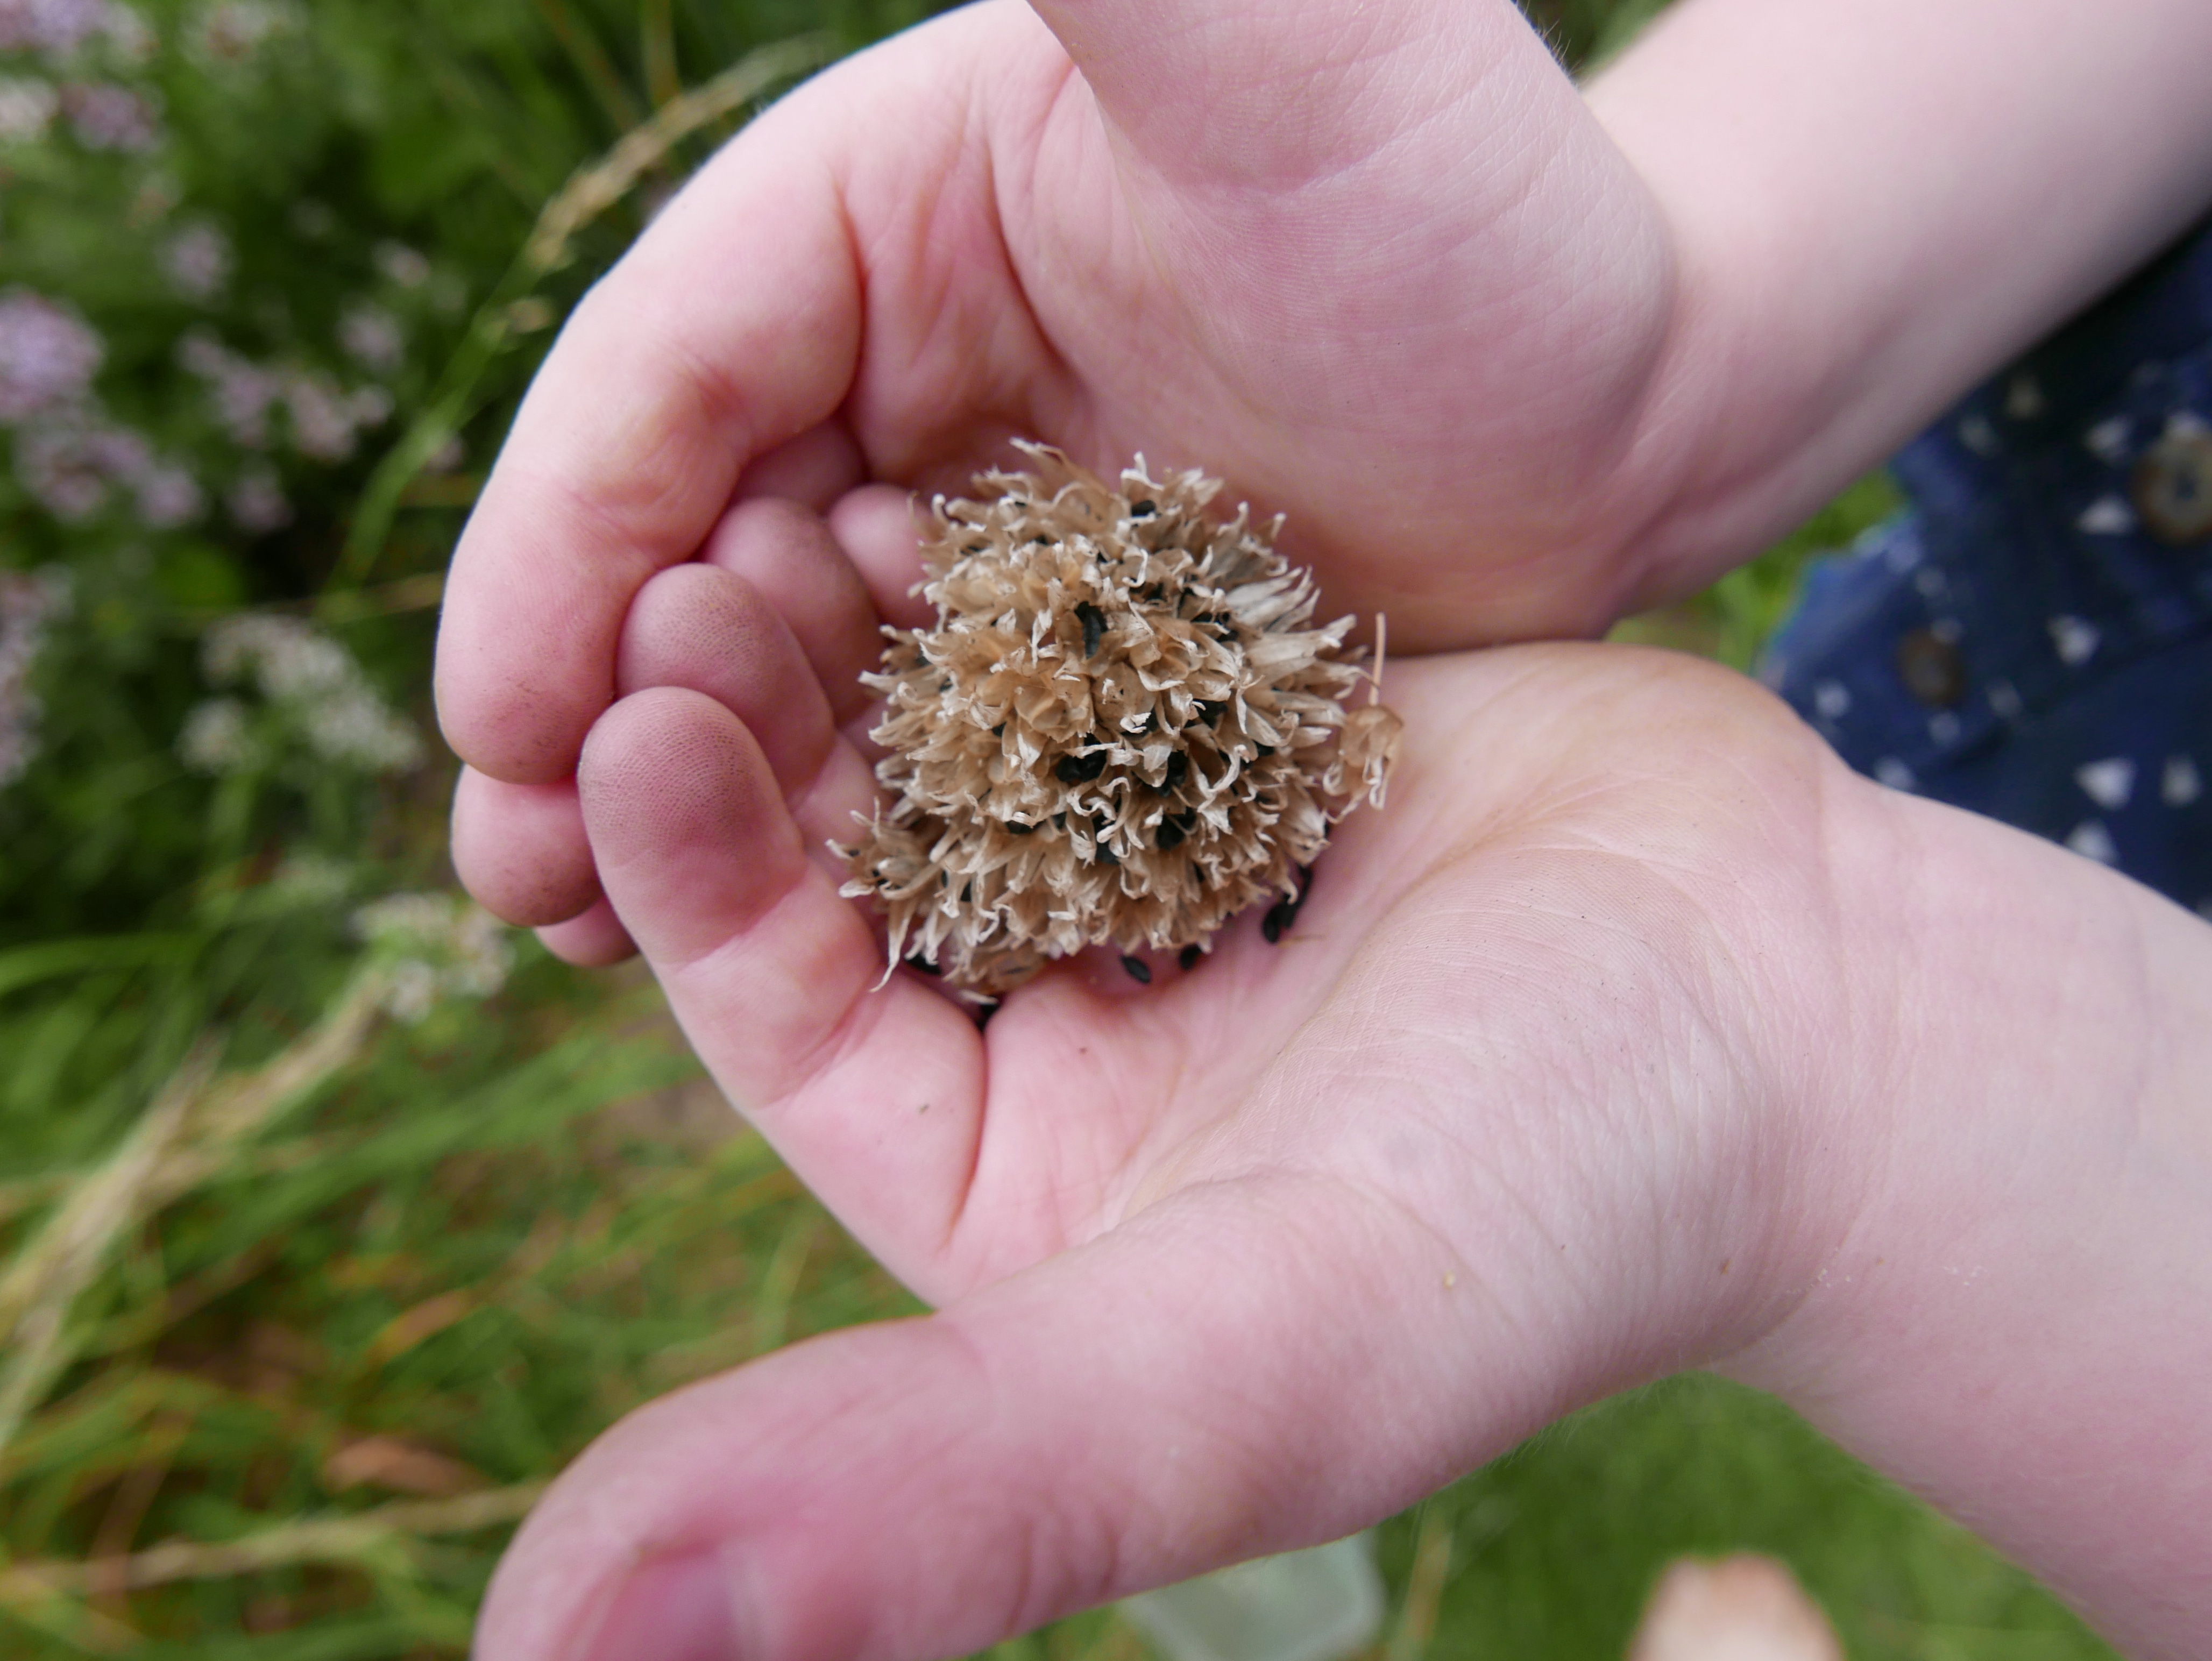
You can easily experiment and play with different types of seeds to see how they travel using different methods. For example dandelions have a fantastic mechanism of dispersing seeds using downy fluff as a parachute to catch and ride the wind with, this enables to seeds to be carried up to 5 miles away from the original plant. You can explore this by blowing dandelion clocks or by picking the individual seeds off the dandelions to look at the parachutes and seeds more closely. You can also have fun spinning sycamore seeds and or dropping other types of seeds from heights to see how if they catch the wind as they fall. Or how about placing different types of seeds in water to see if they float or sink? Or you could have fun shaking the tiny seeds out of dried poppy or chive flower heads.
3. Find seeds in your kitchen
Our kitchens are full of seeds in the form of fresh fruit and vegetables as well as dried cereals, nuts, pulses and spices. These are all great examples of how much we rely on seeds for food and also all the different varieties of uses we have for them. You can cut open fruit and vegetables to find and explore the seeds inside or pour out dried foods like rice, beans, lentils and spices out for sensory exploration and play.

4. Enjoy taste testing different edible seeds
Many different varieties of seeds make very tasty and healthy snacks. They are often packed with vitamins and important nutrients and minerals like magnesium, and zinc. How about taste testing different types of seeds to explore the different tastes and textures. Good examples of edible seeds include sunflower seeds, sesame seeds, pumpkin seeds, chia seeds, hemp seeds and poppy seeds. Please just be aware of any food allergies before taste testing seeds.
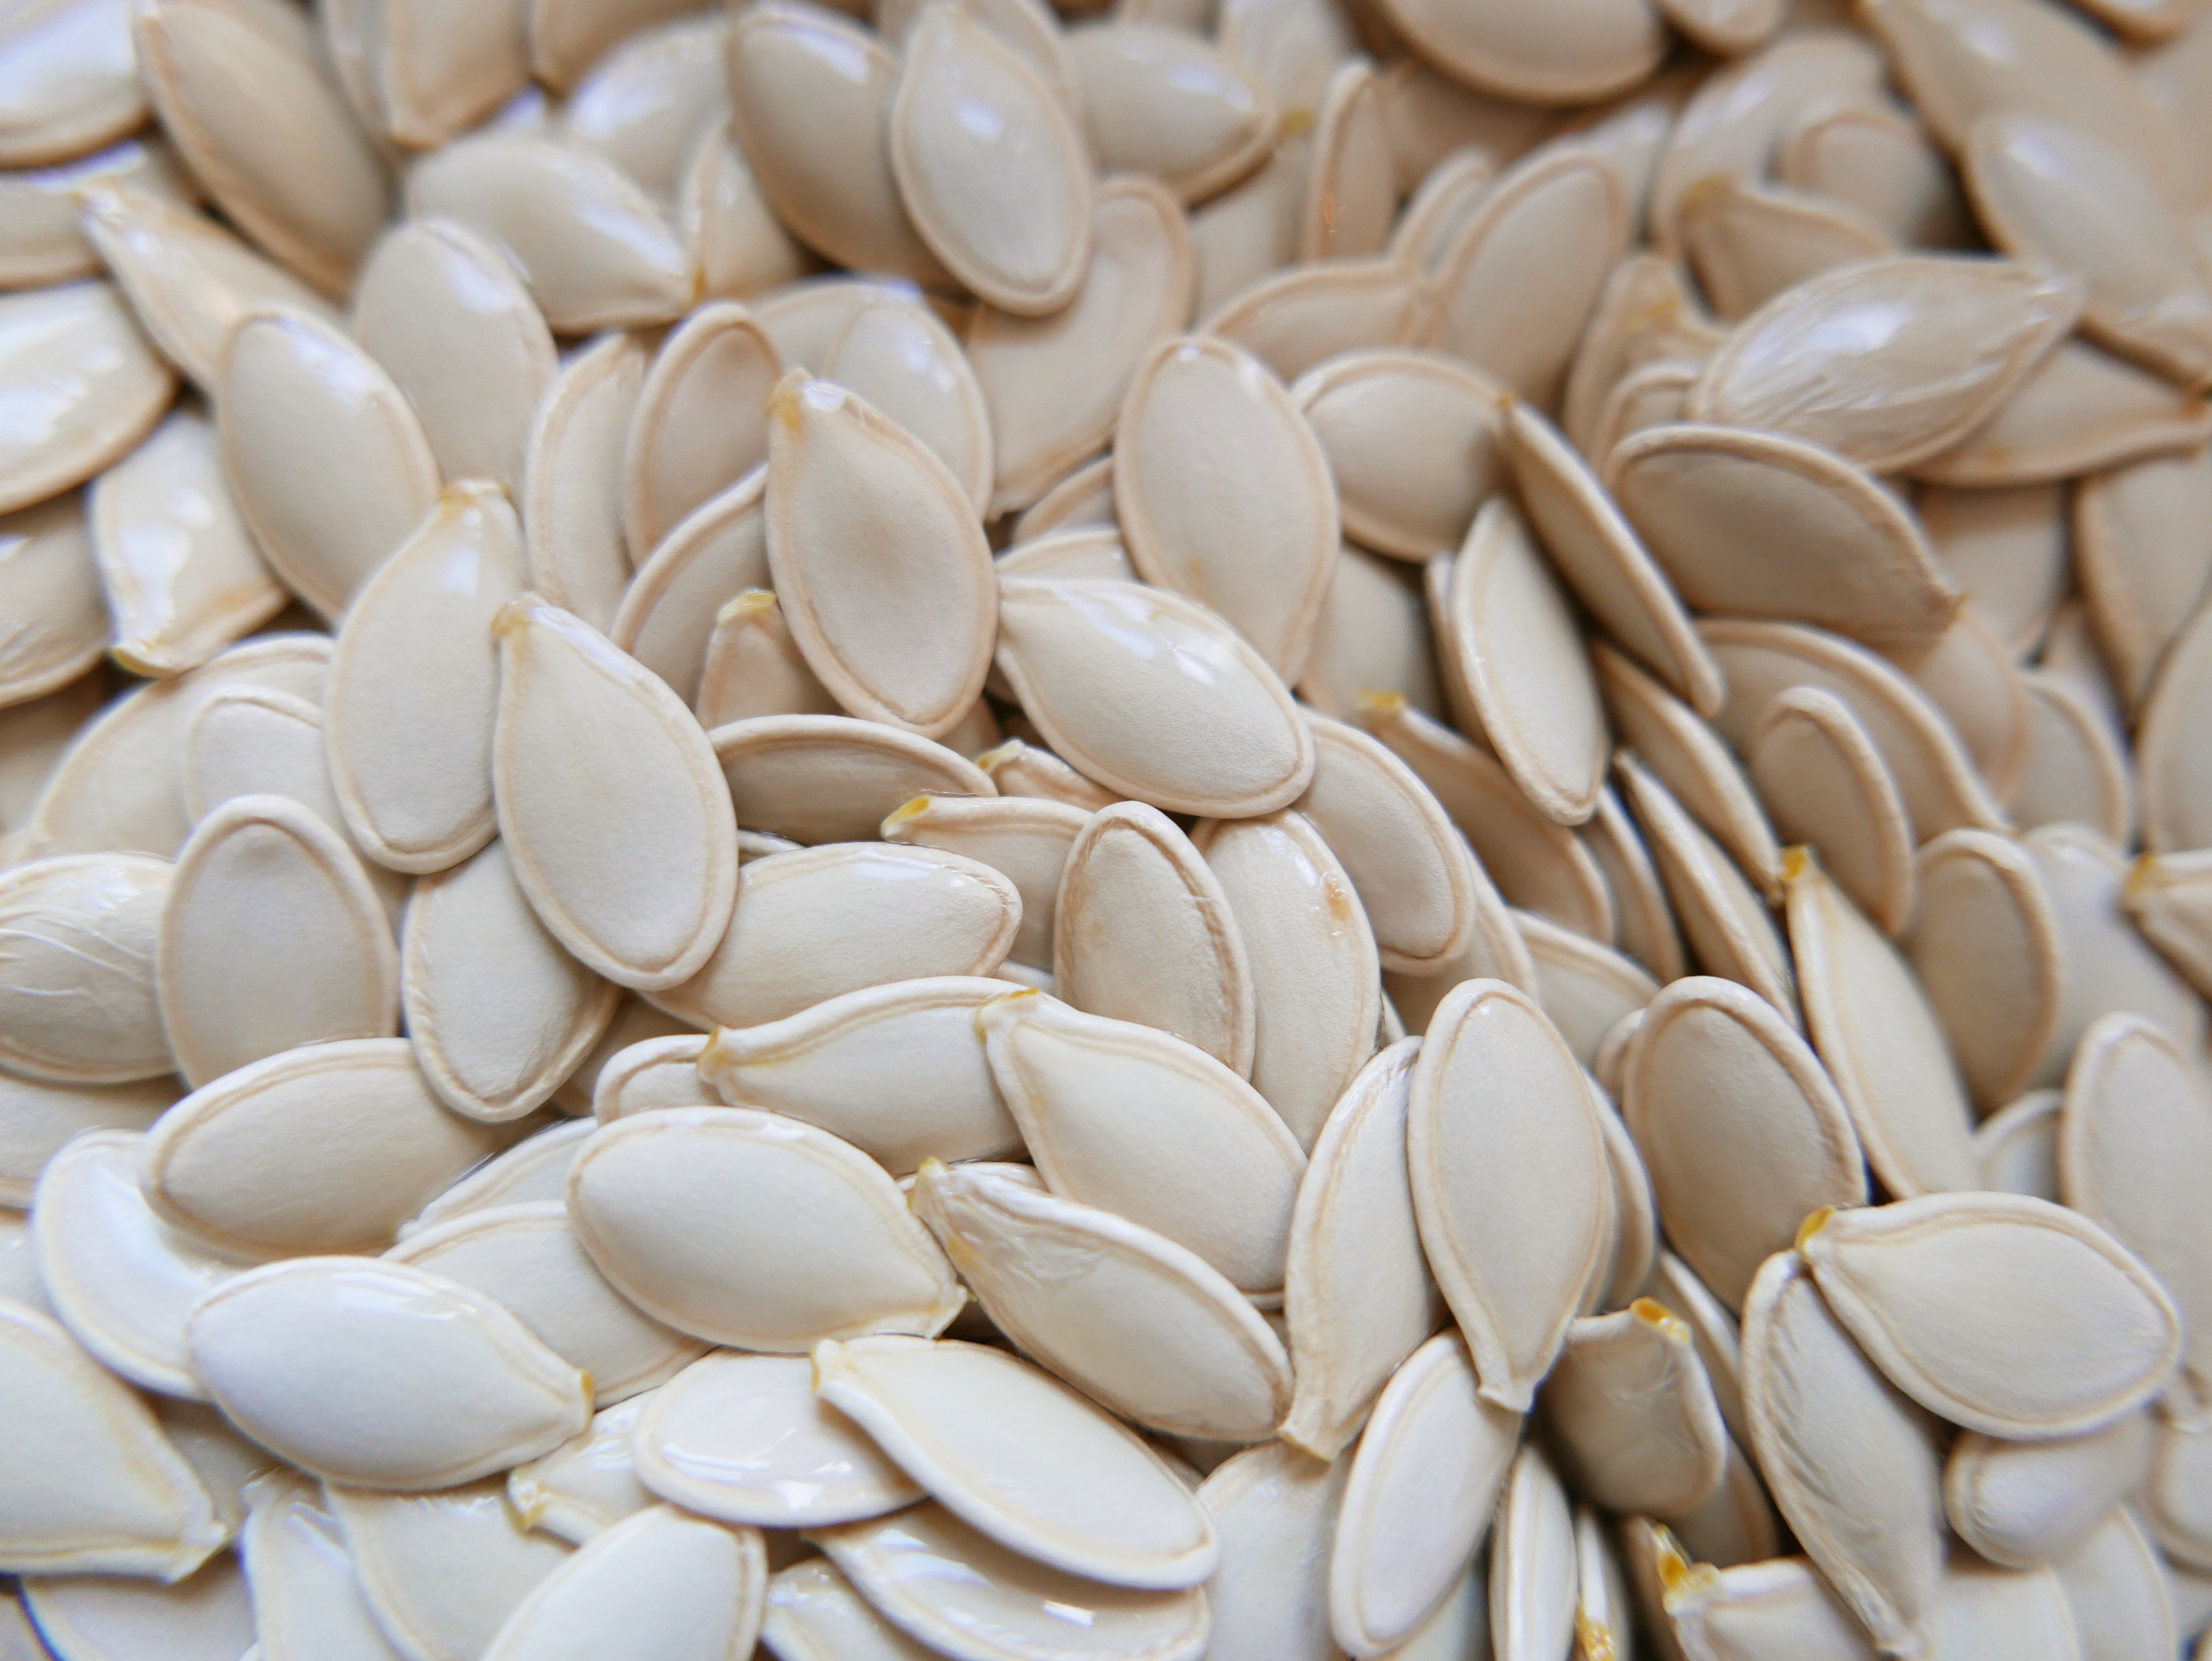
You can easily oven roast pumpkin seeds by spreading them on a baking tray with olive oil and salt to taste. Then simply bake them in the oven at 180c for 10-15 mins or until golden in colour. Leave the seeds to cool for 15 minutes or so before eating them. (They will keep for a few days in an air tight container). You can enjoy them as a snack or sprinkle them over salads or soups.
5. Grow a plant from seed
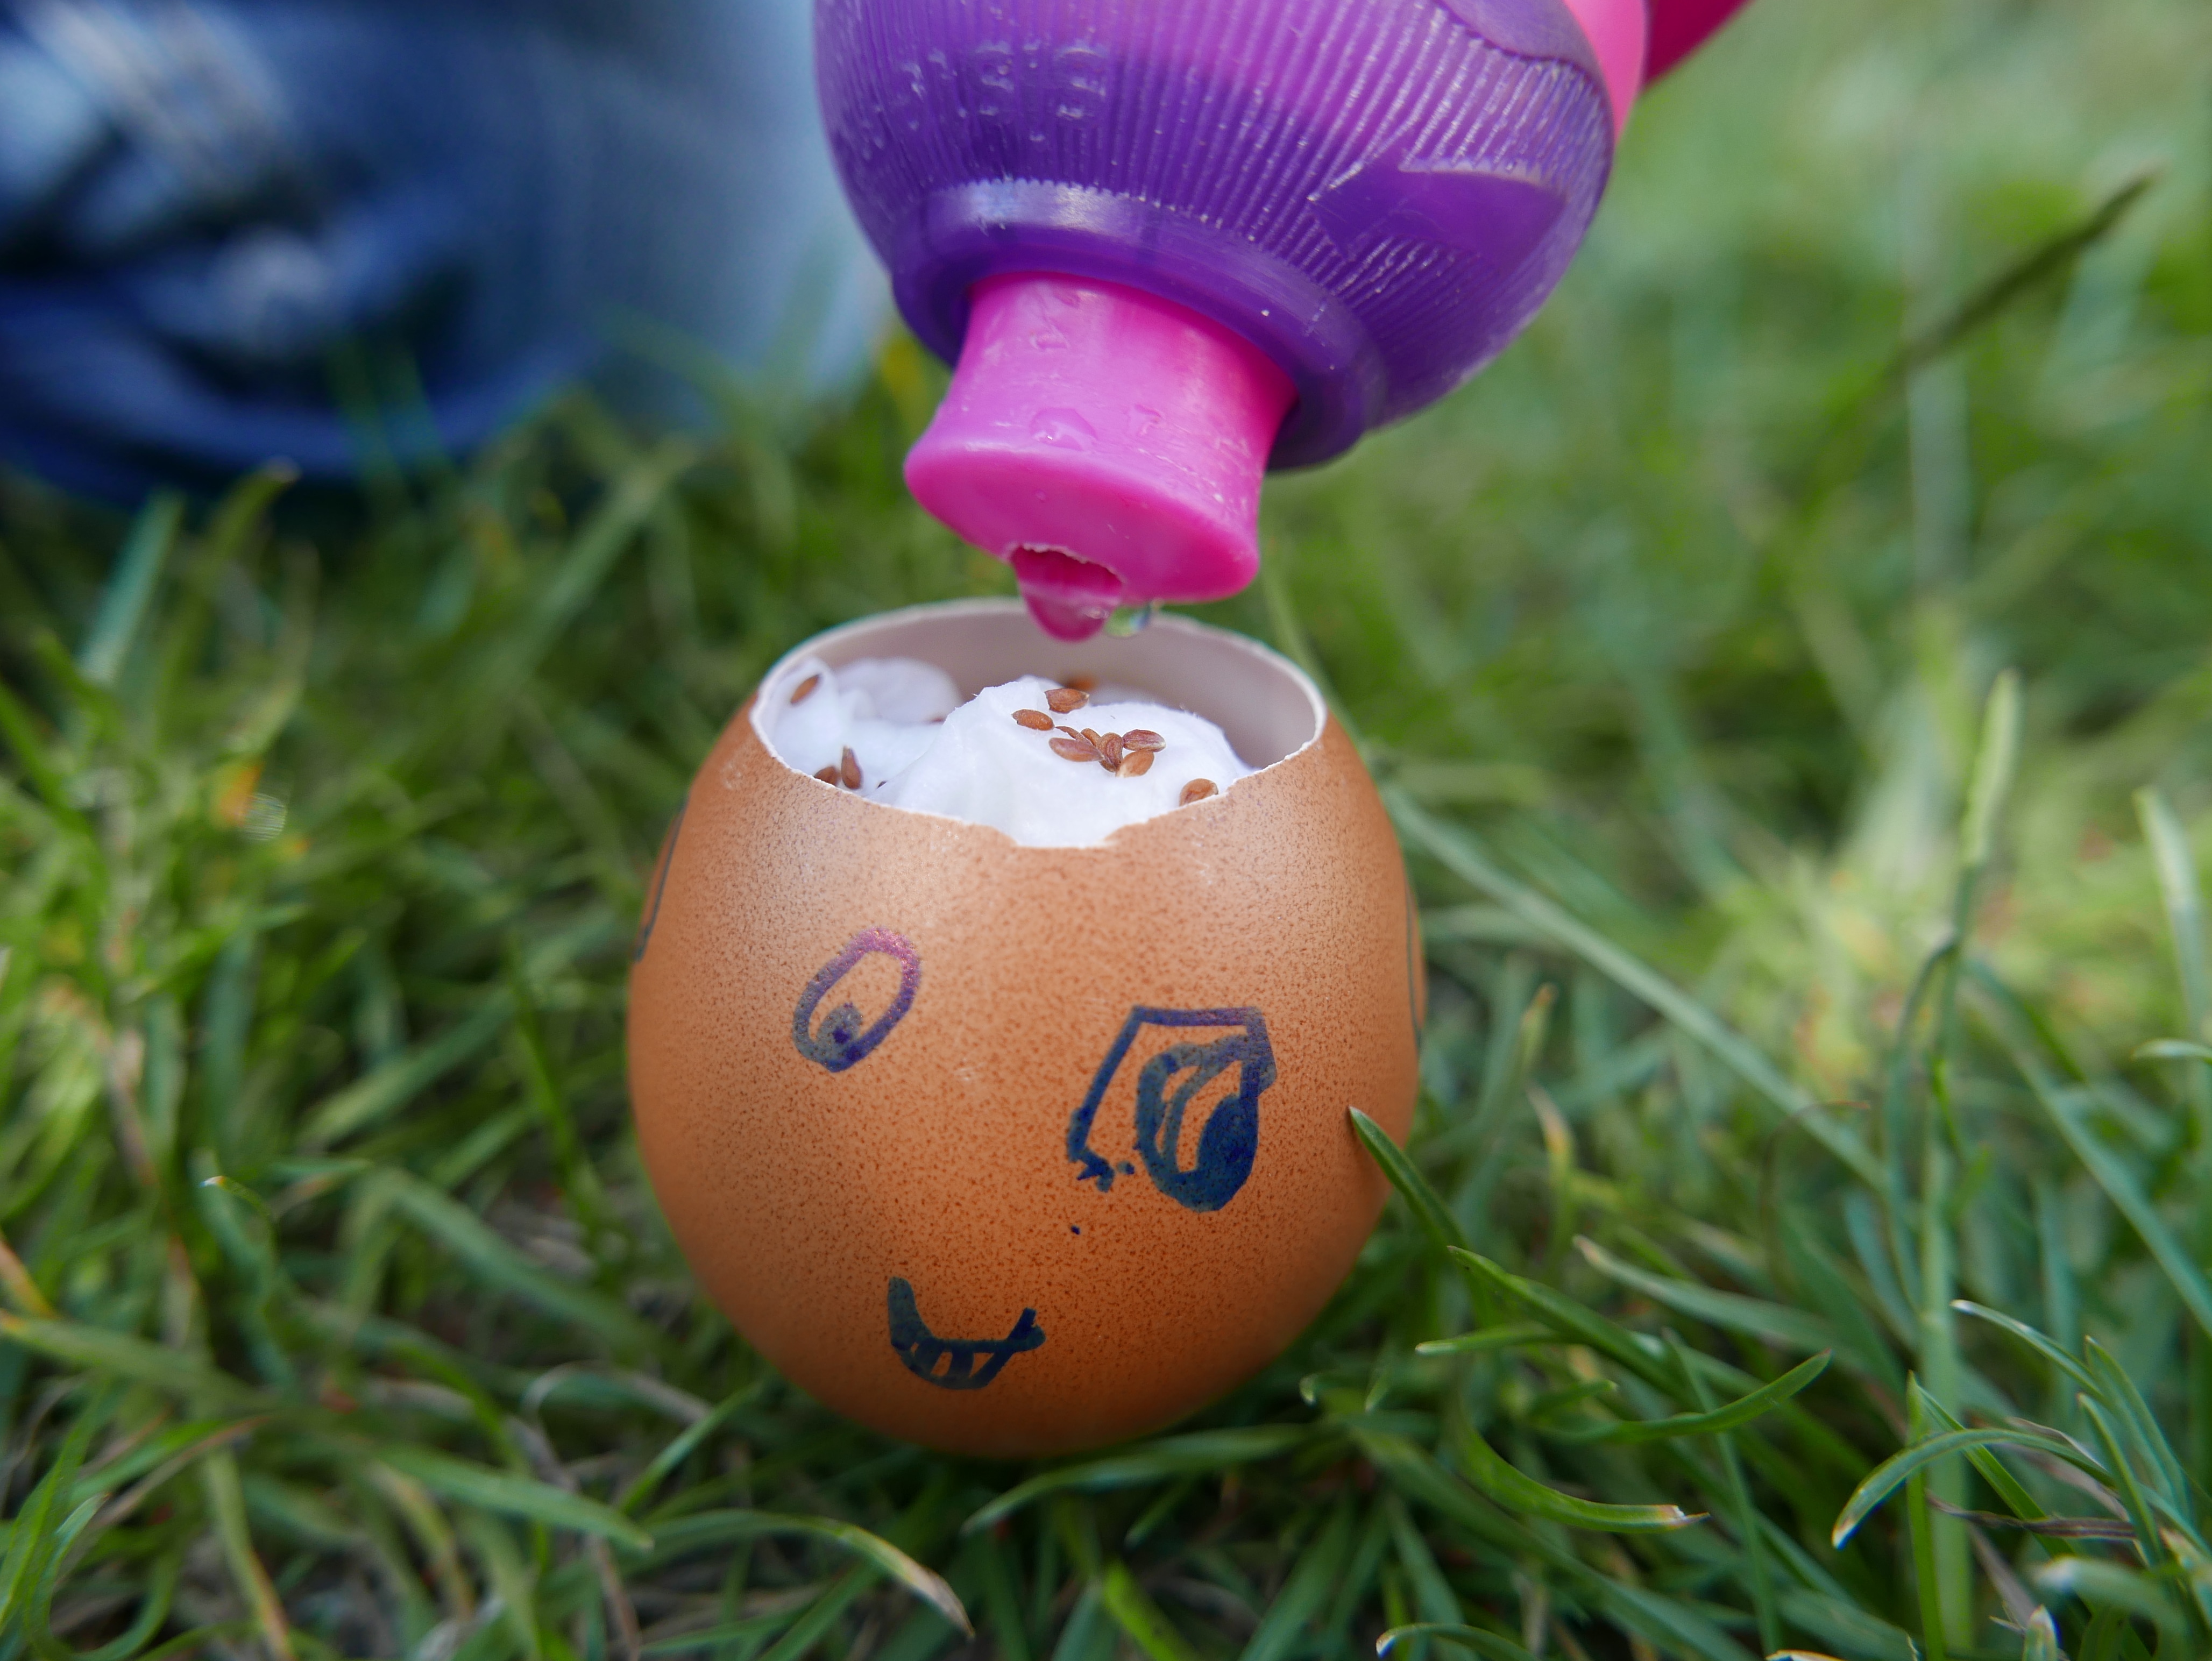
The best way to learn about seeds is to watch them grow into plants. Cress is a great plant to grow from seed as it grows so quickly and you do not need any soil or space to grow it in. It’s also makes a tasty snack or addition to sandwich’s and salads when you have finished growing it. All you need is a handful of cress seeds, a piece of tissue and a clean recycled pot. You can also grow cress in a clean empty egg shell.
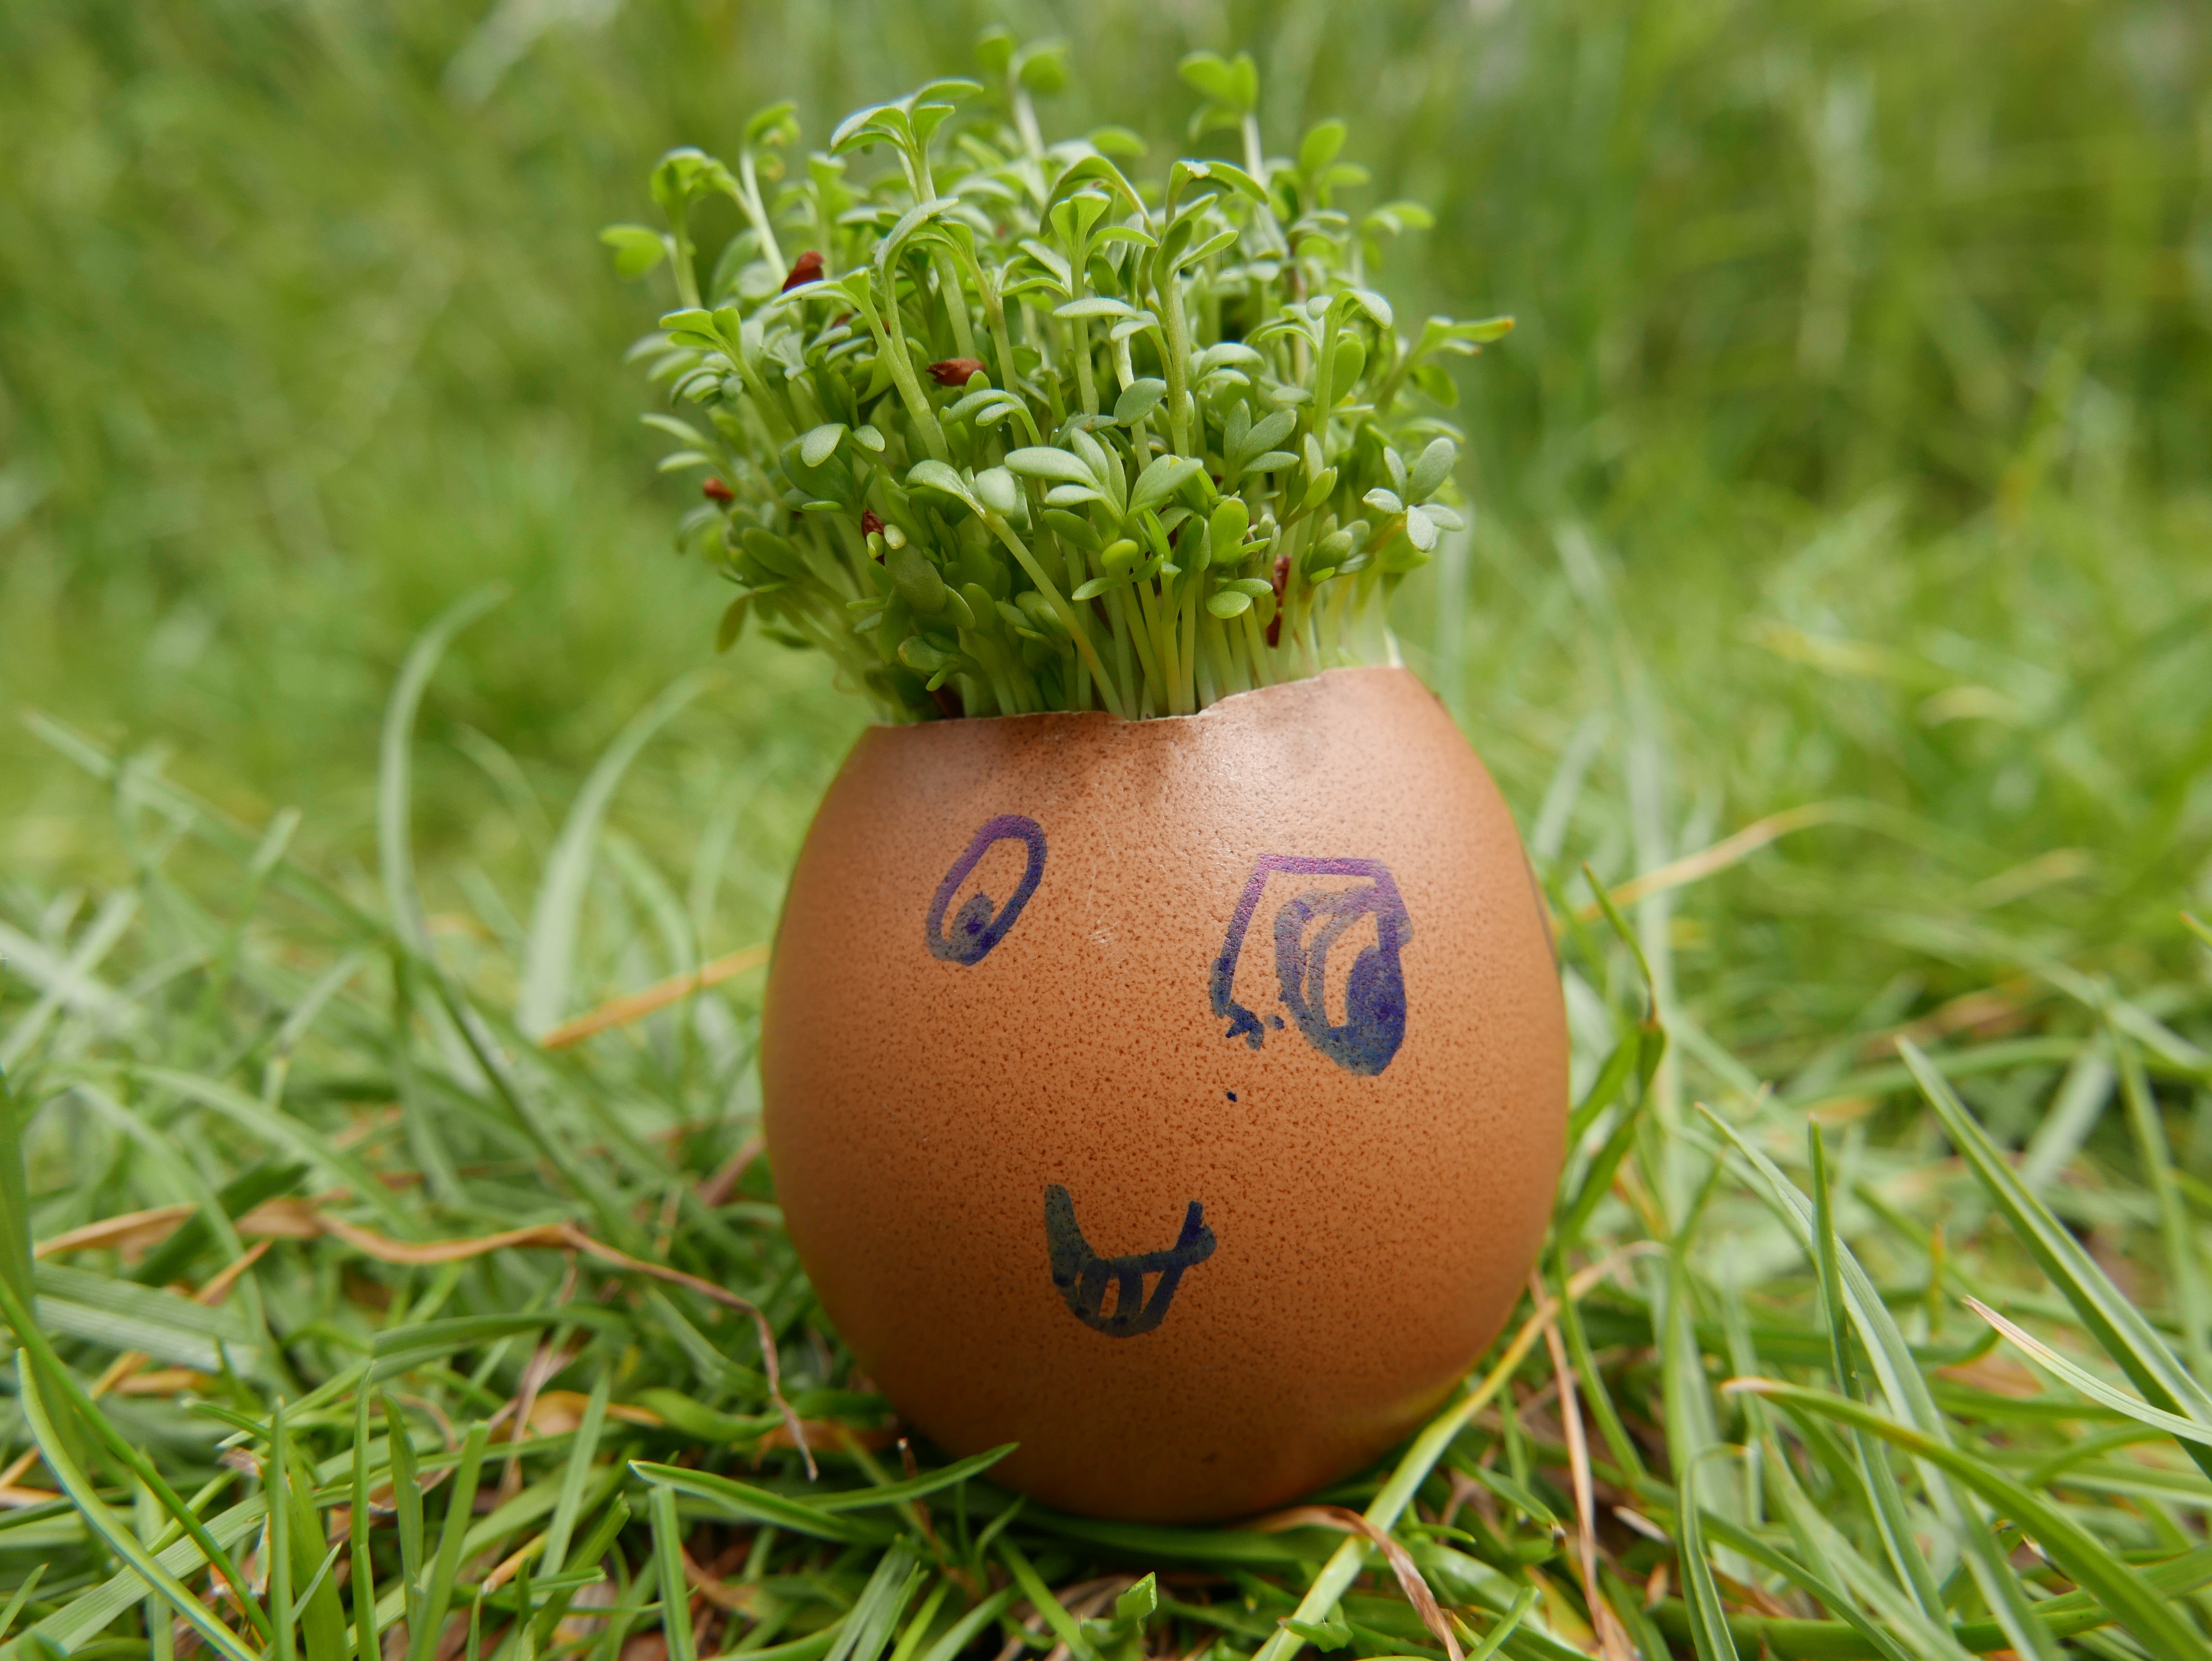
First crumple up the tissue and carefully push it into the bottom of tpot. Next sprinkle in a handful of cress seeds and give them a light watering. If you want you can also draw a funny face onto the side of the egg or pot. Now all you have to do is pop it in a sunny spot and watch and wait as your cress begins to grow. Cress grows quickly and within a day or two you should be able to see the shoots and roots already emerging. Keep the tissue damp with a light watering every few days and your cress should be ready to eat within a week.
6. Grow plants from food scraps
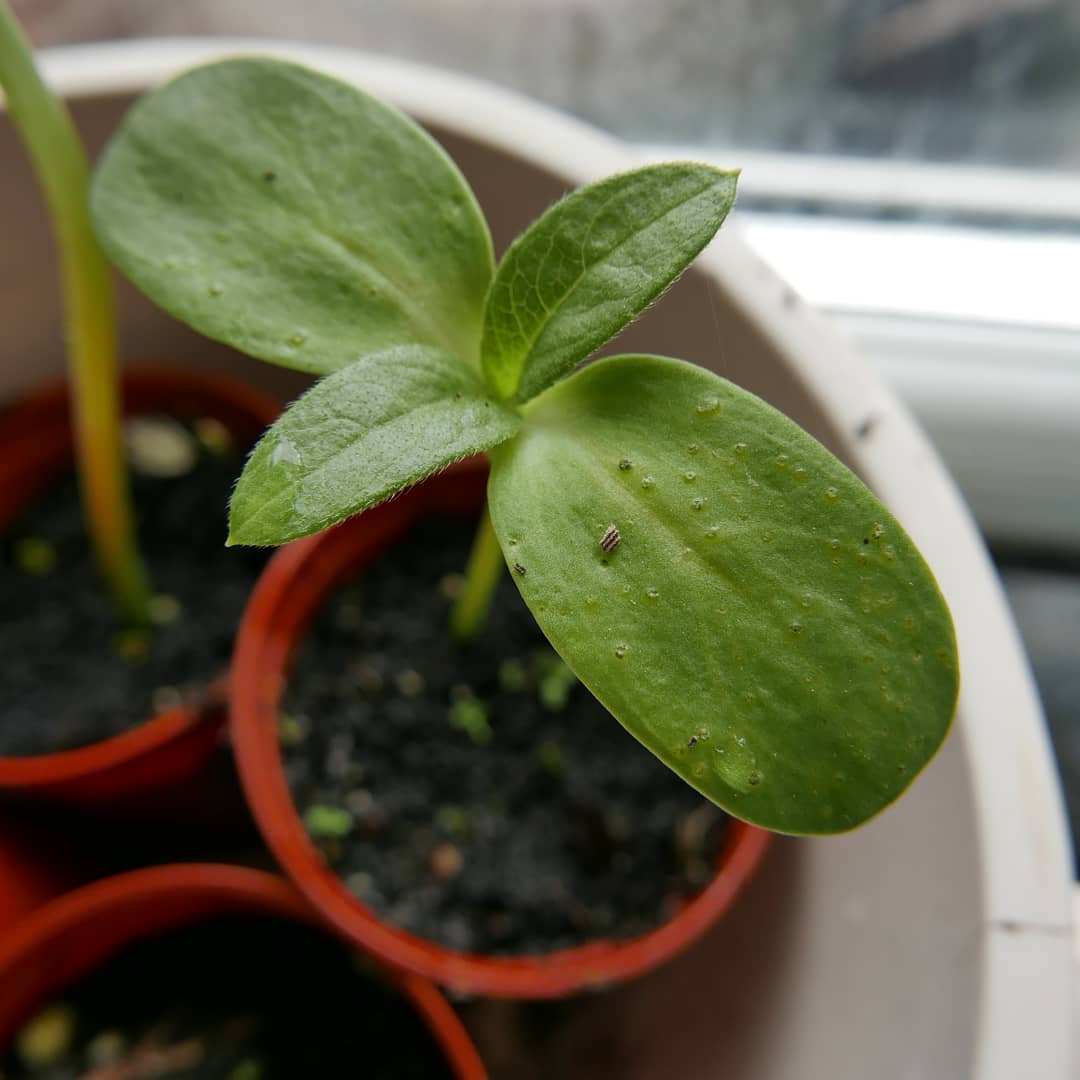
Another way to demonstrate the connection between seeds and the food we eat is to grow plants from food scraps that contain seeds. You can experiment with different scraps of fruit and vegetables planted in soil and see which grow. Simply water the soil regularly and monitor it to see if any shoots appear.

7. Observe each stage of seed growth
It is often hard to observe the different stages of seed growth as most seeds grow underground. But there are several easy and simple experiments you can set up to observe the seed case splitting and the roots and shoots emerging and traveling downwards and upwards simultaneously.
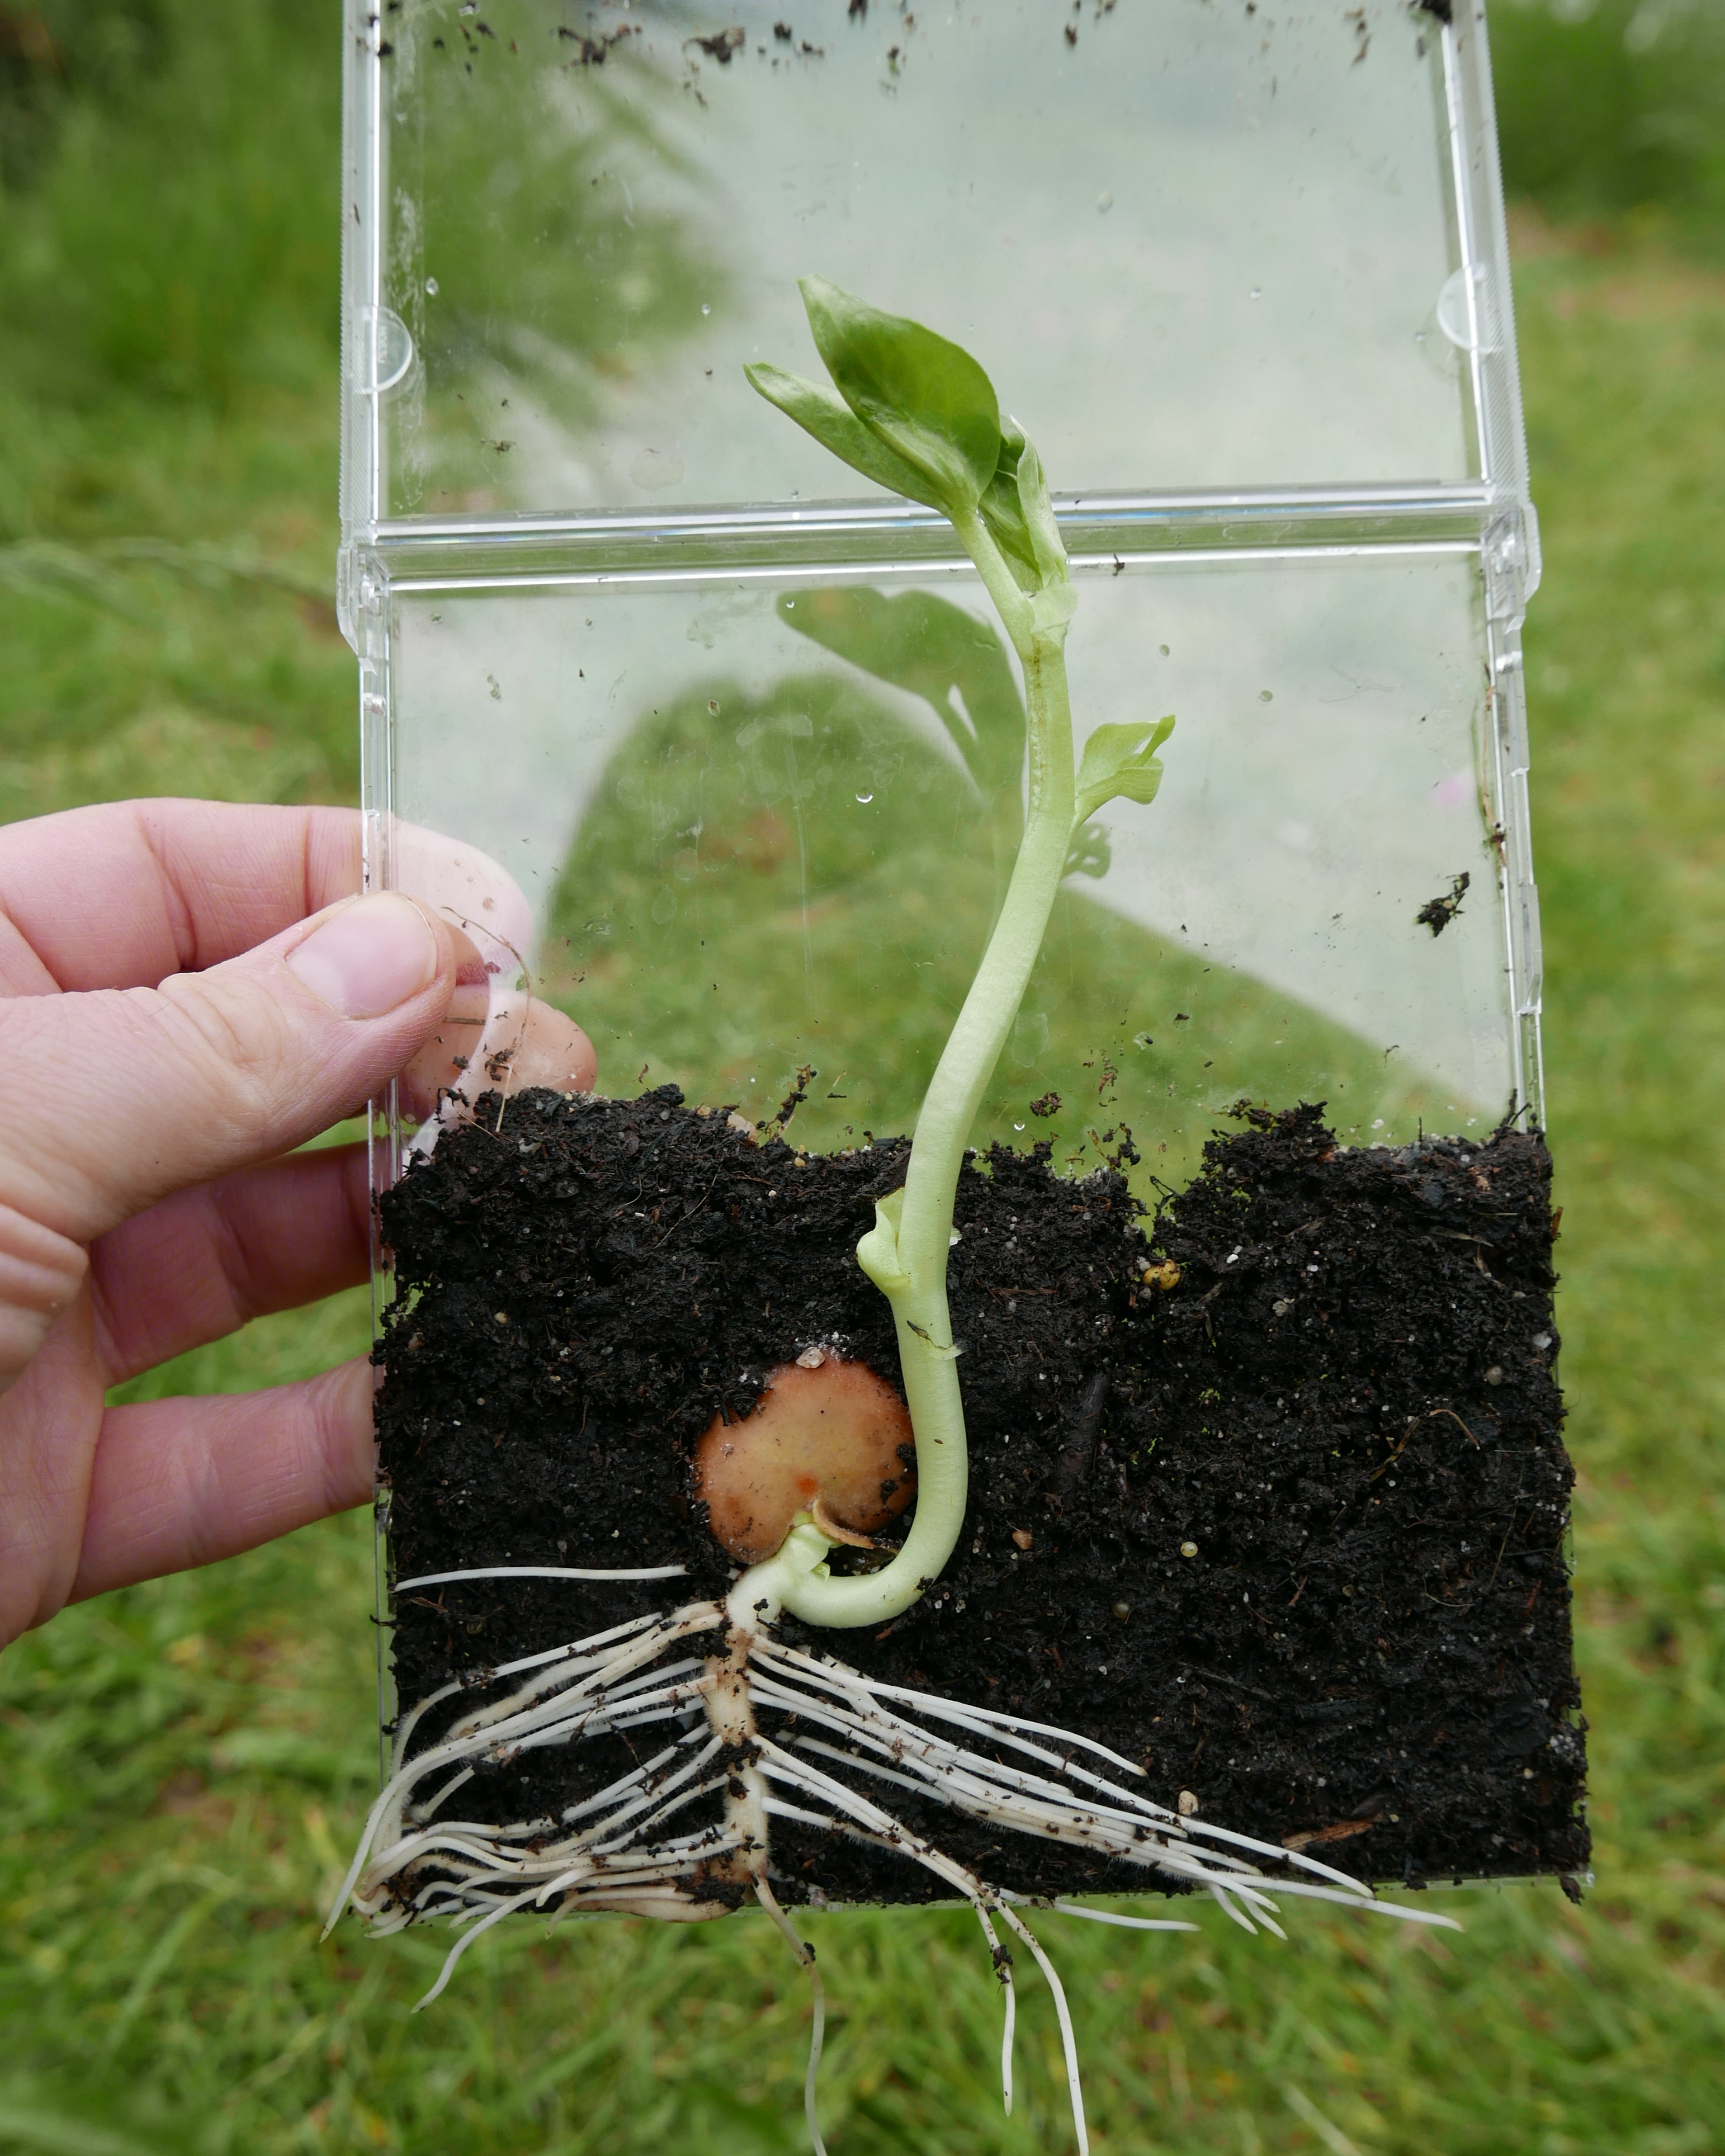
You can easily observe seed growing into a plant through the side of a clear CD case. Simply fill half of an old CD case with soil, making sure you leave room for the plants to grow above the soil when you place the case on its ends. Place a seed in at the top half of the soil. (We found bean seeds are particularly effective). You want them to be sat against the side of the case so you can watch them grow.
When you have filled your CD case you need to remember to seal the bottom edges and sides of the case with sellotape, to stop soil and water leaking out. Or use an elastic band to hold it shut and place the CD case on a tray to catch any leaking water. Make sure you also leave a gap at the top of case so you can water your seeds as they grew. Now all you have to do is place the CD cases in a warm safe place and watch and wait for your seeds to start changing and growing.
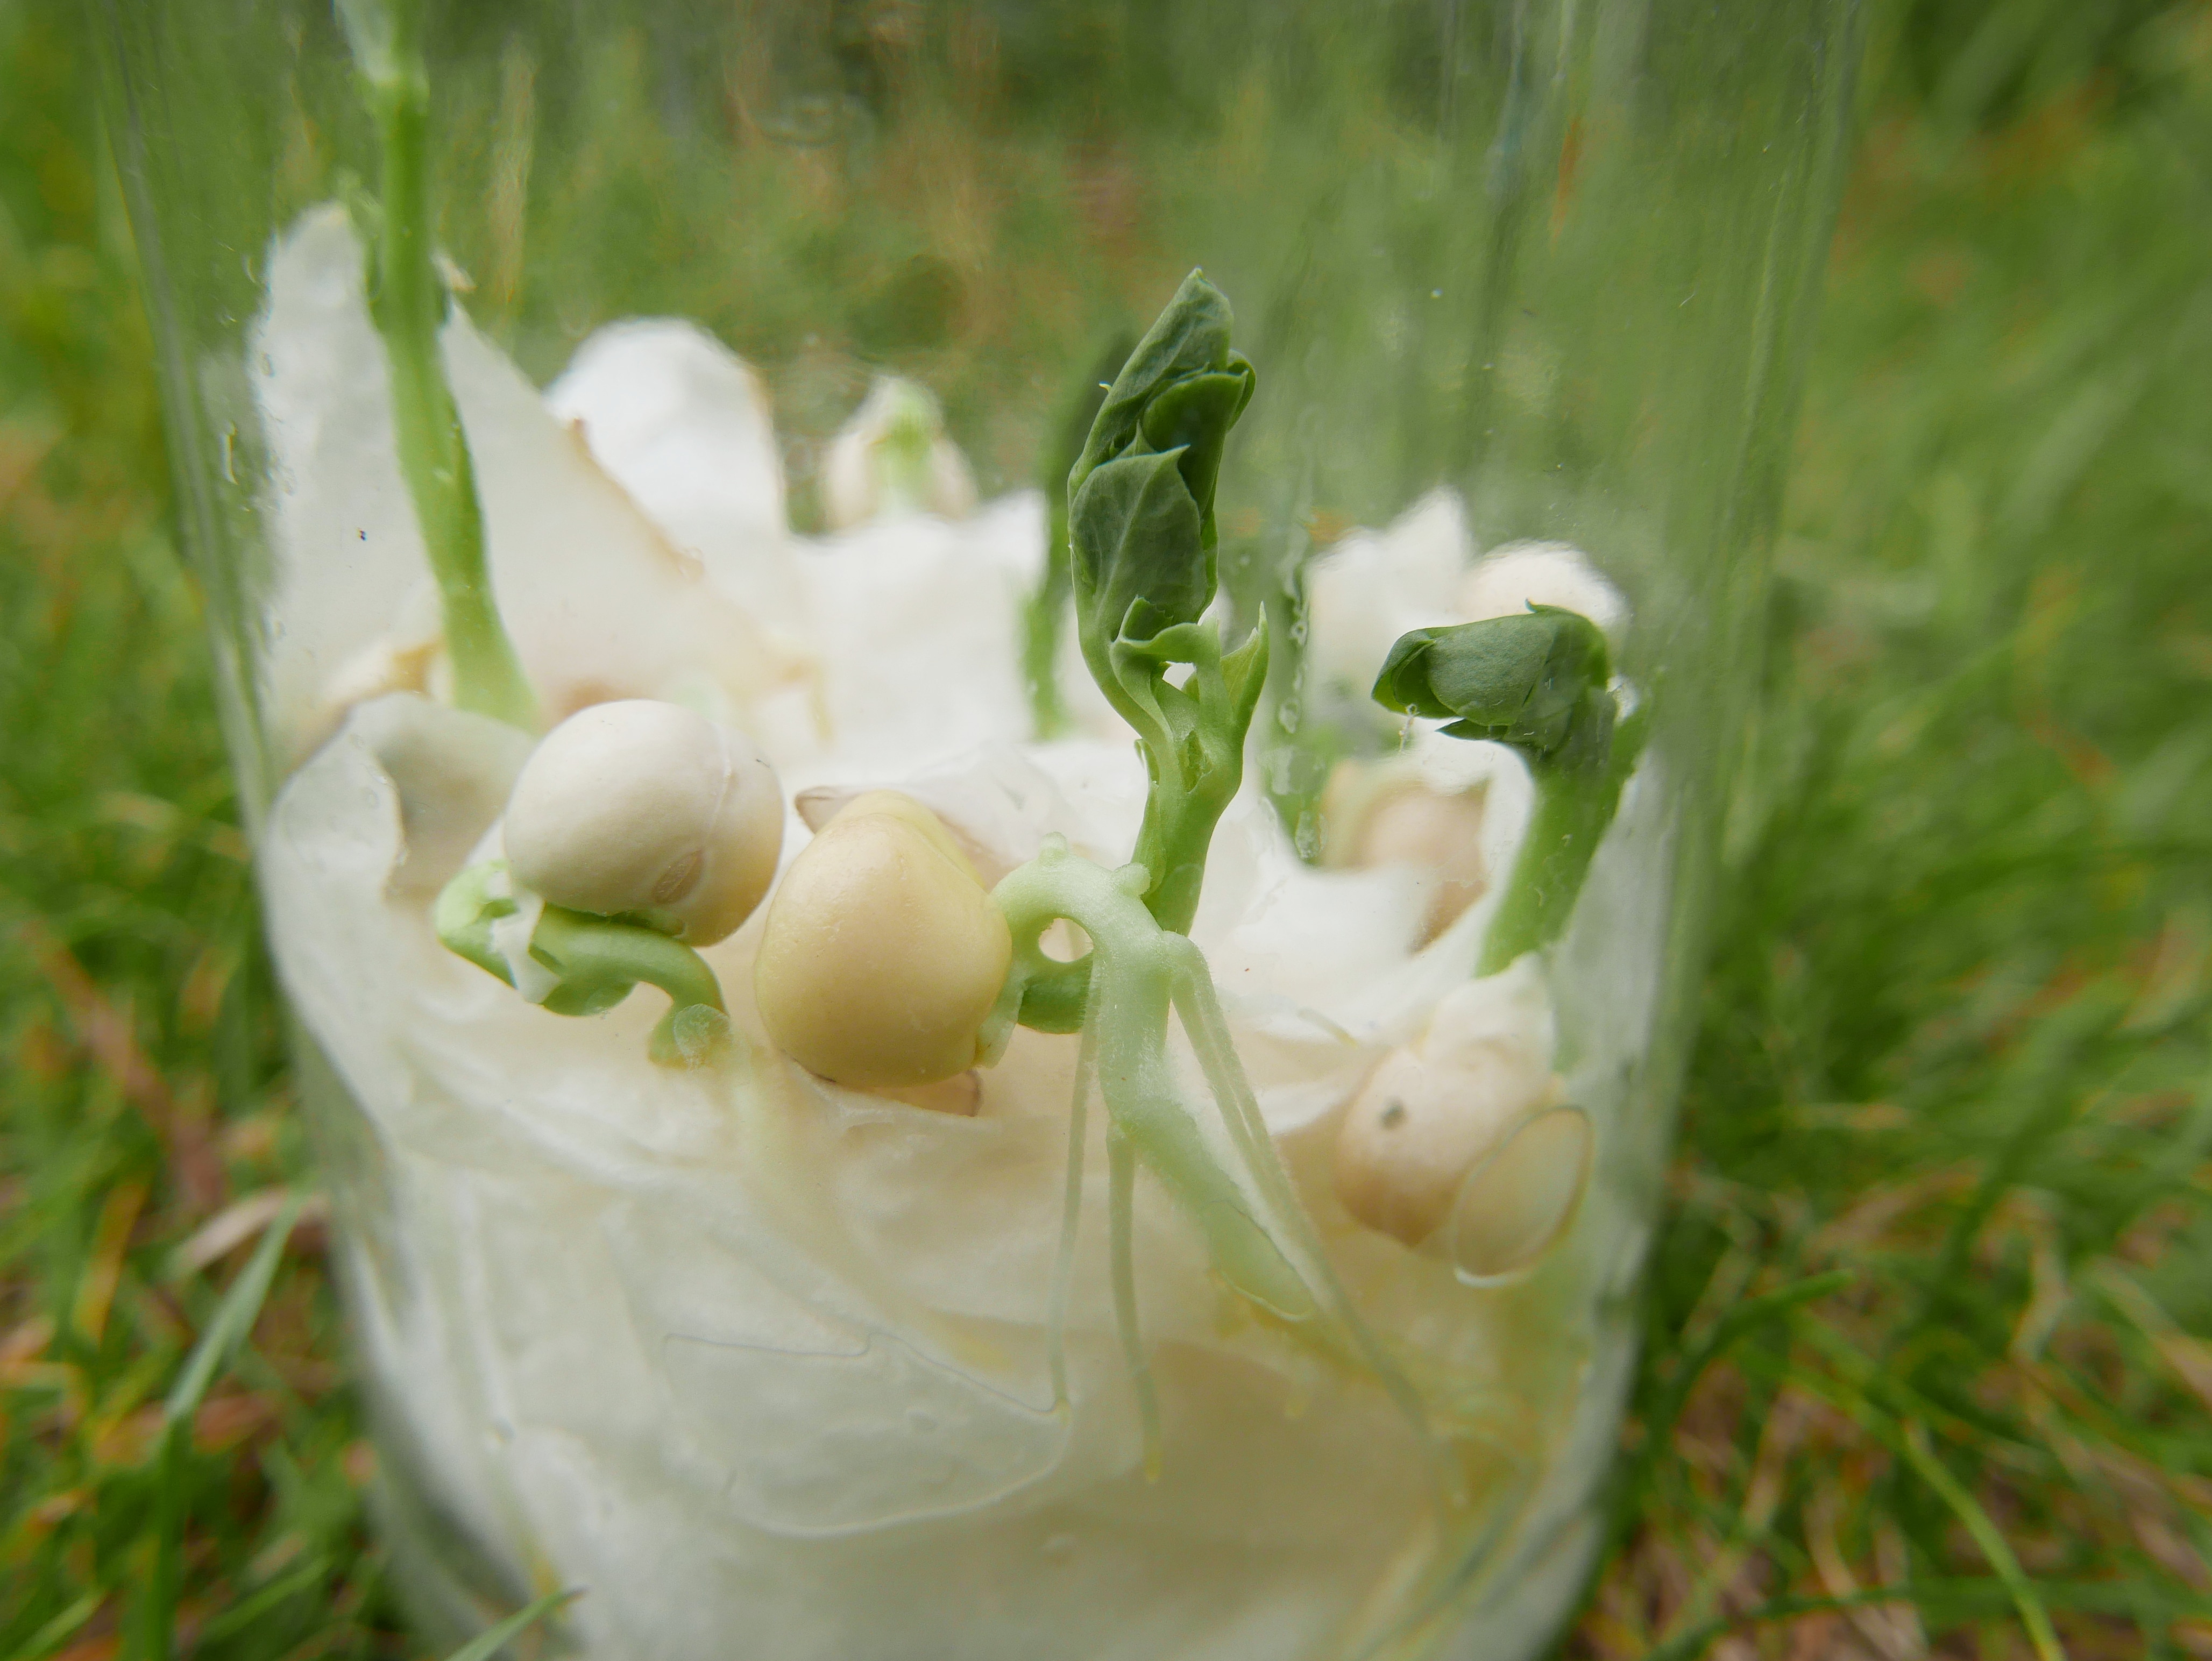
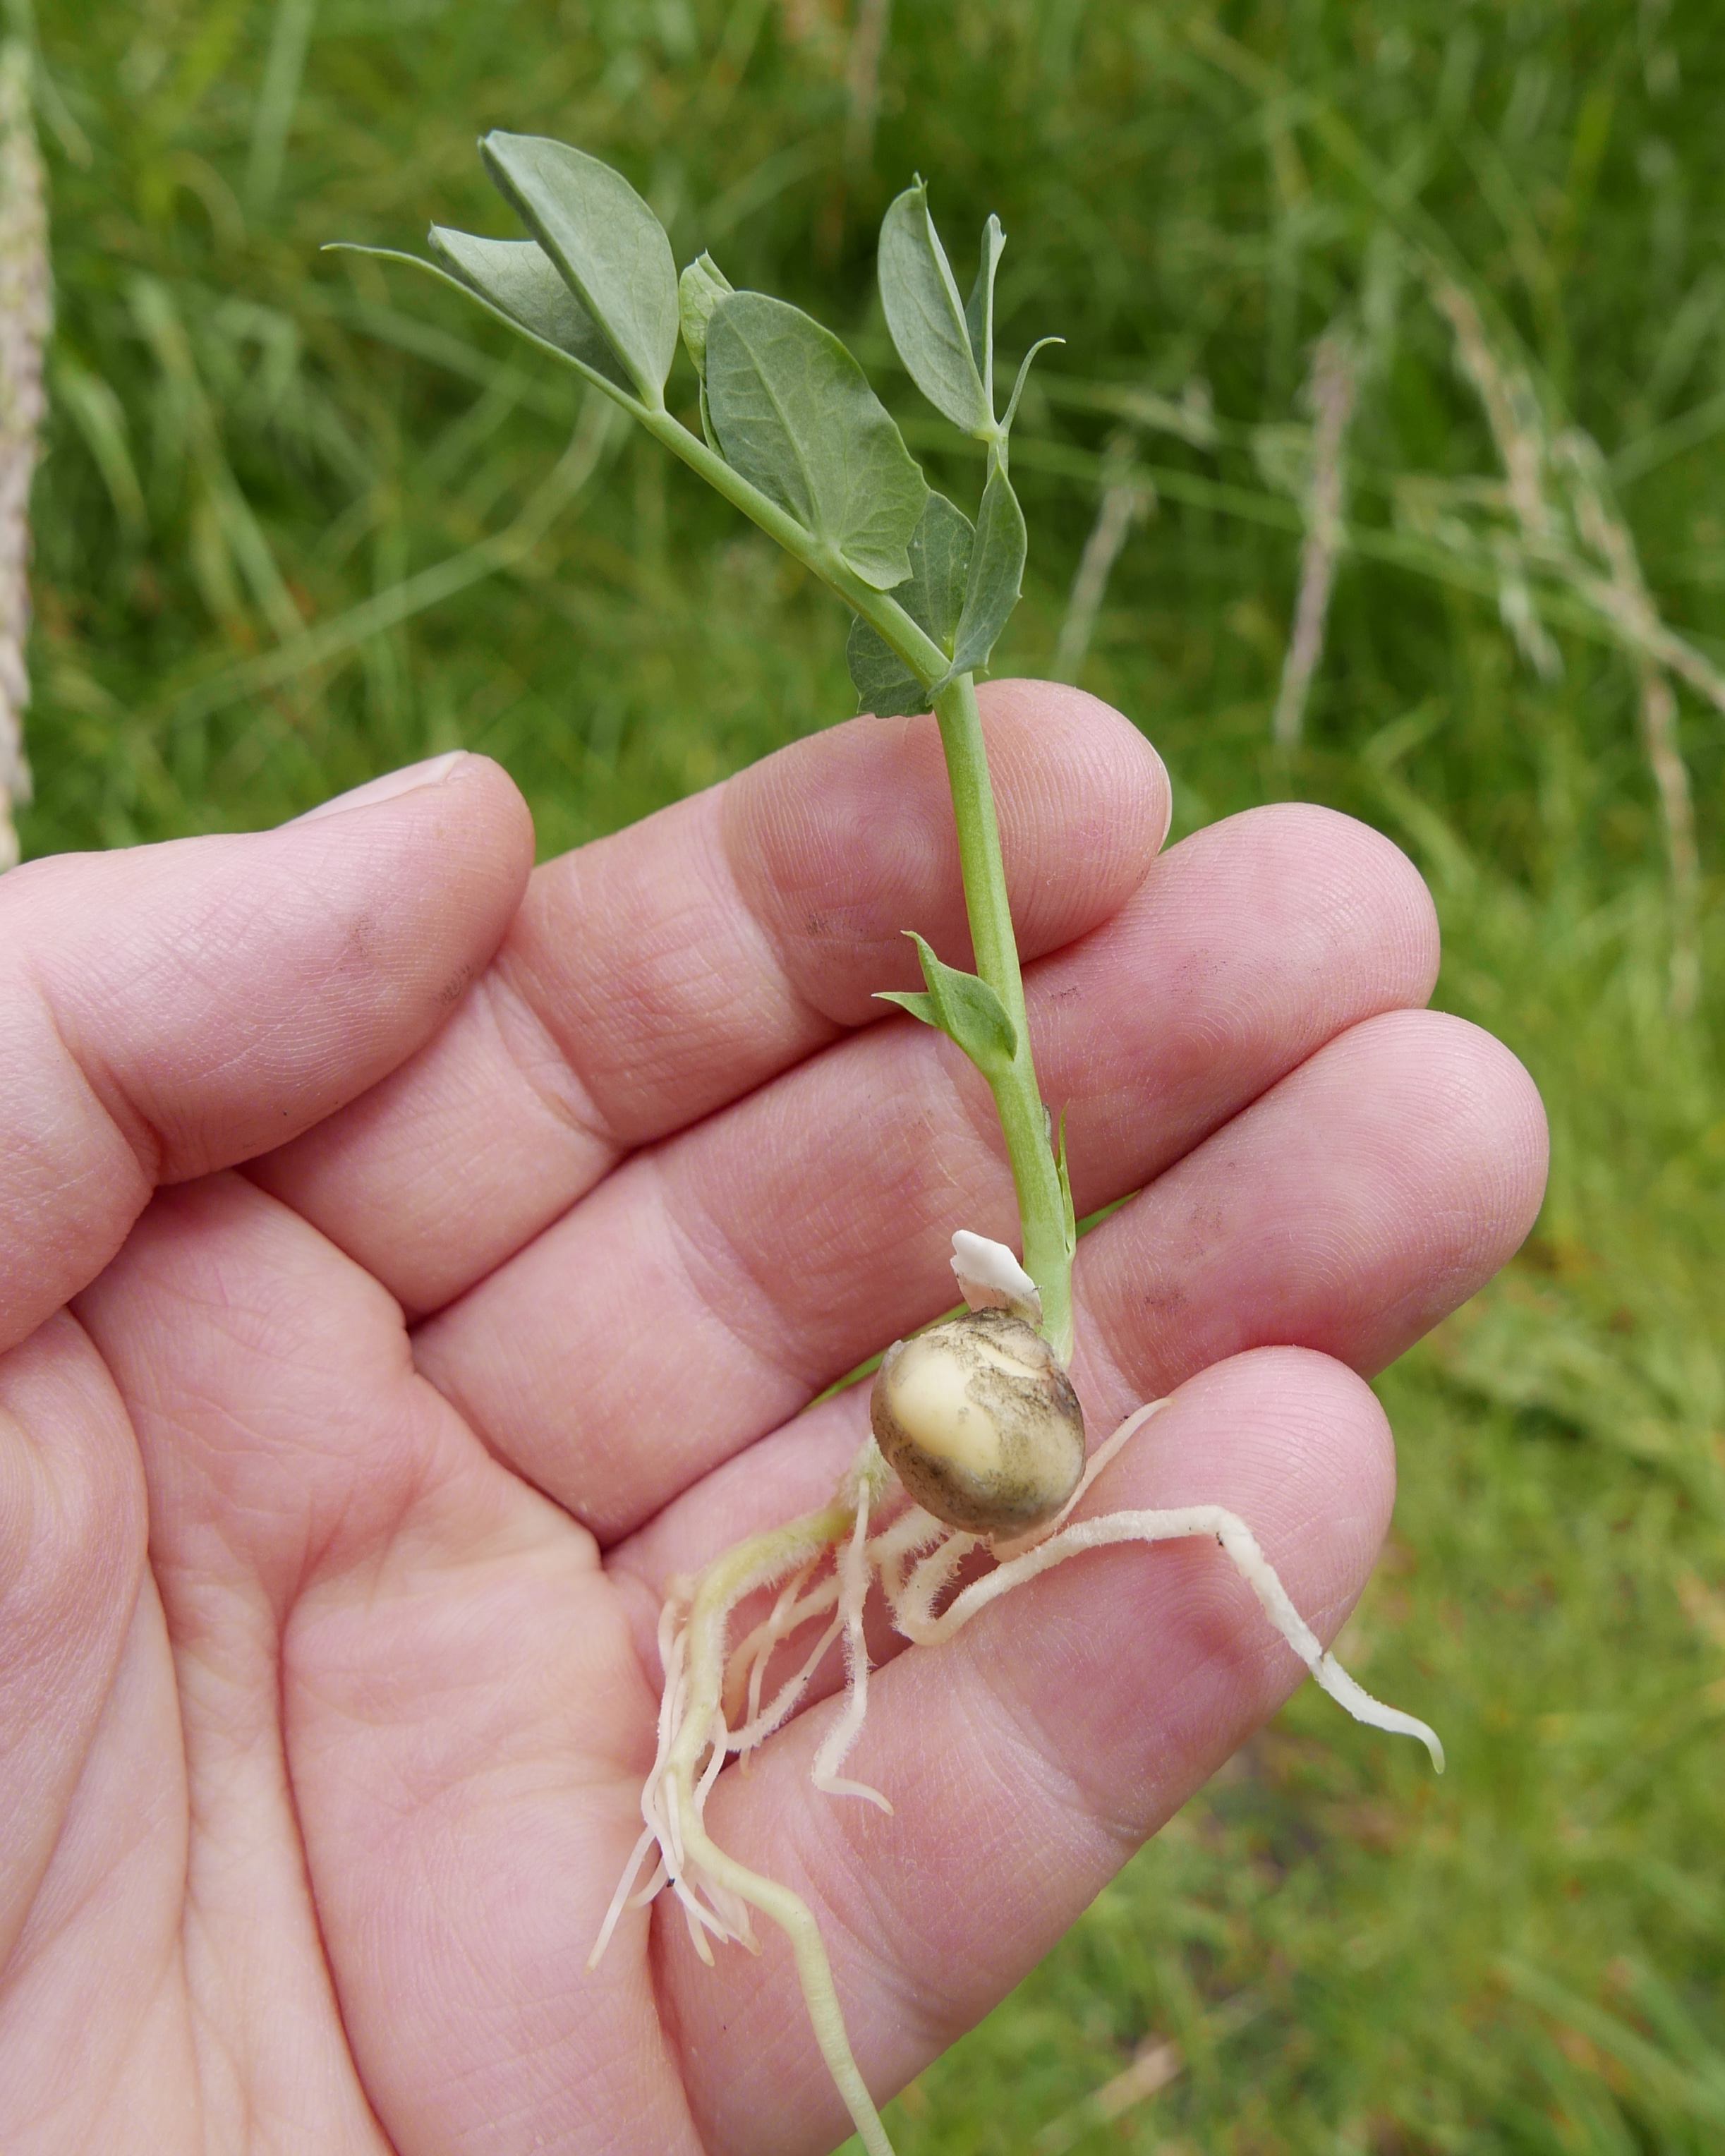
You can also use clear jam jars or pots to observe seed growth. Just line the bottom of the container with crumpled up tissue and then place a couple of seeds along the edge of the container (Pea seeds work perfectly). Give everything a light watering and then place it in a sunny spot where you can watch them grow. Keep the tissue damp with a light watering every few days and you should have grown some little plants in a week or so. It is fascinating to watch the roots spread out and downwards as the shoots grow upwards and turn into leaves. You can also carefully remove each plant from the jar and observe the growth from the seeds more closely.
And finally how about using transparent pockets or clear zip lock bags to observe seed growth. For this you will need some folded kitchen tissue to form a long band, soak the band in water and then sprinkle cress seeds along the middle. Place the seeds and watered band inside the bag or pocket and then place everything in a sunny spot where you can watch the seeds grow.

With all of the above methods you can measure the plants growth each day using a ruler to see how much it has grown in a day. Keep a diary and make observations or drawings of the plant/seed at different stages. When your plant starts to out grow the container then it’s time to replant it into a pot or the garden.
8. Experiment with seed growing conditions
You can easily set up a series of simple science experiments to test the conditions seeds need to grow successfully in. For this you will need multiple small pots (old yogurt pots are perfect). First mark each pot with a number and then write down the same numbers on a sheet of paper so you can track the results. Next select a variety of seeds to use for your experiments, cress works best but you can use any seeds you like. Line your pots with tissue or soil and then sprinkle the same rough amount of seeds (or place one seed) into each pot.
Finally chose some of the different conditions from the list below to experiment with. Don’t forget to write down notes as you go and keep track of which condition is assigned to which pot using the numbered paper.
- See if seeds grow without water. (Don’t water one pot at all).
- See if the seeds grow with too much water. (Flood one pot with water.)
- See if seeds grow without light. (Put one pot in a dark place without any light)
- See how seeds grow with a lot of light. (Put one pot in a sunny window.)
- See how seeds grow without much air. (Put one pot in a small zip lock bag or air tight jar and seal it.)
- See if seeds grow in the cold. (Put one pot in the fridge.)
- See if seeds grow in contaminated soil (Sprinkle half a tablespoon of salt in one pot.)
When you have finished talk about the results of each experiment and what you think plants and seeds might need to grow and thrive.

9. Follow the entire life cycle of a plant – from seed to plant and back again
This takes a little more time and patience but it is possible to follow the entire life cycle of a plant from seed to plant and back to seed again. You simply need to grow a seed into a plant then watch and wait as it grows flowers that are pollinated to produce a fruit with seeds that you can collect and regrow again.. Sunflower, nasturtium and dandelion seeds work best for this but you can use any naturally reseeding plants like poppies and sweetpeas.
With sunflowers and poppies you can actually see the transformation at the centre of the flowers take place after pollination. It is also easy to observe and see pollinators visiting the bright flowers. You can measure the growth of the plants as you go and make notes of what types of insects and pollinators visit your plants and the flowers.
After the flower heads have finished flowering leave them to naturally finish developing the fruits and seeds. When the seeds are fully developed you can collect them to replant of keep. Most seeds can be simply stored for a year in a little envelope if you keep it in a cool dry place, just make sure the seeds are dry and any other plant material is removed before you place them In the envelope. Please note the longer you keep the seeds after a years time the less chance you will have of growing them successfully.

10. Learn about flower anatomy
Dissecting flowers* is a great way to learn about flower anatomy. You could either draw or print out a simple image of a flower onto cardboard or paper and then label all the different parts of anatomy. There is a great free download printable sheet you can use here. Or you could cut a flower in half and see if you can find and label all of the parts in the flower using a photo guide. This is a great opportunity to stimulate conversation about pollination and how flowers attract insects using bright colours and sweet smelling nectar. Talk about how the insects brush against the pollinating parts of the flower picking up pollen that then gets distributed to all the other flowers and plants the insects visit afterwards.

*Pretty please don’t use wild flowers, only use flowers you have bought or grown yourself.
11. Play a pollination game
You can learn how insects pollinate flowering plants and trees by playing a simple pollination game. All you need for this is a large sheet of paper or cardboard, recycled milk bottle tops, a stick, string, glue and paint. First you need to flowers across the surface of your picture. A few of them need to be big enough to place the milk bottle tops in the centre.
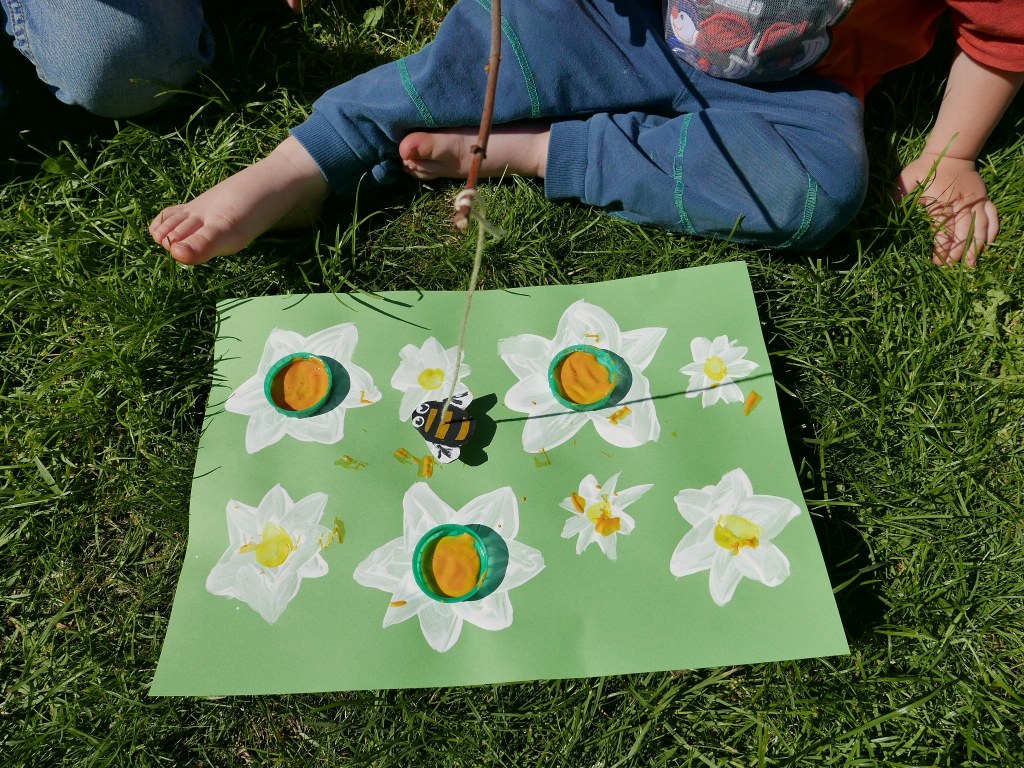
Paint the smaller flowers with yellow centres and then glue a few milk bottle tops onto the larger flowers. Next paint or draw a pollinating insect like a bee or butterfly onto a piece of card and cut it out. Then glue a small scrunched up piece of tissue onto the bottom of your flying insect so it can pick up the ‘pollen’ and transfer to the other flowers. Once the paint and glue has dried on the picture and insect you can then fill the milk bottles tops with yellow or orange paint to make your pollen.

Now you can have fun dipping the bottom of your insect into the ‘pollen’ paint and landing it on the other flowers to pollinate them. This is a great opportunity to talk to children about the important role pollinating insects play in the life cycle of plants and seeds.
12. Make seed potato prints
Potato printing is a simple activity for children of ages, all you need is a potato cut in half, a bit of inspiration and some paint to get started. They make great invitations to play for children of all ages and you can use the potato prints to make patterns, pictures, cards or recyclable wrapping paper. To make sunflower seed potato prints simply cut a potato in half lengthways and then cut some stripes into the halves. Finally press your potato half into black paint and print it onto white paper.

To make acorn potato prints you will need two potato halves. One cut into an oval shape to form the seed of the acorn and the other cut into a simple cap shape with cross hatched lines cut into it to form the texture of the cap. Dip the oval potato print into green paint to print the acorn seeds and then dip the acorn cap potato into brown paint to print and finish off the acorns.

Potato’s are a great environmentally friendly material to use as stamps for printing. You can compost them after use or even grow them into potato plants. * To grow your potato stamps after use: Simply wash any paint off the potato halves and leave them to dry for a few days. Then plant them in damp soil or compost. If you are lucky some of your potato halves may start to grow into little potato plants.
13. Grow a tree from seed
Trees are such an important part the worlds ecosystem, they create oxygen, soak up carbon dioxide, prevent soil erosion, retain nutrients in the soil and provide food and shelter for wildlife. Thousands of different species depend on trees from birds, mammals and invertebrates to reptiles, fungi, mosses and lichens. Even when a tree dies it still plays a vital role in the ecosystem. The dead wood creates nitrogen for the soil and provides habitats for a variety of animals.
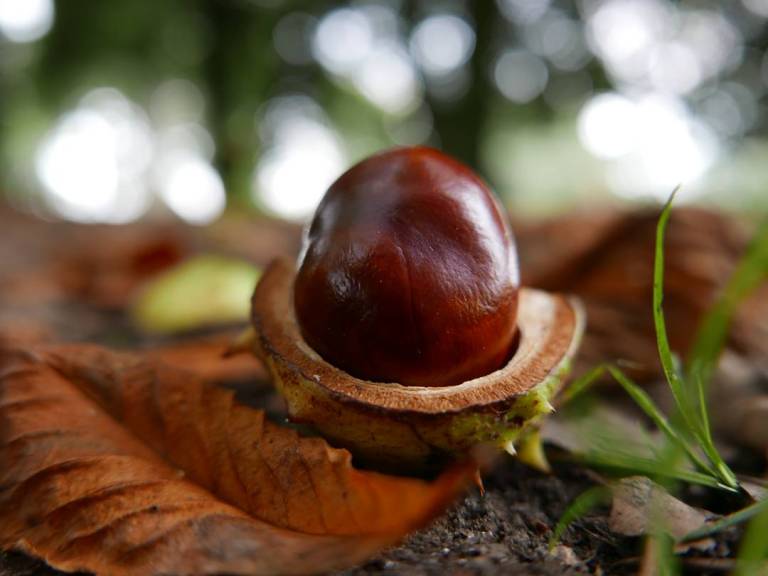
It is so easy to grow a tree from seeds you can collect on walks like acorns, conkers and pines, they may take a little patience to grow but it is incredibly rewarding when you manage to grow a little seed into a tree sapling. You may never see the fully grown tree yourself as you will have probably moved house long before then. But there is a wonderful quote that says “A society grows great when old men plant trees whose shade they know they shall never sit in.”

14. Look for acorn galls
Acorns grow on oak trees and a single oak tree can produce an incredible 2000 acorns a year however only one in about 10,000 acorns will survive to actually grow into a mature oak tree. Oak gall and Knopper gall wasps lay their eggs in acorns. These amazing little wasps have the ability to change the plant tissue of the acorn so that it grows and develops a protective layer called a gall around the wasp larva as it grows. As you can see below acorn galls appear as spikey bumpy protrusions on the surface and sides of acorns. The wasp larvae will pupate and stay safely inside the galls over winter before emerging as adults in spring,

15. Make Wildflower seed bombs
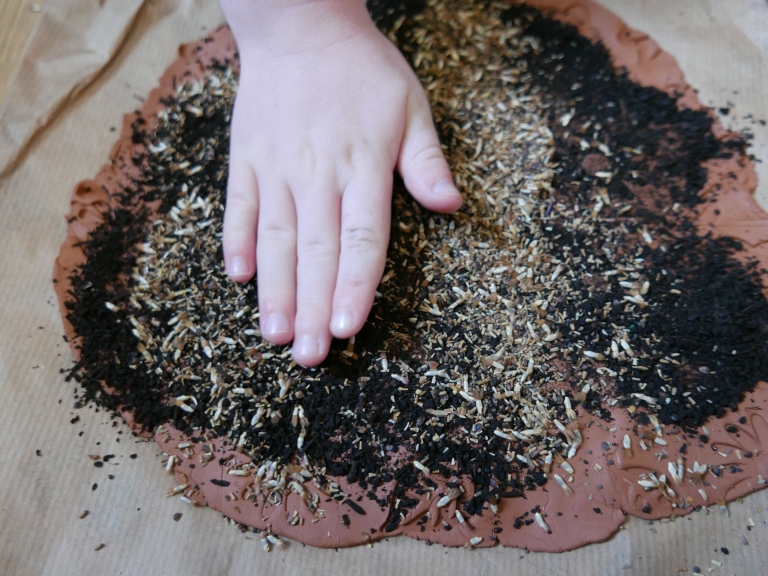
Wildflower seed bombs are so easy and simple to make. All you need is some natural clay, soil or peat free compost, wildflower seeds and a rolling pin. Simply roll the clay out slat onto a sheet of paper or cardboard. Then spread an even layer of soil or peat free compost over the top followed by a scattering of wildflower seeds.
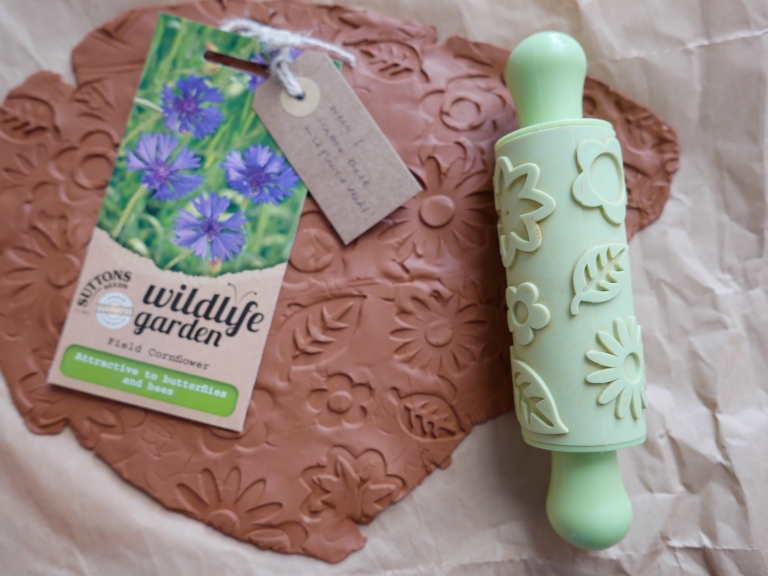
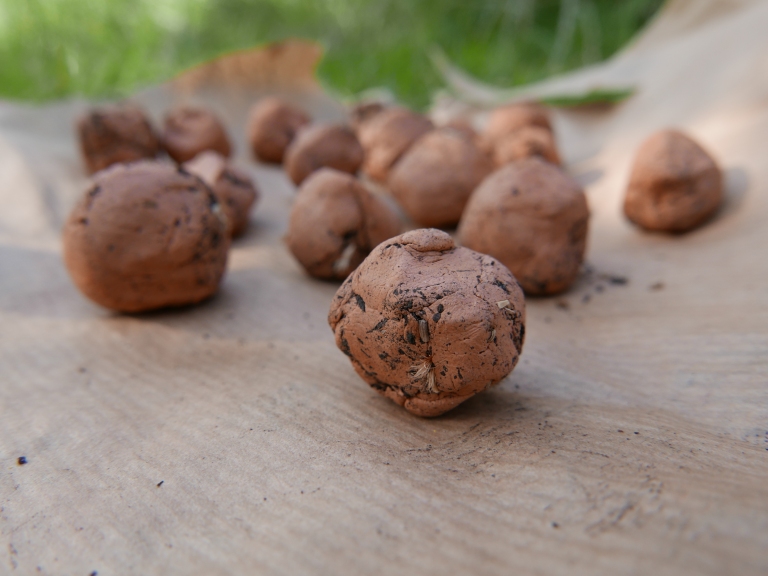
Finally fold the clay up like sandwich and pull small pieces off to roll in your hands to form little balls. Once you have rolled tall of the clay into little seed bombs leave them out on a sheet of paper or card overnight to dry.
Now they are ready yo take out on walks to scatter to grow. When it rains the clay will start to disintegrate as the seeds grow and eventually the clay and nature materials will naturally biodegrade back into the soil.
For day 2 of 30 Days Wild we sowed wildflower seeds for pollinators, tasted edible seeds, visited a farm to pick our own strawberries, learned about the lifecycle of plants and explored a community garden.
This page features in Twinkl’s Learning in Nature with Childsplayabc.

If you like this you might like to try:
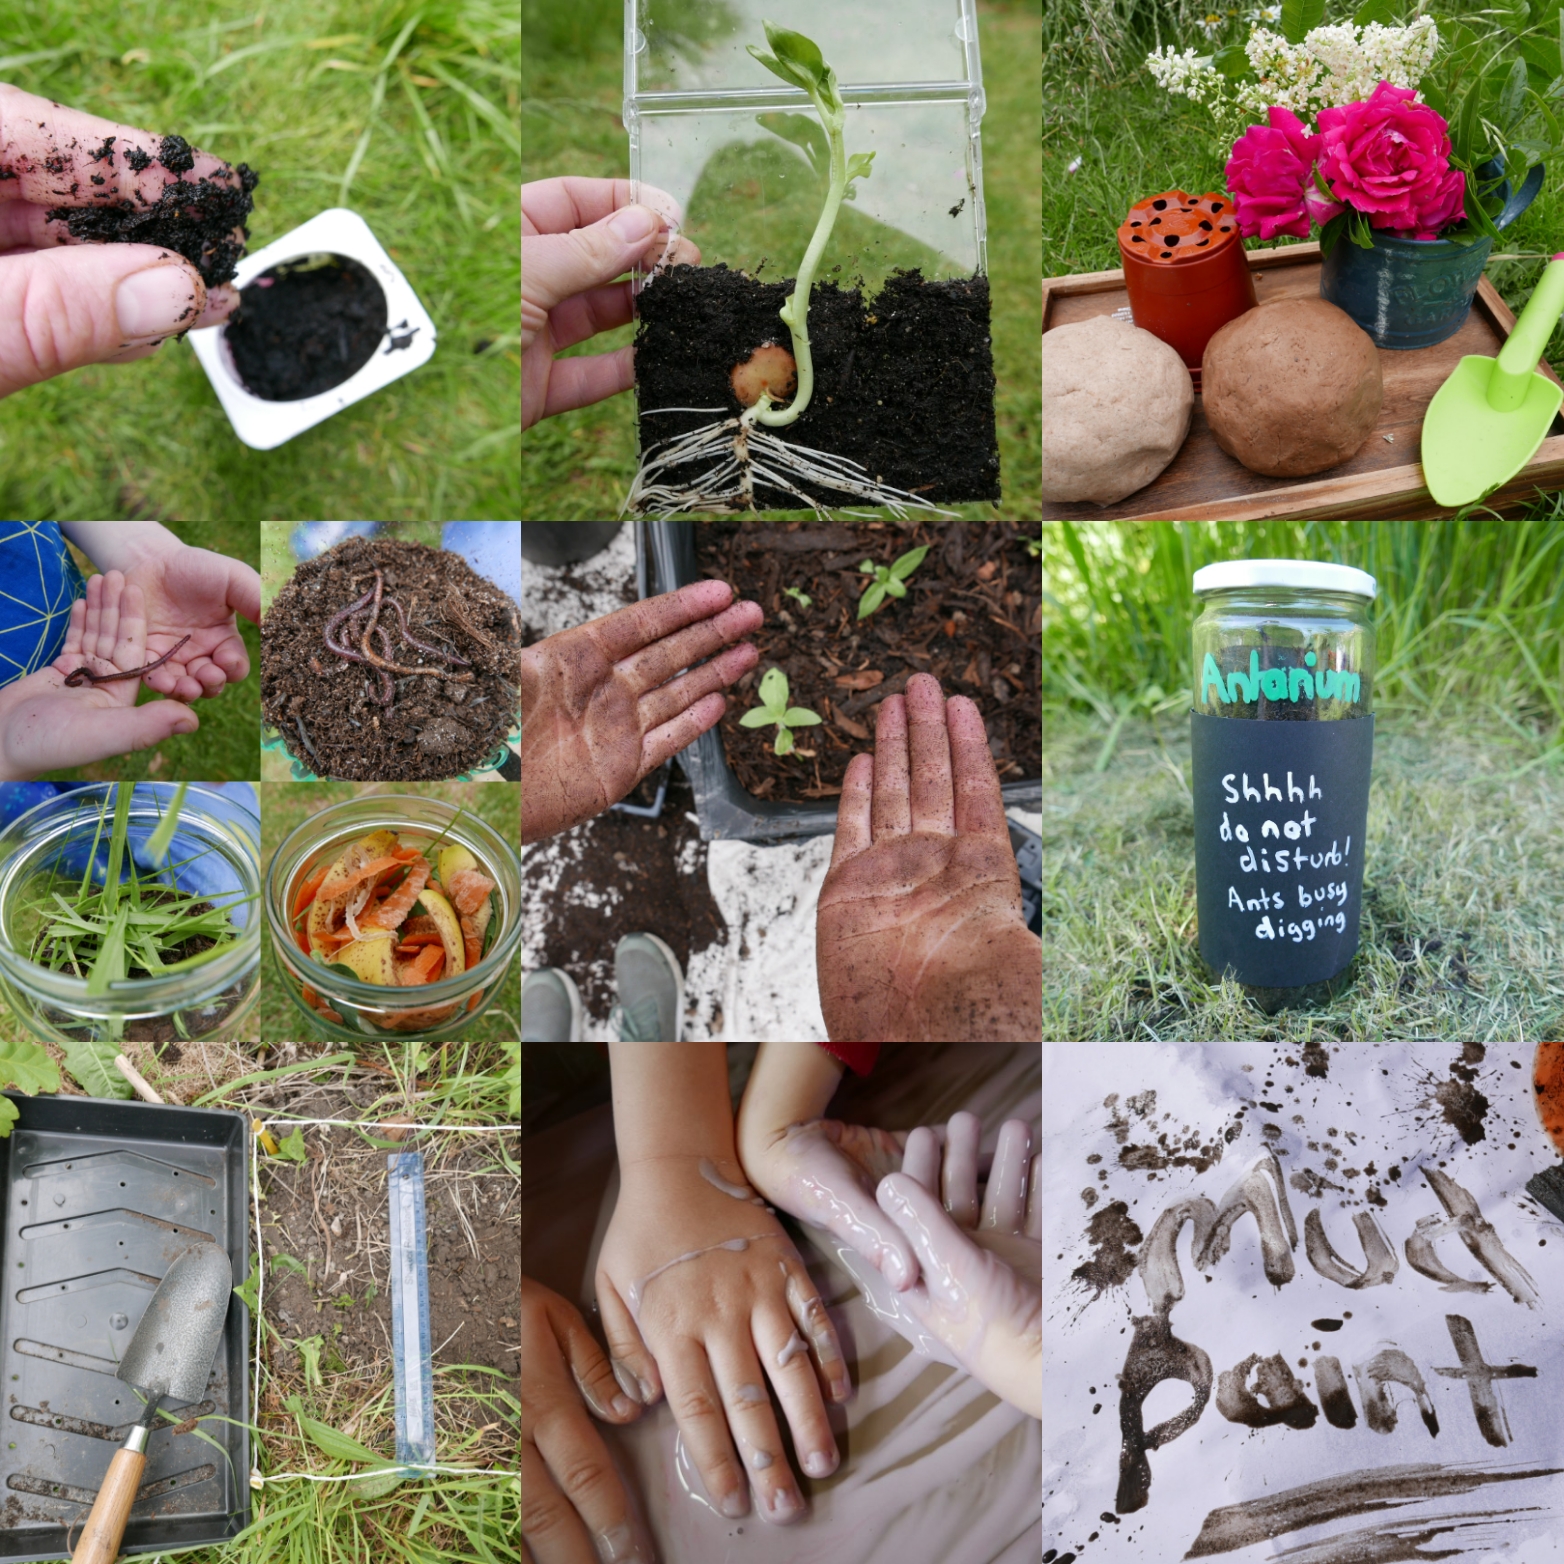
14 Soil science and sensory activities
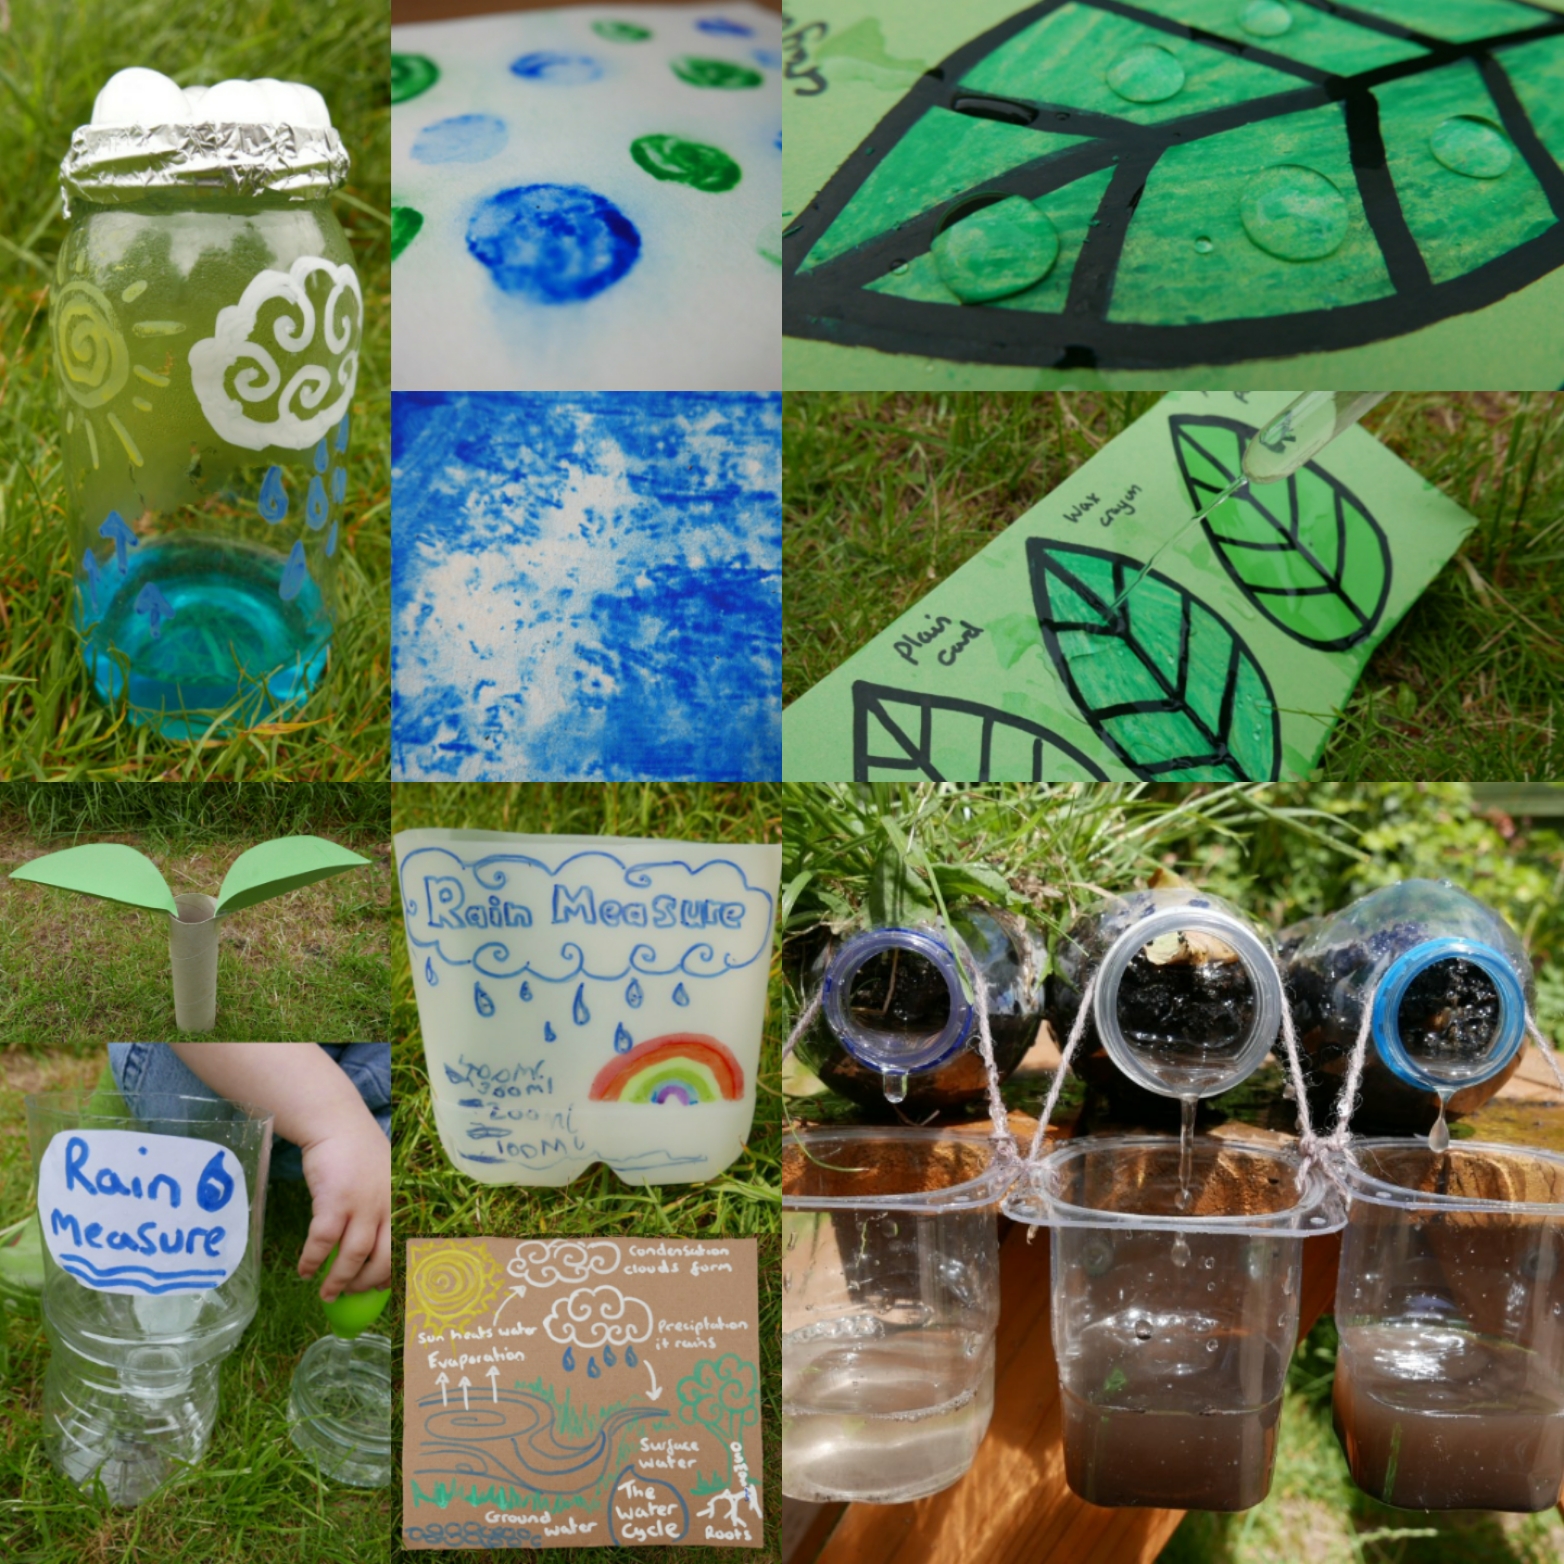
8 Rain Science experiments and activity ideas

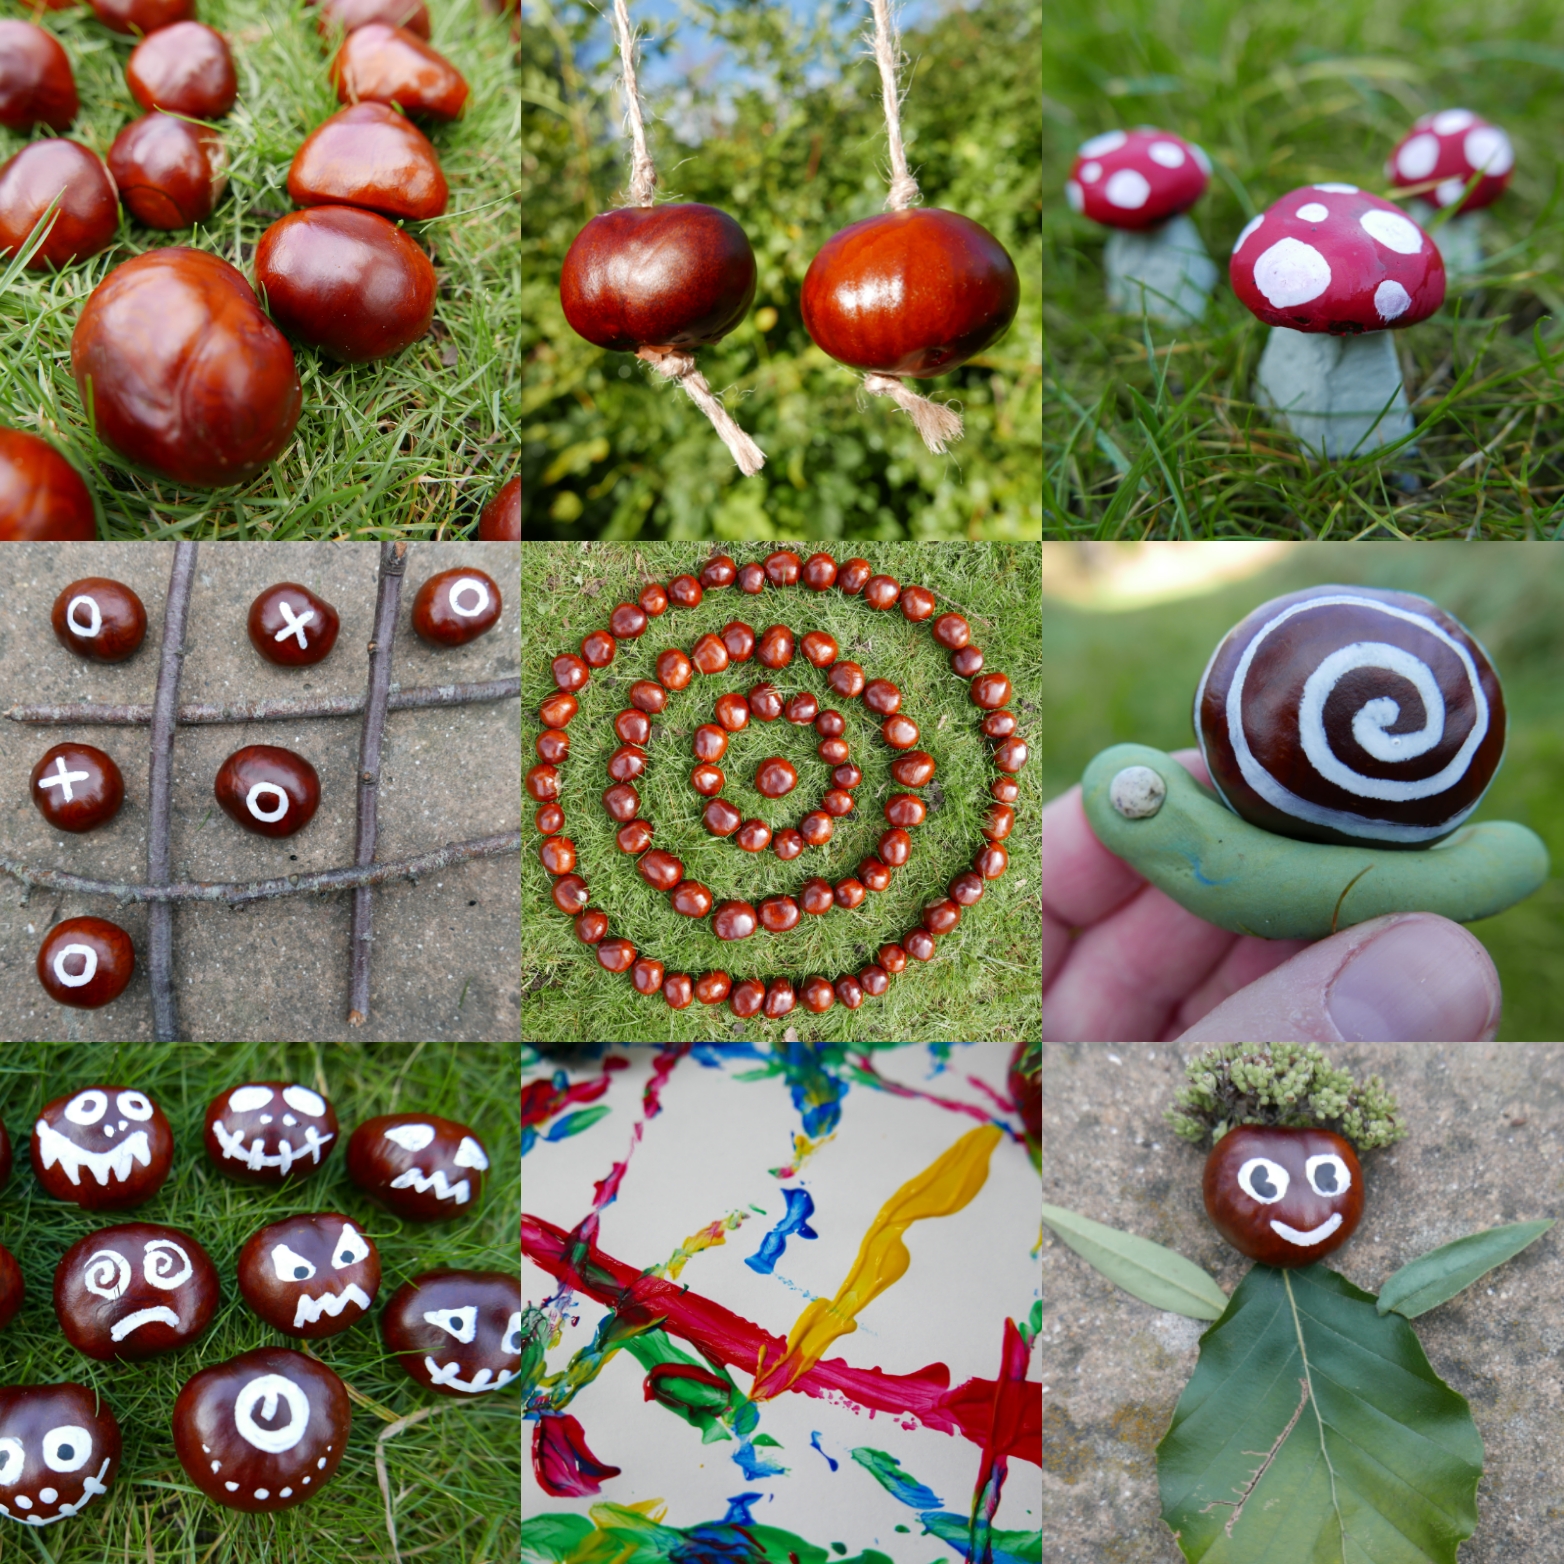
Horse Chestnut/Conker facts and activity ideas.

21 thoughts on “15 Seed science activity ideas”